HP ProCurve 6600-48G-4XG Installation Instructions
4-post rack mount kit for procurve 6600 switch
Hide thumbs
Also See for ProCurve 6600-48G-4XG:
- Product end-of-life disassembly instructions (2 pages) ,
- Advanced traffic management manual (460 pages) ,
- Quickspecs (52 pages)
Advertisement
Quick Links
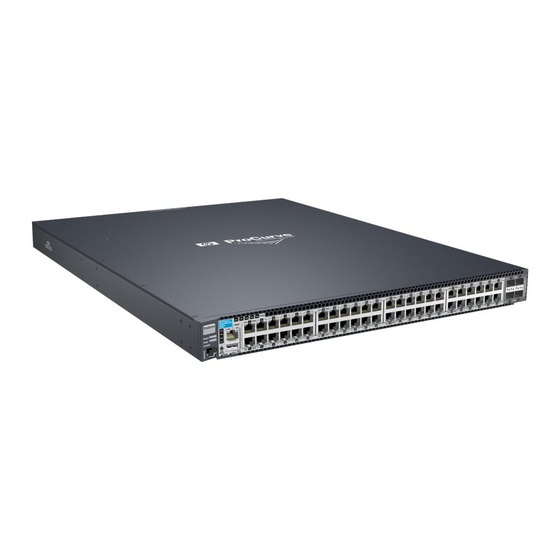
HP ProCurve 6600 Switch
Installation Instructions
The 4-Post Rack Mount Kit (J9469A) is designed to stabilize and support an HP ProCurve 6600 Switch
that is mounted in a four-post rack. The following types of four-post racks are supported:
■
Vertical posts with square mounting holes: EIA 310-d hole size (0.375 in x 0.375 in). The
screws and pins for square-hole posts are pre-installed on the rails.
■
Vertical posts with round mounting holes; round-hole size is from 7.2 to 7.3 mm in diameter.
The screws and pins for round-hole posts are shipped in the accessory bag with the kit.
To install the 4-Post Rack Mount, follow these steps:
1.
Install the rails in the rack.
2.
Install the switch on the rails.
3.
Connect and route the power cables (including an air plenum for power-side mounting).
4.
Secure the switch to the rack.
1. Install the rails in the rack.
a.
Determine the height in the rack at which you want to mount the switch. Align the mounting
holes at each end of a rail with the holes on the front and back rack posts so that they are
at the same height.
For a square-hole rack, leave the pre-installed square-hole pin in each rail. Unscrew and re-
install the 10-32 screw on each rail to secure it to the rack. (For a square-hole Panduit rack
with grounding strips, unscrew the 10-32 screws and install the green grounding screws
(5183-2026) shipped with the 4-Post Rack Mount Kit.)
For a round-hole rack, install the alternate round-hole pins that are shipped with the kit to
set the rails in the rack. Install the alternate round-hole screws to secure the rails. (The round-
hole screws have a different shoulder than the square-hole screws.)
Install a 10-32 shoulder screw in the top hole.
Figure 1.
Attaching Rails to a Rack
4-Post Rack Mount Kit
Use an alignment pin in the bottom hole to
align each rail.
1
Advertisement

Related Manuals for HP ProCurve 6600-48G-4XG


Summary of Contents for HP ProCurve 6600-48G-4XG
- Page 1 HP ProCurve 6600 Switch 4-Post Rack Mount Kit Installation Instructions The 4-Post Rack Mount Kit (J9469A) is designed to stabilize and support an HP ProCurve 6600 Switch that is mounted in a four-post rack. The following types of four-post racks are supported: ■...
- Page 2 Option 1 or 2 to leave space for an air plenum. If you install a 6600 Switch with the port side facing the cold aisle, you must install the switch as shown in Option 3 without an air plenum.
- Page 3 AC power source. b. Install the air plenum in a power-side mounting. If you are installing a 6600 switch with the port side facing the cold aisle, no air plenum is necessary. Continue with Step 4.
- Page 4 Route the power cord through the plenum opening, and up and over the switch in either a single- or stacked-switch installation. Figure 6. Routing a Power Cord Up and Over the Switch 4. Secure the switch to the rack. Use two 10-32 screws (one for each bracket) to tighten the plenum and mounting bracket (in a power-side mounting) or only the bracket (in a port-side mounting) to the rack.