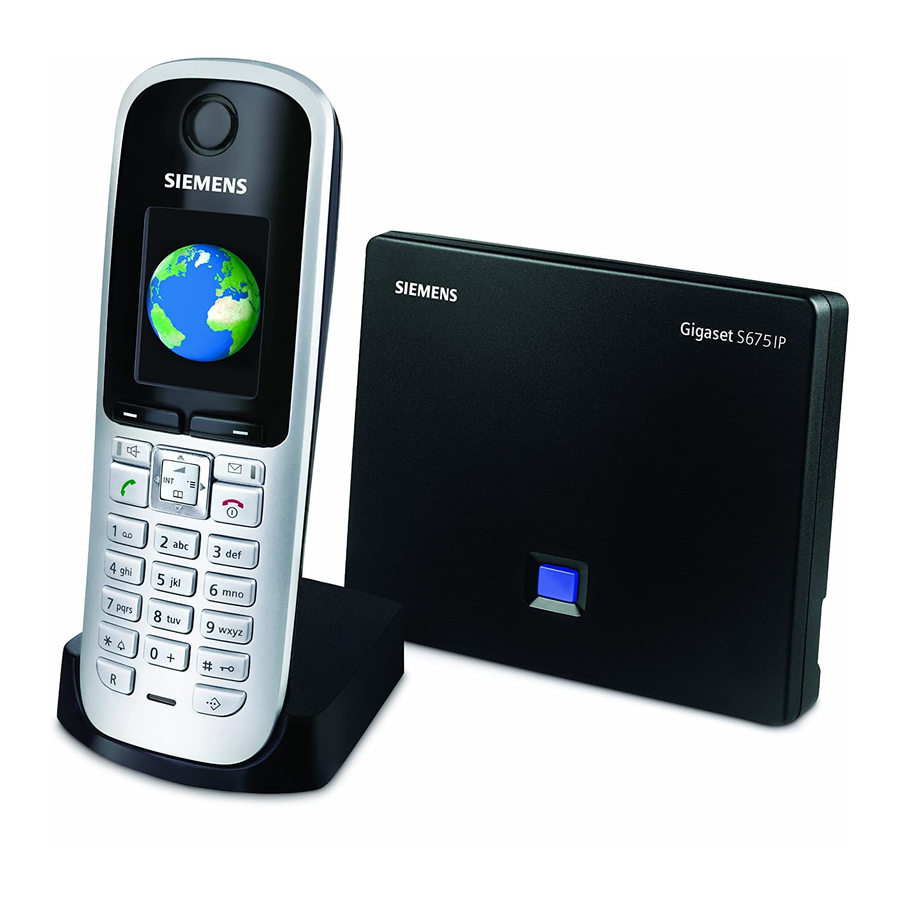
Siemens Gigaset S675 IP Manual
Hide thumbs
Also See for Gigaset S675 IP:
- Manual (254 pages) ,
- Installation manual (20 pages) ,
- User manual (186 pages)
Table of Contents
Advertisement
Quick Links
Advertisement
Table of Contents

Related Manuals for Siemens Gigaset S675 IP


Summary of Contents for Siemens Gigaset S675 IP
- Page 1 Gigaset S675/S685 IP Easy to install CORDLESS HOME COMMUNICATION...
-
Page 2: Safety Precautions
Safety precautions Warning: Read the safety precautions and the user guide on the CD before use. Explain their contents and the potential hazards associated with using the telephone to your children. > Only use the mains adapters supplied, as indicated on the underside of the base station or charging cradle. -
Page 3: Pack Contents
Pack contents Gigaset S675/S685 IP base station Mains adapter for connecting the base station to the mains power supply Phone cord for connecting the base station to the fixed line network Ethernet (LAN) cable for connecting the base station to the router (LAN/Internet) Gigaset S67H/S68H handset Two batteries for the handset (uncharged) Battery compartment cover for the handset... -
Page 4: Keys And Functions On The Handset
Keys and functions on the handset Display keys: Start function displayed to the left or right of the bottom display line. Handsfree key: Switch between earpiece and handsfree mode (key lights up) Talk key: Accept call After entering number: start dialling via VoIP/fixed line network (press briefly/press and hold) Control key: Open menu (press right);... -
Page 5: Connection Overview
Connection overview Prepare the handset: insert the batteries Connect the charging cradle to the mains power supply and charge the batteries Connect the phone cord and power lead to the base station Connect the base station to the fixed line network and the mains power supply Connect the base station to the Internet and connect the base station to the router (Connection via router and modem or via router with integrated modem) PC in LAN (optional) –... -
Page 6: Preparing The Handset
Preparing the handset Inserting the supplied batteries and closing the battery cover > Check the polarity when inserting the batteries (see symbols in or on the battery compart- ment). > Only use the recommended rechargeable bat- teries. Once the batteries have been inserted, the hand- set turns on automatically. -
Page 7: Connecting The Base Station
Connecting the base station Connecting the phone cord and power lead to the base station Insert the phone cord into the lower connection socket at the rear of the base station. Insert the power lead of the mains adapter into the upper connection socket at the rear of the base station. -
Page 8: Connecting The Base Station With The Router (Internet)
Connecting the base station Connecting the base station with the router (Internet) Connect one Ethernet cable plug to the LAN socket at the side of the base station. Insert the second Ethernet cable plug into a LAN socket on the router. Use the Ethernet cable supplied. -
Page 9: Saving Voip Access Data
Saving VoIP access data Precondition for the following steps: Before you can use the Internet (VoIP) to phone any other subscribers on the Internet, the fixed line network or the mobile phone network, you need a VoIP account. > Set up a VoIP account with a VoIP provider. >... -
Page 10: Starting The Configuration Process
Saving VoIP access data Starting the configuration process When your handset is sufficiently charged (approx. 20 minutes after you have placed it in the charging cradle), the message key on the handset flashes. > Press the message key on the handset. Starting the connection assistant, entering the PIN Connection Assist. -
Page 11: Entering An Auto-Configuration Code
Saving VoIP access data Do you have a If your have received a regis- If you have received an auto- provisioning code? tration name/password configuration code: and, if applicable, a user > Press the right-hand dis- name: play key §Yes§. >... -
Page 12: Selecting A Provider And Loading Provider Data To The Base Station
Saving VoIP access data Selecting a provider and loading provider data to the base station Select Provider Select Country Provider 1 Germany Provider 2 England Provider 3 France Provider 4 Netherlands, the Provider 5 Provider 6 Ý Ý > > Select your provider with the control Select your country with the control (press down arrow). -
Page 13: Entering Voip Account Data
Saving VoIP access data Entering VoIP account data Connection Assist. Connection Assist. Authent. Password: Authent. Name : Ý Ý > Using the number keys, enter the > Using the number keys, enter the authentication password that you authentication name (user identifica- received from your provider. -
Page 14: Entering Your Name In The Gigaset.net Directory
Saving VoIP access data Entering your name in the Gigaset.net directory The Gigaset.net is a VoIP service by Gigaset Communications GmbH, which you can use to make free calls to other Gigaset VoIP users. Carry out the following steps and an entry will be created in the Gigaset.net directory. Connection Assist. -
Page 15: Completing The Voip Settings
Saving VoIP access data Completing the VoIP settings If "Update firmware?" is shown in the display, an updated firmware is already available on the Internet for your phone. Press the right display key Yes§. The new firmware is loaded. The process takes approx. -
Page 16: Testing Your Voip Connection
Saving VoIP access data Testing your VoIP connection If a message is displayed when you are trying to make a call via VoIP, you can check the base station's connection to the Internet by e.g. calling the Gigaset.net echo service: >... -
Page 17: Making Calls And Operating The Ans. Machine
Making calls and operating the ans. machine Making calls > Enter a phone number using your handset's number keys. Please note that you must always dial the area code for calls via VoIP, even with local calls (depends on provider). Briefly press the talk key c if you want to make a call via VoIP. -
Page 18: Service (Customer Care)
Service (Customer Care) You can get assistance easily when you have technical questions or questions about how to use your device by using our online support service on the Internet at: www.gigaset.com/customercare This site can be accessed at any time wherever you are. It will give you 24/7 support for all our products. - Page 19 Service (Customer Care) Authorisation This device is intended for connection to analogue networks in Belgium. Outside the EEA (with the exception of Switzerland) depending on national type approval. Voice over IP telephony is possible with an additional modem via the LAN interface. Country-specific requirements have been taken into consideration.
- Page 20 Version: 30-10-2008 Issued by Gigaset Communications GmbH, Schlavenhorst 66, D-46395 Bocholt Gigaset Communications GmbH is a trademark licensee of Siemens AG © Gigaset Communications GmbH 2008 All rights reserved. Subject to availability. Rights of modifications reserved. www.gigaset.com...