Table of Contents
Advertisement
Advertisement
Table of Contents

Related Manuals for Philips SPC900NC


Summary of Contents for Philips SPC900NC
- Page 1 SPC900NC User manual...
-
Page 2: Need Help
Need help? Online help: http://www.philips.com/support For interactive help, downloads and frequently asked questions. -
Page 3: What's In The Box
What’s in the box? Please check that the following items are packed in the Philips SPC900NC box.They are provided to help you set up and use your Philips SPC900NC. SPC 900 NC Installation CD v.1.00 Philips SPC900NC Installation CD-ROM WebCam... -
Page 4: Legend Of Functions
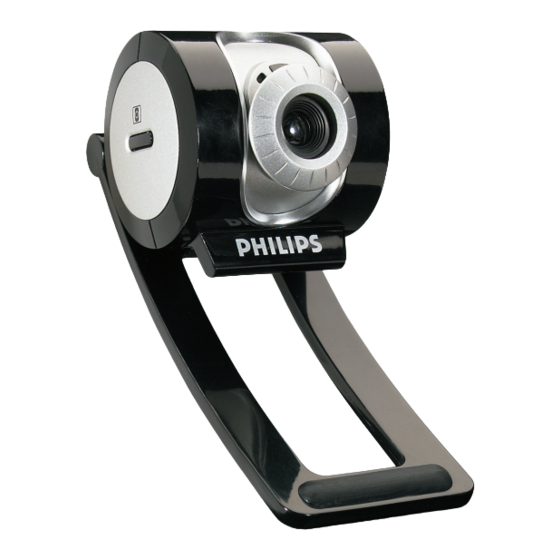
Legend of functions 1 Viewing angle For manually changing the vertical angle of the WebCam. 2 Quicklaunch button For quick and easy start-up of the VLounge Advanced software. 3 Rotating lens For adjusting the focus of the image manually. 4 Clamp with rubber rims For attaching the WebCam to your monitor. -
Page 5: Table Of Contents
Contents 2 Need help? 3 What’s in the box? 4 Legend of functions 5 Contents 6 Welcome 7 Things you should know Safety precautions Copyright 8 Installation Installing the WebCam software 10 Connecting the WebCam to your PC / laptop 11 WebCam settings 11 General controls 12 Picture controls... -
Page 6: Welcome
TWAIN interface to acquire an image. • Editing and special effects: after recording the images you want with the Philips SPC900NC WebCam, the images can be easily edited using image or video editing programs. The following sections in this manual give a step-by-step description of the installation process and explain how to use the Philips SPC900NC WebCam. -
Page 7: Things You Should Know
Copyright © Copyright 2003 by Philips Consumer Electronics B.V. All rights reserved. No part of this publication may be reproduced, transmitted, transcribed, stored in a retrieval system or translated into any language or computer language, in any form or by any means, electronic, mechanical, magnetic, optical, chemical, manual or otherwise, without prior written permission from Philips. -
Page 8: Installation
– Have your Windows CD-ROM at hand. – The SPC900NC WebCam is 'XP Plug & Play'. This means if you are running Windows XP and you have installed Service Pack 2 and the latest Microsoft Windows XP updates you don't need to install the SPC900NC WebCam driver. - Page 9 Installation > The following software license agreement appears. 4 Click on 'Yes' to continue the installation. > The following screen, including a progress bar, appears. > The following screen appears when the installation was successful. 5 Click on 'Finish'. 6 Restart your PC / laptop when you have finished installing the software.
-
Page 10: Connecting The Webcam To Your Pc / Laptop
Installation Connecting the WebCam to your PC / laptop Be sure to run the installation CD first, before connecting the WebCam to the PC / laptop. Turn on the PC / laptop. Connect the USB plug of the USB cable to the USB port of the PC / laptop. -
Page 11: Webcam Settings
WebCam settings The Philips SPC900NC video property can be changed from within an application, or independently by clicking the VProperty icon ‘ ’ which can be found in the Windows taskbar bottom right of your screen. Most applications can show a 'live preview' video image on your monitor. -
Page 12: Picture Controls
5 Full automatic control: on/off This full automatic control mode provides a very easy way to get the best out of your Philips SPC900NC WebCam. Or you can choose to have maximum manual control over the WebCam settings by switching the full automatic control mode off. - Page 13 WebCam settings 7 Auto exposure & exposure slider The exposure is the amount of light received by the sensor and is determined by how long the sensor is exposed to capture a snapshot or video frame.The result depends on the sensitivity of the sensor.The WebCam will find the optimal setting if you select the auto exposure option.You can use the exposure slider if you would like to set the WebCam...
- Page 14 * Mirror Clicking the 'Mirror Image' checkbox flips the image horizontally.You can use this feature when you want to use the Philips SPC900NC and monitor as a mirror, or to take pictures of mirrored images.
-
Page 15: Audio Controls
WebCam settings Audio controls ( Volume slider This slider provides manual control over the microphone volume. ) Start Test the audio level by clicking on the 'Start' button. -
Page 16: Using The Applications
All applications can be accessed via the Philips V(ideo)-Lounge Advanced application.VLounge Advanced is the central application for easy access to your Philips WebCam and all image and video applications installed during setup. • Start VLounge Advanced through the Windows QuickLaunch menu in your taskbar, via the program group ‘SPC900NC... -
Page 17: Msn Messenger
Using the applications MSN Messenger You can download and install MSN Messenger via Microsoft MSN Messenger websites. In the list below you will find the website address for your country for downloading MSN Messenger: Austria - http://messenger.msn.at Belgium (Dutch) - http://messenger.msn.be Belgium (French) - http://messenger.fr.msn.be Denmark - http://messenger.msn.dk Finland - http://messenger.msn.fi... -
Page 18: Yahoo! Messenger
Making snapshots using Windows ® ® ® You can use Microsoft Windows XP to make snapshots with your Philips SPC900NC WebCam. If you need additional support, please refer to the ‘Help’ topics of ® ® Microsoft Windows XP. Search for ‘Get picture’. -
Page 19: Technical Specifications
Technical specifications Sensor...VGA CCD Video resolution (Max.)...VGA (640 x 480) Image resolution (Max.)...1.3 MP (1280 x 960) Illumination ...< 1 lux Integrated lens ...F=2.8 Data format ...I420, IYUV Interfacing ...USB 2.0 compatible (2.1 m USB cable) Microphone...Built in digital microphone Power ...Supplied via USB cable Voltage requirements...5V ( ), 0.5A... -
Page 20: Important Information
Important information Disclaimer Philips makes no warranty of any kind with regard to this material, including, but not limited to, the implied warranties of merchantability and fitness for a particular purpose. Philips assumes no responsibility for any error that may appear in this document. -
Page 21: Environmental Information
Important information Environmental information Disposal of your old product Your product is designed and manufactured with high quality materials and components, which can be recycled and reused. When this crossed-out wheeled bin symbol is attached to a product it means the product is covered by the European Directive 2002/96/EC Please inform yourself about the local separate collection system for electrical and electronic products. - Page 22 Data subject to change without notice...