Table of Contents
Advertisement
Advertisement
Table of Contents

Related Manuals for Beko VRT6221


Summary of Contents for Beko VRT6221
- Page 1 Cordless Stick Vacuum Cleaner User Manual VRT6221 01M-8835743200-4316-01...
- Page 2 Please read this manual first! Dear Customer, Thank you for selecting a Beko product. We hope that you get the best results from your appliance which has been manufactured with high quality and state-of-the- art technology. For this reason, please read this user manual and all other provided documents carefully before using the appliance and keep it as a reference for future use.
-
Page 3: Table Of Contents
CONTENTS 1 Important safety and environmental instructions 1.1 General safety ........4 1.2 Compliance with the WEEE Directive and disposal of the waste product . -
Page 4: Important Safety And Environmental Instructions
Important safety and environmental instructions This section contains safety • The mains supply on which you instructions that will help protect will use the appliance must be from risk of personal injury or secured with a minimum 13 A fuse. material damage. -
Page 5: Compliance With The Weee Directive And Disposal Of The Waste Product
Important safety and environmental instructions • Do not attempt to dismantle the 1.3 Compliance with RoHS Directive appliance. • Use the original parts or The product you have purchased complies with EU RoHS Directive (2011/65/EU). It does not contain parts recommended by the harmful and prohibited materials specified in the manufacturer only. -
Page 6: Plug Wiring
Important safety and environmental instructions 1.6 Plug Wiring The moulded plug on this appliance incorporates a 13 A fuse. Should the fuse need to be replaced an ASTA approved BS1362 fuse of the same rating must be used. Do not forget to refit the fuse cover. In the event of losing the fuse cover, the plug must not to be used until a replacement fuse cover has been fitted. -
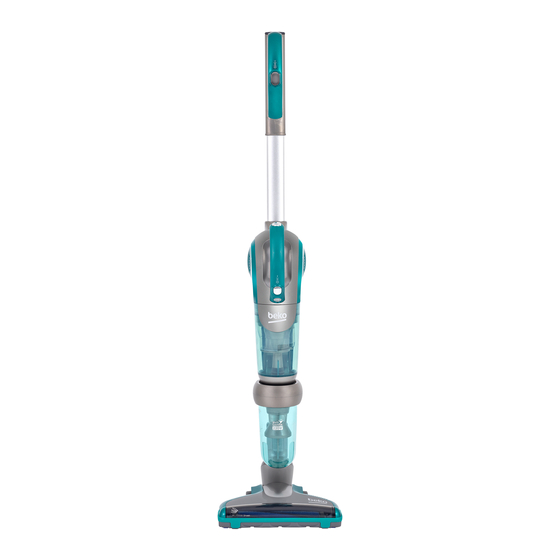
Page 7: Your Cordless Stick Vacuum Cleaner
Your cordless stick vacuum cleaner 2.1 Overview 7 / 22 EN Cordless Stick Vacuum Cleaner / User Manual... -
Page 8: Technical Data
Your cordless stick vacuum cleaner 1. Switch button 2. Hand-held release button 3. Hand-held switch button 4. Dust cup release buttoni 5. Dust cup 6. Main body dust cup 7. Electric ground brush 8. Charging dock 9. Power cord 10. Metal pipe release button 11. -
Page 9: Part Installation
Part installation 3.1 Connection of handle part 3.2 Handle forward assembly and push rod 1. Press the metal pipe button shown in the picture if the handle part should be removed 1. Place push rod vacuum cleaner on the ground during packaged storage. -
Page 10: Installation Of Battery Pack And Hand
Part installation 3.3 Installation of battery 3.4 Installation of hand-held pack and hand-held vacuum vacuum cleaner and push rod cleaner vacuum cleaner 1. Battery pack installation: turn over the hand- 1. Hold hand-held vacuum cleaner handle when held vacuum cleaner to the back. hand-held vacuum cleaner is installed on push 2. -
Page 11: Installation Of Charging Dock And Push Rod
Part installation 3.5 Installation of charging • Installation of push rod vacuum cleaner and charging dock: insert dock and push rod the hook on the push rod behind the vacuum After use connect the vacuum cleaner to the cleaner into hook notch on the charging dock charging dock. -
Page 12: Operation
Operation 4.1 Operation mode of push 4.2 Operation mode of hand- held vacuum cleaner 1. Remove the vacuum cleaner from charging 1. Remove hand-held vacuum cleaner. dock. 2. Press the switch button to turn on the hand 2. Press whole machine switch button on the held device. -
Page 13: Operation Mode Of Accessories
Operation 4.4 Operation mode of Connection of hand-held vacuum cleaner and two-in-one accessory: accessories 1. Align square adapter port of two-in-one Hand-held vacuum cleaner part is specially accessory to dust cup air inlet of hand-held equipped with accessories in the product in vacuum cleaner as shown in the picture. -
Page 14: Connection Of Hand-Held Vacuum Cleaner And Handle
Operation 4.5 Connection of hand-held Align long hose square adapter vacuum cleaner and handle port to dust cup air inlet of hand- held vacuum cleaner as shown in the picture, and then vertical insert to the stop position according to Remove handle, press handle direction in the picture. - Page 15 Operation Handle terminal can be connected with adapter, adapter installation can be the same as ceiling installation method. Adapter Soft hair brush the adapter can be randomly bent according to arrow direction The following accessories can be connected at the terminal of the adapter: two-in-one hair brush, When the adapter and metal pipe are long flattened cleaner and soft hair brush, and...
-
Page 16: Connection Of Accessories And Charging Dock
Operation 4.6 Connection of accessories Long flattened cleaner and charging dock It is suitable for cleaning narrow slits, dead corners of Hand-held vacuum cleaner part is specially doors and windows and other equipped with accessories in the product in order various small gaps. - Page 17 Operation When the product is used for the first time, please fully charge the battery, and battery power should be completely released before it is charged for the second time, thereby extending the service life of the battery. Charging time is 4 hours or so. When the charging indicator light on the hand-held vacuum cleaner is changed from ‘red’...
-
Page 18: Part Cleaning And Replacement
Part cleaning and replacement • MIF filter is sold in vacuum cleaner distributor. Hold air hood cover plate by- hand, • It is suggested that dust cup should be cleaned and rotate according to arrow after being used each time. When much dust direction. - Page 19 Part cleaning and replacement Dual purpose brush can be used for Copper wire brush can be used removing hair on the iron network for removing hair on iron network of cyclone during cleaning. during cleaning. Copper wire brush Copper wire brush Hold transparent dust cup by hand, and rotate according to arrow...
-
Page 20: Cleaning Of Electric Roller
Part cleaning and replacement 5.2 Cleaning of electric roller Roller cover knob 1. Use ‘-’ shaped screwdriver or coin for rotating the roller cover locking button as shown in the picture, and unlock the roller cover; 2. Remove roller cover according to direction in the picture, and remove the roller out of the notch for cleaning (water washing is not allowed);... -
Page 21: Troubleshooting
Troubleshooting The motor is not rotated. The battery does not have power. >>> Charge vacuum cleaner. Hand-held vacuum cleaner is not correctly installed in push rod vacuum cleaner (since push rod vacuum cleaner requires power supply from hand-held vacuum cleaner, it can not be independently operated.) >>> Correctly assemble hand-held vacuum cleaner and push rod vacuum cleaner;... -
Page 22: Guarantee
Product Guarantee 12 months breakdown and repair guarantee Guarantor: Beko plc, 1 Greenhill Crescent, Watford, Hertfordshire. WD18 8UF The guarantee does not in any way diminish your statutory or legal rights. Your appliance has the benefit of our manufacturer’s guarantee which covers the product for 12 months from the date of original purchase. - Page 24 www.beko.com...