Pioneer A-307R A-209R Operating Instructions Manual
Pioneer stereo amplifier operating instructions a-307r a-209r
Hide thumbs
Also See for A-307R A-209R:
- Operating instructions manual (36 pages) ,
- Service manual (33 pages)
Advertisement
Table of Contents
Advertisement
Table of Contents

Related Manuals for Pioneer A-307R A-209R


Summary of Contents for Pioneer A-307R A-209R
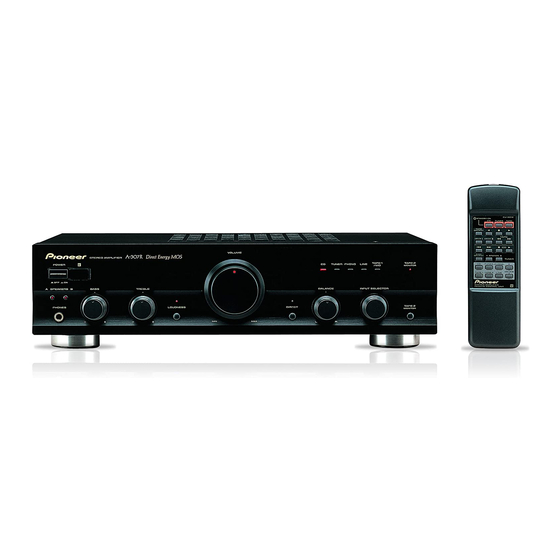
- Page 1 STEREO AMPLIFIER A-307R A-209R Operating Instructions...
- Page 2 Thank you for buying this PIONEER product. Please read through these operating instructions so you will know how to operate your model properly. After you have finished reading the instructions, put them away in a safe place for future reference.
-
Page 3: Table Of Contents
PANEL FACILITIES ... 6 FEATURES 7 Direct Energy MOS Power Amp(on the A-307R) Pioneer introduces amp circuitry featuring Direct Energy MOS FET devices for high performance. Together with Pioneer's original Wide Range Linear Circuit technology, this helps achieve reducing power consumption, while maintaining the power of current models. -
Page 4: Connections
CONNECTIONS Before making or changing the connections, switch off the power switch. CD player O U T SIGNAL PHONO TUNER Turntable CONNECTING THE SPEAKER CORDS 1. Strip off the vinyl covering and twist the tip of the wire core. 10mm Twist the wire core. -
Page 5: Loading Batteries
Red plug REMOTE CONTROL CORD CONNEC- TIONS By interconnecting the CONTROL jacks of Pioneer units with the Î mark, the entire system can be operated with this remote control unit, although some of the units (AM/FM tuner, CD player, cassette deck, etc.) may not be equipped with remote sensors. -
Page 6: Panel Facilities
PANEL FACILITIES [ FRONT PANEL ] z¿≤?≥B Direct Energy MOS STEREO AMPLIFIER Î POWER — A SPEAKERS B BASS PHONES – POWER (— OFF/_ ON) switch Press to turn power to the unit ON and OFF. This unit cannot be turned ON and OFF using the remote control unit. - Page 7 DIRECT button/indicator Use this button when you do not wish to pass the output from input terminal equipment through the various frequency adjusting circuits (BASS, TREBLE, BALANCE, LOUDNESS). On : The indicator lights: The signals passing through the input terminals are reproduced without passing through the various frequency adjusting circuits.
- Page 8 PANEL FACILITIES [ REAR PANEL ] 2 3 4 7 8 9 SIGNAL PHONO TUNER LINE TAPE 1/MD PLAY GND (Turntable ground) terminal PHONO terminals TUNER terminals CD terminals LINE terminals TAPE 1/MD REC (OUT) terminals (on the A-307R only) TAPE 1/CD-R/MD REC (OUT) terminals (on the A-209R only) TAPE 1/MD PLAY (IN) terminals (on the A-307R...
-
Page 9: Operations
OPERATIONS BEFORE BEGINNING OPERATIONS 1. Set the VOLUME control to minimum. 2. Set the POWER switch to ON. 3. Press the SPEAKERS button corresponding to the speaker system to be used. 4. Set the BALANCE control to the center position. 5. -
Page 10: Remote Control
– ... Decreases the volume. NOTE: When the accessory remote control unit is used to operate other Pioneer components with the Î mark, it cannot be used to operate functions which do not correspond to the functions listed on the remote control unit. -
Page 11: Troubleshooting
Sometimes the trouble may lie in another component. Investigate the other components and electrical appliances being used. If the trouble cannot be rectified even after exercising the checks listed below, ask your nearest PIONEER authorized service center or your dealer to carry out repair work. -
Page 12: Specifications
PIONEER ELECTRONICS [USA] INC. PIONEER ELECTRONICS OF CANADA, INC. PIONEER ELECTRONIC [EUROPE] N.V. PIONEER ELECTRONICS AUSTRALIA PTY. LTD. PIONEER ELECTRONICS DE MEXICO S.A. DE C.V. <00B00ZF0P00> Tone control BASS ... ±8 dB (100 Hz) TREBLE ... ±8 dB (10 kHz) Loudness contour (volume control set at –30 dB position)