
Related Manuals for Airflow 7106A


Summary of Contents for Airflow 7106A
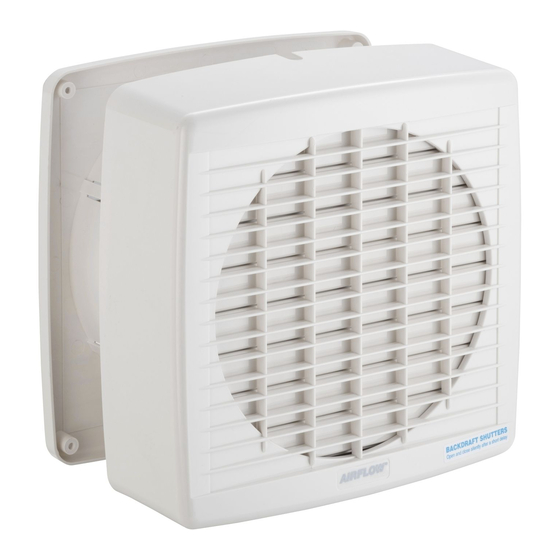
- Page 1 MaxAir Wall Exhaust Fan Warranty and Installation Instructions 7106A 7106A 7106A 7106A 7106A 7108A 7108A 7108A 7108A 7108A...
- Page 2 Screw fan assembly to internal wall via 4 corner openings, see fig. A. (Appropriate fasteners to be used for each installation not provided.) Fig B 7106A connection diagram 7108A connection diagram ASSEMBLY Fig A With fan assembly mounted on the internal Remove Termination Cover see fig B (screws wall, cut PVC sheet to suit wall depth.
- Page 3 Coil the cut PVC sheet around Wall Place Cover assembly as shown over fan Grille Outlet spigot and slide into assembly and tighten retaining screw. retaining clips. Test. Ready to go. WARNING: The appliance is not intended for use by children or infirm persons without supervision.
- Page 4 Trade Practices Act and similar State and Territory laws. The origional purchaser of this Airflow Ducted Fan Kit is provided with the following warranty, subject to the following conditions. Gerard Industries Pty Ltd warrant this product for a period of 3 years from the date of purchase for all parts defective in workmanship or materials.