
Related Manuals for Silvercrest SEM 1100 A1


Summary of Contents for Silvercrest SEM 1100 A1
- Page 1 KOMPERNASS GMBH BURGSTRASSE 21 · D-44867 BOCHUM www.kompernass.com ID-Nr.: SEM1100A1-06/10-V1 KITCHEN TOOLS Espresso Machine SEM 1100 A1 Espresso Machine Operating instructions...
- Page 2 SEM 1100 A1...
-
Page 3: Table Of Contents
Index Introduction ..........2 Preface . -
Page 4: Introduction
We wish you a great deal of enjoyable use. Information for these operating instructions These operating instructions are a component of the Espresso Machine SEM 1100 A1 (henceforth designated as the appliance) and they supply you with important information about the intended use, safety, installation and connection as well as operation of the appliance. -
Page 5: Limited Liability
Limited liability All technical information, data and information for installation and operation con- tained in these operating instructions corresponds to the latest available at the time of printing and, to the best of our knowledge, take into account our previous experience and know-how. -
Page 6: Intended Use
Intended use This appliance serves exclusively for the preparation of espresso/cappuccino and the heating of water. It is intended solely for use in domestic households. Do not use it for commercial applications. This appliance is not intended for any other use or for uses beyond those detailed here. -
Page 7: Espresso Machine
■ Repairs should only be carried out by authorized specialist companies or by the Customer Service Department. Incorrect repairs can result in signifi cant risks for the user. In addition warranty claims become void. ■ NEVER submerse the appliance in water or other liquids. Risk of electric shock! ■... -
Page 8: Items Supplied / Transport Inspection
Items supplied / Transport inspection WARNING Risk of suff ocation! ► Packaging material should not be used as a play thing. There is a risk of suff ocation! The appliance is delivered with the following components as standard: ▯ Espresso Machine ▯... -
Page 9: Operating Componentse
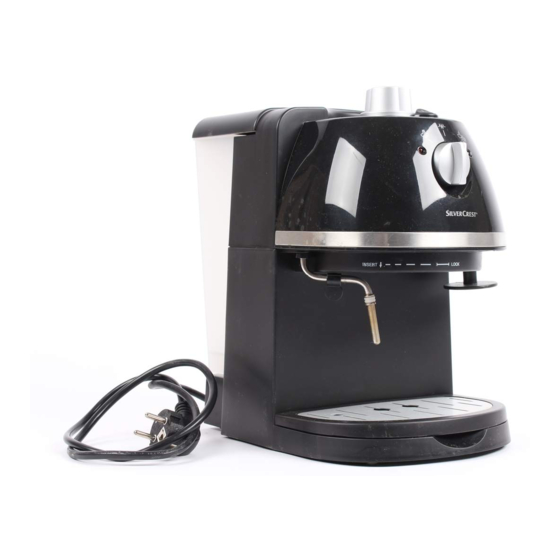
Operating componentse 1 Water tank 2 Steam regulation knob 3 On/Off switch 4 Green heating-up control lamp 5 Rotary switch 6 Compactor 7 Recess for the red fl oat 8 Drip grill 9 Measuring spoon with compacter 0 small espresso sieve q large espresso sieve w Sieve carrier e Sieve blocker... -
Page 10: Commissioning
Commissioning Clean the sieve holder the drip grill 8 and the water tank 1 as described in the chapter “Cleaning and Care”. Place the appliance on a level and heat-resistant surface. Ensure that a mains power socket is in the vicinity. Insert the drip grill in the drip grill 8. -
Page 11: Heating Up Before Every Use
Heating up before every use Before you can prepare an espresso or cappuccino, the appliance must be heated Switch the appliance on with the the position „ The red heating-up control lamp Wait until the green heating-up control lamp You can now make an espresso / cappuccino. Heating up after an extended downtime If you have not used it for some time, preheat the appliance as follows: Fill the water tank... -
Page 12: Preparing Espresso
Preparing Espresso NOTICE ► If, before starting to make the espresso, you have taken hot steam from the machine, we recommend you draw a little hot water before commencing with the espresso preparation. If you do not, it may be that the coff ee tastes burnt. - Page 13 Insert the sieve carrier SERT” and then turning it anticlockwise to the marking “LOCK”. Place one (or two) cup(s) under the sieve carrier openings. We recommend that you rinse the cups out with hot water beforehand, so that the espresso does not cool so quickly.
-
Page 14: Preparing Cappuccino
NOTICE ► You can also use espresso pads for the preparation of espresso. Use only espresso pads that correspond to the ESE standard. The ESE standard is a system accepted by the leading manufacturers of espresso pads, which makes possible the simple and clean preparation of espresso. - Page 15 When only steam comes out of the nozzle, turn the steam control knob the direction “-” until no more steam comes out of the nozzle. Pour the water in the container away. Now hold the frothing container in your hand, so as to feel the milk tempera- ture, and guide the nozzle of the milk frother z lightly into the milk.
-
Page 16: Tips For The Milk Froth
NOTICE ► You can also use the milk frother or tea. NOTICE ► Absolutely clean the milk frother "Cleaning and Care". Tips for the milk froth ■ In principle, any type of milk can be frothed, including soy and rice milk. However, some types of milk can only be frothed with limitations. -
Page 17: Generating Hot Water
Generating hot water When the appliance is heated-up: Place a cup under the milk frother When the green heating-up control lamp knob 2 to the position “+”. Turn the rotary switch zle. If you wish to interrupt the hot water supply, turn the steam control knob off... -
Page 18: Cleaning The Hot Water Shower
Clean the steam delivery tube of the milk frother Replace the nozzle back onto the steam supply pipe. Cleaning the hot water shower Clean the hot water shower t after each use: After you have prepared the espresso/cappuccino and removed the sieve holder w, wipe the entire surface of the hot water shower t with a moist cloth so that all powder residues are removed. - Page 19 Switch the appliance on with the on/off switch be in the position “ Insert the sieve carrier and place a cup under the sieve carrier w. As soon as the green heating-up control lamp 4 glows, turn the rotary switch 5 to the position “ Allow about 2 cups of water to pass through and then stop the process.
-
Page 20: Troubleshooting
Troubleshooting Problem The espresso no longer fl ows out the espresso drips over the edges of the sieve carrier w instead of from the openings. The espresso is cold. Noisy operation of the pump. Cause • The espresso powder is too moist and/or compressed too tight. -
Page 21: Disposal
• too little espresso powder. The crema is too light (the espresso runs quickly out of the • The espresso powder is too sieve carrier w) coarsely ground. • too much espresso powder. The crema is too dark (the espresso runs •... -
Page 22: Warranty And Service
Warranty and Service With this appliance you receive a warranty of 3 years from the date of purchase. This appliance has been manufactured with care and thoroughly tested before delivery. Please retain your receipt as proof of purchase. In the case of a warranty claim, please make contact by telephone with our service department.