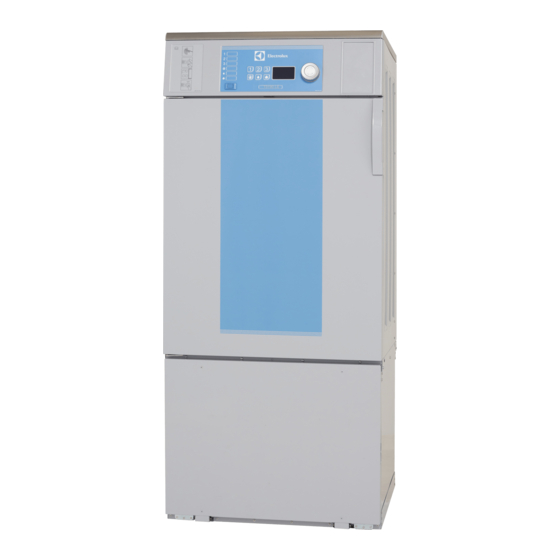
Summary of Contents for Electrolux T5190LE
-
Page 1: Tumble Dryer
Maintenance Manual Tumble dryer T5190LE Type N1190.. 438 9098-10/EN Original instructions 2015.11.04... -
Page 3: Table Of Contents
Contents Contents 1 Symbols .............................5 2 General ..............................5 3 Maintenance ............................6 Clean the lint filters........................6 Special filter..........................6 Clean the water valve.........................7 4 Maintenance to be carried out by qualified service personnel ..............8 Clean the glide surface for the RMC graphite collector ..............8 Clean the area around the drum....................9 Clean the motor and the area around the motor................9 Air intake, fan house and fan motor ................... -
Page 5: Symbols
Maintenance Manual 1 Symbols Caution Caution, hot surface Read the instructions before using the machine 2 General It is the responsibility of the owner of the machine/the laundry manager to make sure that the following maintenance is performed. Check and clean filter on a regular basis or if the warning message “NOTIFY RESPONSIBLE! CLEAN SPECIAL FIL- TER”... -
Page 6: Maintenance
Maintenance Manual 3 Maintenance 3.1 Clean the lint filters Disconnect the power to the machine. Open the door. Check that the two filters (A) and (B) are clean and unbroken. (Those two filters shall be cleaned after each drying cycle by the user). Clean or replace if necessary. -
Page 7: Clean The Water Valve
Maintenance Manual Note! Replace the Special filter when needed or when the warning message “NOTIFY RESPONSIBLE! CLEAN SPE- CIAL FILTER” is displayed. It can be vacuum cleaned up to four times. Note! Do not use water to clean the Special filter. When remounting;... -
Page 8: Maintenance To Be Carried Out By Qualified Service Personnel
Maintenance Manual 4 Maintenance to be carried out by qualified service personnel After 800 hours of operation or once a year, whichever comes first, contact qualified service personnel to perform the following maintenance. If neglected performance will decrease and the machine can be damaged. 4.1 Clean the glide surface for the RMC graphite collector At regular basis, wipe off/clean drum and lifters with citric acid (Acidum citricum). -
Page 9: Clean The Area Around The Drum
Maintenance Manual 4.2 Clean the area around the drum Disconnect the power to the machine. Demount the top panel. Make sure that the area around the drum and the area over the drum are clean and that there is no lint. Clean with a vacuum cleaner if necessary. - Page 10 Maintenance Manual Make sure that the motor is clean and that there is no lint. Clean with a vacuum cleaner if necessary. Make sure that there is no lint around the air cooling inlets (C). fig.W01026 Make sure that the areas around the motor inside the machine are clean and that there is no lint. Clean with a vac- uum cleaner if necessary.
-
Page 11: Air Intake, Fan House And Fan Motor
Maintenance Manual 4.4 Air intake, fan house and fan motor At regular basis, check that the air intake on the front of the machine is not clogged by lint and dust or otherwise blocked. Disconnect the power to the machine. Demount the the back panel. -
Page 12: Maintenance Of Heat Pump
Maintenance Manual 4.5 Maintenance of heat pump 4.5.1 Clean inside of the heat pump unit Remove the heat pump • Disconnect the power. • Disconnect the water and drain hoses. • Open the door and demount the screws on top of the heat pump unit door. Open the heat pump unit door. - Page 13 Maintenance Manual • Clean the evaporation unit and the condenser by pouring water on top of the units. Tip the heat pump unit a bit in order to easier get the water to drain out from the drain for condensed water. fig.W00624 Check the condenser, evaporator and fan.
- Page 16 Electrolux Laundry Systems Sweden AB 341 80 Ljungby, Sweden www.electrolux.com/professional Share more of our thinking at www.electrolux.com...


