Advertisement
Quick Links
___ __________________________ Honeywell
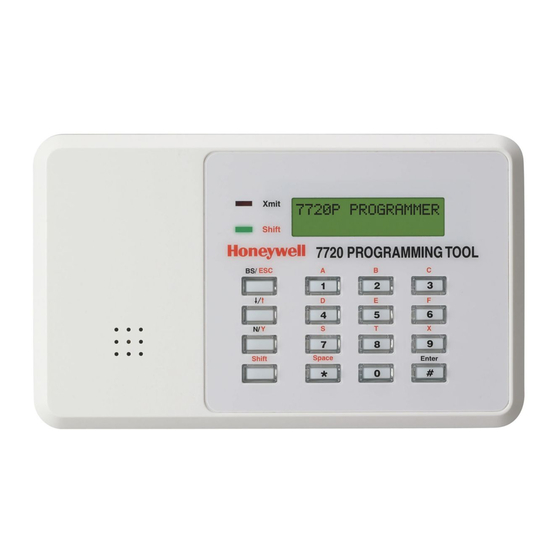
7720P PROGRAMMING TOOL JUMPER SETTING
7720P programming tool's manufactured before January of 1999 will not work on our new
GSM communication module due to a jumper setting in the device. The symptom to expect is no
power to the 7720P programming tool. The screen will be blank. There is no other symptom for
this particular problem. The Internal jumper will have to be moved before the unit will work on
a GSM radio.
A new version 7720P programming tool (made after January 1999) would have the same
symptoms as well if...
You don't have enough power to support both the GSM module and 7720P programming tool
• Make sure your GSM module has transformer (9VAC 15VA) and backup
battery power (6V 3.1 AH).
Faulty four pin cord
• Make sure your cord is plugged in all the way.
• Try unplugging your tool and plugging it back in.
• Leave your tool plugged in and try powering the GSM module down and then
back up.
• Try reversing your programming cord.
Maybe the internal software of the programming tool is bad
• If all of the above checks do not correct the problem your 7720P programming
tool may have an internal problem and you will need to try a second tool at this
point.
FOR THE 7845GSM/IGSM
Technical Support Inside Step by Step
1
Created by Jim Venero
9/20/06
Advertisement

Related Manuals for Honeywell 7720P


Summary of Contents for Honeywell 7720P
- Page 1 GSM communication module due to a jumper setting in the device. The symptom to expect is no power to the 7720P programming tool. The screen will be blank. There is no other symptom for this particular problem. The Internal jumper will have to be moved before the unit will work on a GSM radio.
- Page 2 ___ __________________________ Honeywell Technical Support Inside Step by Step Created by Jim Venero 9/20/06 IF YOU HAVE DETERMINED AT THIS POINT THAT THE PROGRAMMING TOOL DOES NOT HAVE ANY OF THE ABOVE SYMPTOMS FOLLOW THE INSTRUCTIONS BELOW CHECKING THE DATE CODE ON YOUR PROGRAMMING TOOL...
- Page 3 ___ __________________________ Honeywell Technical Support Inside Step by Step Created by Jim Venero 9/20/06 Pull apart the two halves.
- Page 4 ___ __________________________ Honeywell Technical Support Inside Step by Step Created by Jim Venero 9/20/06 Unplug the four pin connector...
- Page 5 ___ __________________________ Honeywell Technical Support Inside Step by Step Created by Jim Venero 9/20/06 Push back the two tabs holding the circuit board in place and carefully remove the circuit board (the circuit board will not fully detach because of the ribbon cable).
- Page 6 ___ __________________________ Honeywell Technical Support Inside Step by Step Created by Jim Venero 9/20/06 Under the 7720P programmer chip (which should read WA7720P) you will see a date code containing a letter and three digits...
- Page 7 JUMPER” to make your programming tool compatible with our new GSM module. **All 7720P Programming tools manufactured prior to the year 1979 have a Y indicating the year. Units manufactured since 1979 to present day the year is indicated by a letter with the following pattern:...
- Page 8 6V position. You will see a small 6V and 12V written on the circuit board. 6v would be the center and bottom hole if facing the programming tool. **NOTE – A NEW 7720p PROGRAMMING TOOL DOES NOT HAVE A JUMPER WHICH MEANS IT WILL WORK ON THE 6V OR 12V SETTING MANUALLY DEPENDING ON WHAT DEVICE YOU ARE PLUGGED INTO.