
Related Manuals for Philips FWM200D/05


Summary of Contents for Philips FWM200D/05
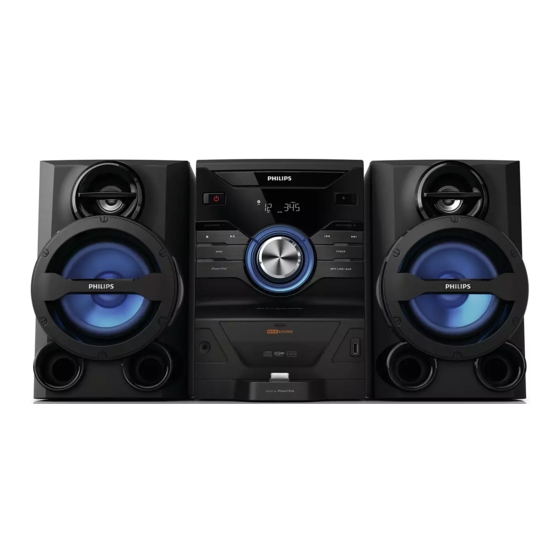
- Page 1 Register your product and get support at www.philips.com/welcome FWM200D/05 User manual...
-
Page 2: Table Of Contents
Contents 1 Important Safety Know these safety symbols Important Safety Instructions 2 Your Mini Hi-Fi System Introduction What’s in the box Overview of the main unit Overview of the remote control 3 Get started Connect speaker Prepare the remote control Connect power Set clock Turn on... -
Page 3: Important
1 Important Safety Know these safety symbols This ‘bolt of lightning’ indicates uninsulated material within your unit may cause an electrical shock. For the safety of everyone in your household, please do not remove product covering. The ‘exclamation point’ calls attention to features for which you should read the enclosed literature closely to prevent operating and maintenance problems. - Page 4 • Do not place any sources of danger on the Hi-Fi system (e.g. liquid À lled objects, lighted candles). • Battery usage CAUTION – To prevent battery leakage which may result in bodily injury, property damage, or damage to the remote control: •...
-
Page 5: Your Mini Hi-Fi System
2 Your Mini Hi-Fi System Congratulations on your purchase, and welcome to Philips! To fully beneÀ t from the support that Philips offers, register your product at www.philips.com/welcome. Introduction With this Hi-Fi system, you can: • enjoy audio from discs, USB device, iPod/ iPhone and other external devices;... -
Page 6: Overview Of The Main Unit
Overview of the main unit • Turn on the Hi-Fi system. • Switch to standby or Eco power standby mode. b ALBUM/PRESET +/- • Select a preset radio station. • Skip to previous/next album. • Navigate through iPod/iPhone menu. -
Page 7: Overview Of The Remote Control
• Stop play or erase a program. • Start or pause play. d DISC • Select disc source. e iPod/iPhone • Select iPod/iPhone source. f Volume controller • Adjust volume. g MP3 LINK • Connect external audio device. h Dock for iPod/iPhone i USB DIRECT •... - Page 8 c CD • Select disk source. d MP3 LINK / USB • Select MP3 link/USB source. e DISP / MUTE • Mute/unmute sound. • Show current information. f Numeric keypad • Select a track from a disc directly. • Select a preset radio station directly. g PROG / CLOCK SET •...
-
Page 9: Get Started
3 Get started Caution • Use of controls or adjustments or performance of procedures other than herein may result in hazardous radiation exposure or other unsafe operation. Always follow the instructions in this chapter in sequence. Connect speaker Insert speaker wires completely into the speaker sockets at the back of the Hi-Fi system. -
Page 10: Connect Power
Connect power Caution • Risk of product damage! Make sure that the power supply voltage corresponds to the voltage printed on the head of the AC power cord. • Risk of electric shock! When you unplug the power cord, always pull the plug from the socket. -
Page 11: Play
4 Play Basic play operations Function Action To stop play press . To pause/resume press play To skip to a track press To search during press and hold play , then release to resume normal play. To select an album press / . -
Page 12: Charge The Ipod/Iphone
To remove the iPod/iPhone: Pull the iPod/iPhone out of the dock. Charge the iPod/iPhone When the system is connected to power, the docked iPod/iPhone starts charging. Play from USB Note • Make sure that the USB device contains playable audio content. Insert the USB device into the Press USB to select the USB source. -
Page 13: Play Options
5 Play options Adjust sound During play, you can adjust volume and select sound effects: Function To increase/decrease volume To mute/unmute sound To turn on/off instant power boost To turn on/off dynamic bass enhancement To select a preset sound effect ( FLAT, OPTIMAL, JAZZ, ROCK, and TECHNO ) Repeat and shufÁ... -
Page 14: Listen To Fm Radio
6 Listen to FM radio Tune to FM radio stations Note • For better reception, fully extend and adjust the position of FM antenna. Press TUNER to select FM tuner source. Press and hold for 2 seconds. » The Hi-Fi system tunes to a station with strong reception automatically. -
Page 15: Other Features
7 Other features Set alarm timer This Hi-Fi system can be used as an alarm clock. For alarm source, you can select disc, tuner, USB or iPod/iPhone. Note • Make sure that you have set the clock correctly. In standby mode, press and hold TIMER until [SET TIMER] (set timer) appears. -
Page 16: Product Information
8 Product information Note • Product information is subject to change without prior notice. SpeciÀ cations AmpliÀ er Rated Output Power 50W per channel x 2 Frequency Response 63 - 16000 Hz, ±3dB Signal to Noise Ratio >55dB Disc Laser Type Semiconductor Disc Diameter 12cm/8cm... -
Page 17: Usb Playability Information
Clean the disc lens • After prolonged use, dirt or dust may accumulate at the disc lens. To ensure good play quality, clean the disc lens with Philips CD lens cleaner or any commercially available cleaner. Follow the instructions supplied with cleaner. -
Page 18: Troubleshooting
If you encounter problems when using this apparatus, check the following points before requesting service. If the problem remains unsolved, go to the Philips web site (www. philips.com/welcome). When you contact Philips, ensure that the apparatus is nearby and the model number and serial number are available. -
Page 19: Notice
2004/108/EC + 2006/95/EC Any changes or modiÀ cations made to this device that are not expressly approved by Philips Consumer Lifestyle may void the user’s authority to operate the equipment. Note • The type plate is located on the bottom of the apparatus. - Page 20 Windows Media and the Windows logo are trademarks, or registered trademarks of Microsoft Corporation in the United States and/or other countries. This apparatus includes this label:...
- Page 21 © 2011 Koninklijke Philips Electronics N.V. All rights reserved. FWM200D_05_UM_V1.1...