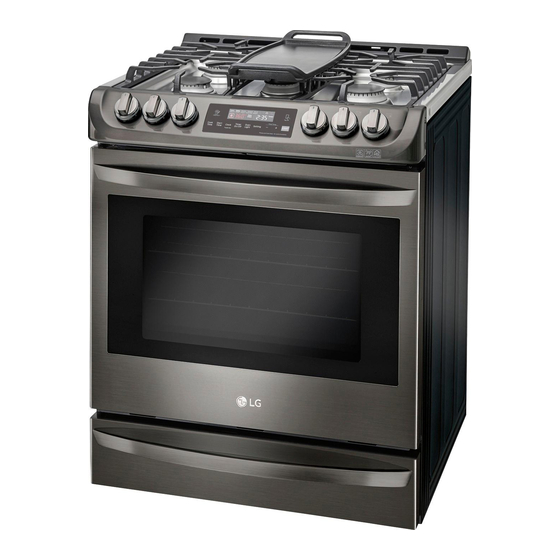
LG LSG4513BD Installation Manual
Hide thumbs
Also See for LSG4513BD:
- Owner's manual (57 pages) ,
- Service manual (87 pages) ,
- Owner's manual (120 pages)
Table of Contents
Advertisement
INSTALLATION
13
InSTALLATIOn
Before Installing the range
Make sure your range is properly installed and grounded by a qualified installer, according to the installation
instructions. Any adjustment and service should be performed only by qualified gas range installers or service
technicians.
In the Commonwealth of Massachusetts
• This product must be installed by a licensed plumber or gas fitter.
• When using ball type gas shut-off valves, they must be the T-handle type.
• When using a flexible gas connector, it must not exceed 3 feet in length.
Preparing for Installation
Tools needed
Phillips screwdriver
Flat-blade screwdriver
Pencil and ruler
Open-end or adjustable
Pipe wrench (2)
Level
wrench
(one for support)
Materials You May need
• Gas line shut-off valve
• Pipe joint sealant that resists action of natural and LP gases
• Flexible metal appliance connector (
/
" or
/
" NPT x
/
" I.D.)
3
1
1
4
2
2
Never use an old connector when installing a new range.
• Flare union adapter for connection to gas supply line (
/
" or
/
" NPT x
/
" I.D.)
3
1
1
4
2
2
• Flare union adapter for connection to pressure regulator on range (
/
" NPT x
/
" I.D.)
1
1
2
2
• Liquid leak detector or soapy water
• Lag bolt or
/
" O.D. sleeve anchor (for concrete floors only)
1
2
Advertisement
Table of Contents

Summary of Contents for LG LSG4513BD
-
Page 1: Preparing For Installation
INSTALLATION InSTALLATIOn Before Installing the range Make sure your range is properly installed and grounded by a qualified installer, according to the installation instructions. Any adjustment and service should be performed only by qualified gas range installers or service technicians. In the Commonwealth of Massachusetts •... -
Page 2: Installing The Range
14 INSTALLATION Installing the range Choosing the Proper Location Do not locate your range where it may be subject to Unpacking and Moving the range strong drafts. Any openings in the floor or wall behind the range should be sealed. Make sure the openings CAUTIOn around the base of the range that supply fresh air •... -
Page 3: Dimensions And Clearances
INSTALLATION Dimensions and Clearances Provide proper clearance between the range and adjacent combustible surfaces. These dimensions must be met for safe use of your range. The location of the electrical outlet and pipe opening (see Gas Pipe and Electrical Outlet Locations, page 14) may be adjusted to meet specific requirements. The range may be placed with 0" clearance (flush) at the back wall. -
Page 4: Installing The Anti-Tip Device
16 INSTALLATION Optional rear Filler Installing the Anti-tip Device If the counter does not bridge the opening at the rear Anti-tip Wall plate wall the rear filler kit, that is provided with the slide in bracket range, will be needed. Screw must enter wood or nOTE... -
Page 5: Connecting The Range To Gas
INSTALLATION Connecting the range to Gas When all connections have been made, be sure all range controls are in the OFF position and the Shut off the range gas supply valve before removing pressure regulator valve is open before turning the old range and leave it off until the new hook-up on the main gas supply valve. -
Page 6: Electrical Connections
18 INSTALLATION Electrical Connections Do not use an adapter plug. Disconnecting of the power cord places undue strain on the adapter and leads to eventual failure of the adapter ground Electrical requirements terminal. 120 Volt, 60 Hz, properly grounded dedicated circuit Installation must conform with local codes or, in the protected by a 15 or 20 Amp circuit breaker, or slow absence of local codes, with the National Fuel Gas... -
Page 7: Assembling The Surface Burners
INSTALLATION Assembling the Surface Quality of Flames The combustion quality of the burner flames needs to Burners be confirmed visually. A Yellow flames - Call for service. CAUTIOn Do not operate the burners without all parts in B Yellow tips on outer cones - This place. -
Page 8: Checking Operation Of Bake / Broil Burners
20 INSTALLATION Leveling the range Checking Operation of Bake / Broil Burners Level the range by adjusting the leveling legs. Extending the legs slightly may also make it easier to To check ignition of the Bake burner, follow the steps below: insert the rear leg into the anti-tip bracket.


