Advertisement
Quick Links
Quick Reference Guide for
RTN510 AP Deployment
Product version: 02 (2018-07-30)
1. Preparing for Site Deployment
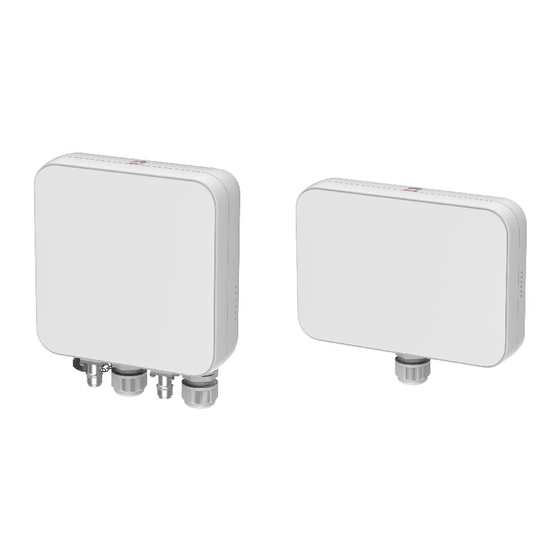
Components and Cables
AP
AP mounting bracket
a
AP antenna
AP antenna
AP grounding clip
installation support
Outdoor shielded
RF cable x 2
network cable (made on site)
Optical module and outdoor optical fiber
(optional)
Scan the QR code for MDT APP
installation. The phone system version is
Android 4.0 or later, and the camera
resolution is greater than 8 megapixels.
2. Checking the Installation Environment
Pole requirements:
•
Vertical pole
•
Diameter range: 48 to 114 mm
Power supply requirements:
•
The power for PoE power supply devices such as the PI or PC500 is available.
•
The PI or PC500 has been installed at the site or together with the AP.
Tools and Documents
Auxiliary Materials
Adjustable wrench
Hose clamp
Crimping tool, diagonal
Binding strap
pliers
Waterproof tape
M3 and M6 hex key
ESD tape
Smartphone on which the
Network cable
MDT APP is installed,
grounding clip x 2
compass
Planning document
MDT can be used for deployment only after being registered
and approved by Huawei.
The registration information must be consistent with the
information reported to Huawei for approval.
2
1
3. Installing AP's Antenna Supports
1. Check the positions of screws on
the supports.
Upper support
If the diameter of the pole is less than 78 mm,
the screws are routed from the front clamp plate
to the rear clamp plate through the inner hole.
4. Pre-installing RF Cables on the AP Side and Making Outdoor
Network Cables
NOTICE
1. To facilitate installation, remove the PG connector and protective cover from the P&E
and COMBO(e) ports before installation.
2. When securing the RF port of the AP, expose a thread of about 3 mm (2 to 3 circles).
3. Apply waterproofing and anti-corrosion treatments on the two RF ports.
Expose 2 to 3
circles of
threads on the
connector.
The value is
specified by
Huawei
engineers based
on the project.
2. Install the upper and lower supports.
M6 x 16 square-neck bolt
M8 x 20 hexagon bolt
Lower support
Upper support
Wrap one
Wrap three
Wrap three layers
layer of
layers of
of waterproof tape.
insulation tape.
insulation tape.
1: white and
NOTICE
orange
2: orange
1. The outdoor network cable connector on the AP
3: white and green
side does not need to be equipped with a
4: blue
protective cover.
5: white and blue
2. During crimping, the metal shield layer of the
6: green
7: white and brown
outdoor network cable and the metal shell of the
8: brown
RJ45 connector must be in good contact.
3. After the outdoor network cable is prepared, check
the wire sequence and use a multimeter or a
network cable tester to test the connectivity.
Lower support
Wrap it with
binding straps on
both ends.
The height from
the top of the
connector to the
lower part of the
connector is
30 mm.
Advertisement

Related Manuals for Huawei RTN510


Summary of Contents for Huawei RTN510
- Page 1 The registration information must be consistent with the Android 4.0 or later, and the camera 1. To facilitate installation, remove the PG connector and protective cover from the P&E information reported to Huawei for approval. resolution is greater than 8 megapixels. and COMBO(e) ports before installation.
- Page 2 5. Checking the Items Before Climbing the Tower 7. Installing the AP Components and Cables Tools and Documents Auxiliary Materials 1. Secure the mounting bracket to the corresponding position on the pole using a hose Pole AP mounting Hose clamp ...
- Page 3 8. Installing Cables (Continued) 10. Taking Photos for Acceptance Take photos one by one based on the following acceptance points. After the deployment, 1. Install the RF cables. attach the photos to the acceptance checklist. NOTICE Acceptance point 1: photo Acceptance point 2: Acceptance point 3: 1.
- Page 4 11. Configuring AP Deployment Data Using MDT 11. Configuring AP Deployment Data Using MDT 4. Choose the site deployment mode. 5. Configure channels. 1. Create a site for the new AP. 2. Enable the wizard mode. Set this parameter based on the country where the site is located.