Advertisement
Advertisement

Related Manuals for Husqvarna 327 PT5S


Summary of Contents for Husqvarna 327 PT5S
- Page 1 Workshop manual 327 PT5S English...
-
Page 3: Table Of Contents
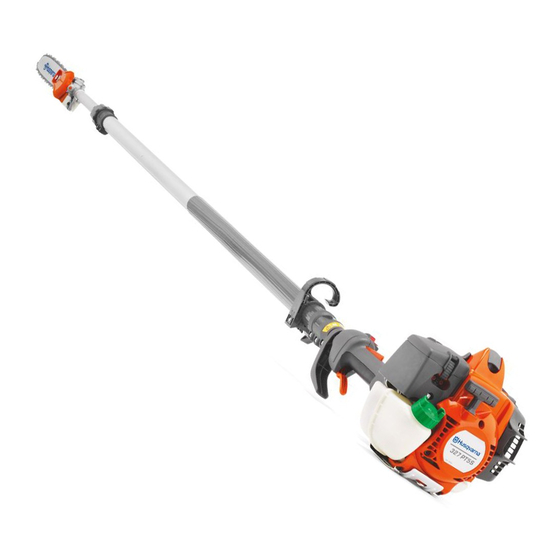
Workshop Manual pole saw model 327 PT5S Contents General recommendations __________________ 2 Saw head, dismantling _____________________ 3 Saw head, assembly ______________________ 5 1. Output shaft __________________________ 5 2. Input shaft ___________________________ 5 3. Oil pump ____________________________ 5 Telescopic tube, dismantling _________________ 6 Telescopic tube, assembly __________________ 8 ©... -
Page 4: General Recommendations
The assembly of other equipment or accessories or spare parts not approved by Husqvarna can result Special tools in the failure to meet these safety demands and that the person Some of the work described in this workshop manual requires carrying out assembly bears responsibility for this. -
Page 5: Saw Head Dismantling
Saw head Saw head Dismantling Dismantling Dismantle the bar and chain. Dismantle the saw head from the telescopic tube. Remove the saw head from the telescopic tube. 1. Remove the nut (A) and lift off the cover (B), and chain and bar. 2. - Page 6 9. Pry off the oil pipe from the connection Prise off the oil pipe connection at the bar at the bar mounting using a screwdriver. mounting. Remove the pump unit from the Begin at the front end. drive axle. 10. Remove the pump unit from the drive axle.
-
Page 7: Saw Head Assembly
Saw head Saw head Assembly Assembly Clean and inspect all components. Clean the tank venting fi lter and the oil Clean and inspect all components. screen. Replace any worn or defective components. Clean the tank venting fi lter (A) using compressed air. -
Page 8: Telescopic Tube, Dismantling
Put the oil tank and the saw housing Put the oil tank and the saw housing together. together. Do not forget the oil screen (A). Tighten the three screws and fit the other Make sure it is clean and not damaged. Check that the tank venting filter (B) is clean. - Page 9 Pull out the drive shaft (C) at the saw head Pull out the drive shaft (C) at the saw head end of the telescopic tube. end of the telescopic tube. Loosen the circlip (D) anticlockwise and let Loosen the circlip (D) anticlockwise and let the pipe (E) jump out.
-
Page 10: Telescopic Tube, Assembly
Telescopic tube Assembly Assemble the different components in the reverse order as set out for dismantling. First fit the axle control (P) in the ball bearing (in the right direction) and then the ball bearing in the bearing cage. Then push the bearing cage into the rubber sleeve. - Page 12 115 43 46-26 2011W21...