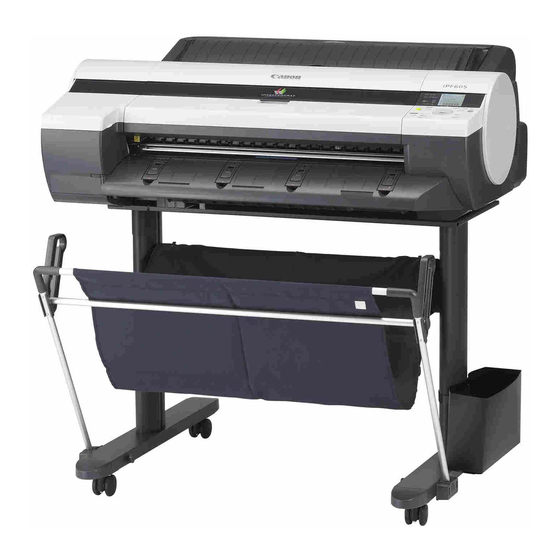
Canon iPF605 Manual
How to replace the printhead
Hide thumbs
Also See for iPF605:
- User manual (578 pages) ,
- Service manual (268 pages) ,
- Technical documents (2 pages)
Advertisement
Quick Links
How to replace the printhead - iPF605
Description
How to replace the printhead - iPF605
Solution
<Caution>
- Do not touch the Printhead immediately after printing. The Printhead becomes extremely hot, and
there is a risk of burns.
<Note>
- Prepare a new Ink Tank when ink levels are low.
- Your hands may become dirty during Printhead replacement. Use the gloves provided with the
new Printhead for replacement.
- Choose On in Auto Print to have the printer automatically adjust the Printhead alignment after
replacement of the Printhead.
1. Press the Menu button to display MAIN MENU .
2. Press
or
3. Press
or
4. Press
or
Ink is now filled.
After about three minutes, a message is shown on the Display Screen instructing you to open the
Top Cover .
5. Open the Top Cover .
Instructions are now shown on the Display Screen regarding Printhead replacement.
6. If the Printhead Fixer Cover or Printhead Fixer Lever is dirty, use a damp cloth that you have
wrung out completely to wipe it clean.
Replacing the Printhead (iPF605)
to select Maintenance , and then press the
to select Replace P.head , and then press
to select Yes , and then press the OK button.
button.
the button.
Advertisement

Summary of Contents for Canon iPF605
- Page 1 How to replace the printhead - iPF605 Description How to replace the printhead - iPF605 Solution Replacing the Printhead (iPF605) <Caution> - Do not touch the Printhead immediately after printing. The Printhead becomes extremely hot, and there is a risk of burns.
- Page 2 7. Pull the Printhead Fixer Lever forward all the way to open it completely. 8. Pull up the Printhead Fixer Cover to open it completely. 9. Remove the used Printhead .
- Page 3 10. Holding the new Printhead by the grips (a), remove it from the case. 11. While firmly holding the Printhead you have removed, use your other hand to remove the orange Safety Cap 1 (a). Squeeze the grips (c) of Safety Cap 2 (b) and pull it down to remove it. 12.
- Page 4 14. Push the Printhead Fixer Lever toward the back of the printer until it clicks. 15. Close the Top Cover . Ink now fills the system. After about ten minutes, the Printhead alignment will be automatically adjusted, and the printer will go online.


