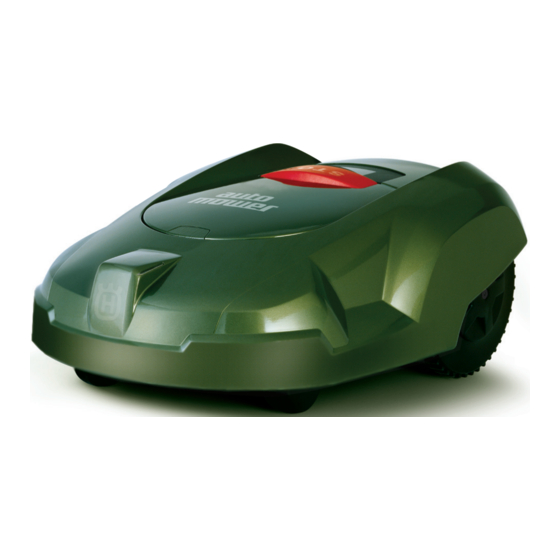
Advertisement
Quick Links
Find the charging station quickly
See chapter 6.5 Garden in the Operator's Manual
Different search methods
Every garden is different. This can mean the settings for how
Automower should search for the charging station may need
to be changed depending on the appearance of your garden.
There are three ways Automower can fi nd the charging station.
1
Irregular searching. Automower runs irregularly until it
fi nds the charging station.
2
Follow the boundary wire. Automower runs irregularly
until it reaches the boundary wire. The mower then
follows the boundary wire in to the charging station.
3
Follow the guide wire. Automower runs irregularly
until it reaches the guide wire. The mower then follows
the guide wire in to the charging station.
Need of a guide wire
If the garden contains narrow passages, steep slopes or a
number of islands a guide wire may need to be installed so
Automower can fi nd the charging station quickly.
Guide wire
The guide wire is an extra wire that is laid from the
charging station, out towards a remote part of the working
area or through a narrow passage and is then connected
to the boundary wire. See chapter 3.8 Installation of the
guide wire in the Operator's Manual.
Narrow passages
When the distance between the boundary wires in a passage
is less than 3 metres, there are two options available that
permit Automower to run through the passage.
1
Option 1. Install a guide wire through the passage.
Usually the installation of the guide wire is the best
solution with narrow passages.
2
Option 2. Reduce the corridor width so Automower
runs closer to the boundary wire.
Corridor width
The Corridor width setting defi nes the distances from the
mower's path to the boundary wire or the guide wire when
following these to/from the charging station. Corridor width
is a relative distance and is stated on a scale from 0 to 20.
The higher the stated Corridor width value, the less risk
there is of tracks forming.
Presentation
This document is a quick guide to installing the Automower from
Husqvarna™.
More information about Automower and the installation can be found in the
Operator's Manual.
1
A
Main menu
Commands
4
B
Timer
ghi
Garden
C
Settings
7
pqrs
MAN.
YES
AUTO
Parts of the Automower
Maximum
1. Display
distance
2. Control panel
3. Main switch
At least 30 cm
4. Contact strips
5. LED for operation check of the boundary wire
6. STOP button
7. Catch button for opening the cutting height
adjustment cover
8. Charging strips
www.automower.com
The Automower is protected by several patents.
At least 2 m
EP 0 550 473
EP 1 025 472
US 6.300.737
EP 1058 958
EP 1 302 147
US 6.525.509
US 6.586.908
SE 511 254
US 6.465.982
Automower from Husqvarna™ is a trademark of the Electrolux Group.
A.
E.
2
3
abc
def
5
6
ON
jkl
mno
F.
8
9
tuv
wxyz
OFF
B.
0
G.
C.
H.
D.
I.
Make sure you have all
the components:
A. Automower
B. Charging station
C. Transformer
D. Low voltage cable,
transformer connector
E. Boundary wire and splice kit, if the
boundary wire needs to be spliced.
F. Staples and/or a spade.
A hammer is useful for stapling.
G. Boundary wire connector
H. Pliers
I. Measurement gauge for help when
installing the boundary wire
115 01 69-26
q u i c k i n s t a l l a t i o n g u i d e
Advertisement

Summary of Contents for Husqvarna AutoMower G2
- Page 1 EP 1 025 472 US 6.300.737 there is of tracks forming. EP 1058 958 EP 1 302 147 US 6.525.509 US 6.586.908 SE 511 254 US 6.465.982 Automower from Husqvarna™ is a trademark of the Electrolux Group. 115 01 69-26...
- Page 2 See chapter 3.5 in the Operator’s Manual 1. Lift off the cover on the charging station and slide Automower from Husqvarna™ is easy to install. Starting and stopping the Automower. in the ends of the boundary wire in the lowermost holes on the charging station and catch them in the Below follows a quick guide to assist you.


