Fujitsu ARUV12TLAV Installation Manual
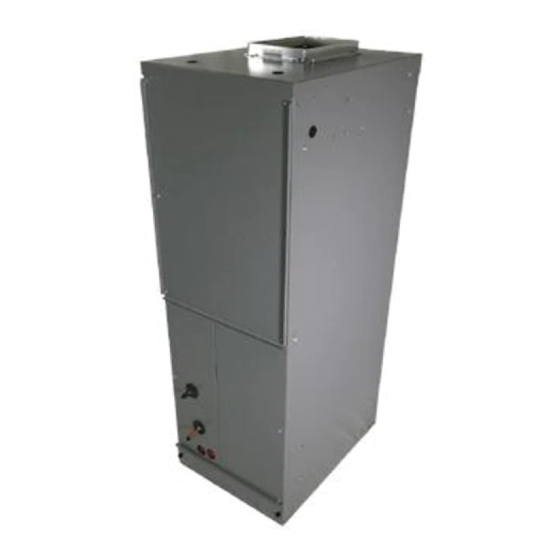
Indoor unit (duct type)
Hide thumbs
Also See for ARUV12TLAV:
- Service manual (247 pages) ,
- Design & technical manual (978 pages) ,
- Operating manual (6 pages)
Table of Contents
Advertisement
Quick Links
TM
INSTALLATION MANUAL
INDOOR UNIT (Duct type)
For authorized service personnel only.
MANUEL D'INSTALLATION
UNITÉ INTÉRIEURE (type conduit)
Pour le personnel agréé uniquement.
MANUAL DE INSTALACIÓN
UNIDAD INTERIOR (Tipo conducto)
Únicamente para personal de servicio autorizado.
ARUV12TLAV
ARUV18TLAV
ARUV24TLAV
ARUV30TLAV
ARUV36TLAV
ARUV48TLAV
ARUV60TLAV
PART NO. 9373870180-04
Advertisement
Table of Contents

Related Manuals for Fujitsu ARUV12TLAV


Summary of Contents for Fujitsu ARUV12TLAV
- Page 1 INDOOR UNIT (Duct type) For authorized service personnel only. MANUEL D’INSTALLATION UNITÉ INTÉRIEURE (type conduit) Pour le personnel agréé uniquement. MANUAL DE INSTALACIÓN UNIDAD INTERIOR (Tipo conducto) Únicamente para personal de servicio autorizado. ARUV12TLAV ARUV18TLAV ARUV24TLAV ARUV30TLAV ARUV36TLAV ARUV48TLAV ARUV60TLAV PART NO. 9373870180-04...
-
Page 2: Table Of Contents
INSTALLATION MANUAL If Necessary, Get Help PART NO. 9373870180-04 These instructions are all you need for most installation sites and maintenance conditions. If VRF system indoor unit (Duct type) you require help for a special problem, contact our sales/service outlet or your certifi ed dealer for additional instructions. -
Page 3: About This Product
2.5 About unit of the length pressure display range 30 inHg to 551 psi (–0.1 to 3.8 MPa). This product is different from other Fujitsu General products and it is designed with United To increase pressure resistance, the hose material and base size Charging hose States customary unit. -
Page 4: Installation Work
Top view 3. INSTALLATION WORK 3.1 Selecting an installation location Correct initial installation location is important because it is diffi cult to move unit after it is installed. WARNING Select installation locations that can properly support the weight of the indoor. Install the units securely so that they do not topple or fall. -
Page 5: Pipe Installation
The external static pressure is as follows. ARUV12TLAV: 0.1 to 0.7 in WG (25 to 175 Pa) ARUV18/24/30/36/48/60TLAV: 0.1 to 0.8 in WG (25 to 200 Pa) If an intake duct is installed, take care not to damage the temperature sensor (the temperature sensor is attached to the intake port fl... -
Page 6: Pipe Requirement
(2) Pass the connection pipes through the grommets of coil access panel (left) and align 4.2 Pipe requirement them to the liquid and gas pipes. (3) Protect the periphery of brazing area by wet cloth, etc. and then braze the pipes. CAUTION : Protect these areas with wet cloth, etc. -
Page 7: Installing Heat Insulation
4.4 Installing heat insulation 6. ELECTRICAL WIRING • Install the coupler heat insulation after completing the refrigerant leak check (for details, refer to WARNING the installation manual for the outdoor unit). Electrical work must be performed in accordance with this Manual by a person certifi ed •... -
Page 8: Electrical Requirement
Remote controller Remote controller Remote controller (Fuse capacity) (Master) (Slave) ARUV12TLAV 1.75 A Power supply ARUV18TLAV 2.14 A Breaker shall be located in sight from and readily accessible from all indoor units. *1: When connecting to the Heat Recovery System, refer to the installation manual of the RB ARUV24TLAV 2.81 A... -
Page 9: Connection Of Wiring
When the 2 cables are attached WARNING GOOD PROHIBITED When using solid core cables, do not use the ring terminal. If you use the solid core cables with the ring terminal, the ring terminal's pressure bonding may malfunction and cause the cables to abnormally heat up. -
Page 10: Airfl Ow Changing
[in WG (Pa)] side side X1, X2: 0.7 (175) High High Cable tie (Medium) (Accessories) Transmission cable ARUV12TLAV 0.5 (125) Standard Standard When using the following optional parts, bind each 0.1 (25) connection cable with the transmission and remote 0.8 (200) High High controller cables. -
Page 11: External Input And External Output (Optional Parts)
When connected to Apply voltage terminals of multiple indoor units with a connected unit, be 6.6 External input and external output (optional parts) sure to make a branch outside the indoor unit using a pull box, etc. as shown on below example. CAUTION DC power supply Do not operate any switches other than prescribed, as it can cause the unit to operate... - Page 12 ● When function setting is “Operation/Stop” mode. Output select [In the case of “Edge” input] ● When indicator etc. are connected directly P.C.B Connector Input signal Command OFF → ON Operation Indicator 1 Ch1 of CNA01 or CNA02 ON → OFF Stop [In the case of “Pulse”...
-
Page 13: Remote Sensor (Optional Parts)
Connection terminals and wiring arrangement Setting for room temperature correction When a remote sensor is connected, set the function setting of indoor unit as indicated In following fi gure, all the possible connectors are connected for description. below. In actual installation, you cannot connect all the connectors at once. •... -
Page 14: Setting The Address
Remote controller address 7.1 Setting the address i) 3-wire type Manual address setting method Rotary switch (RC AD SW)...Factory setting “0” When connecting multiple indoor units to 1 standard wired remote controller, set the If the receiver unit is attached, the indoor unit address and the refrigerant circuit address can address at RC AD SW in sequence from 0. -
Page 15: Function Setting
Function 7.3 Function setting Function Setting number Default Details number • Function setting can be performed with the wired or wireless remote controller. ○ • Set this function when connecting Mode 0 (The remote controller is optional equipment) the VRF system to a ventilator, •... -
Page 16: Check List
9. CHECK LIST 11. ERROR CODES Pay special attention to the check items below when installing the indoor unit(s). After instal- If you use a wired type remote controller, error codes will appear on the remote controller lation is complete, be sure to check the following check items again. display. - Page 17 Wired remote controller display UTY-RNKU (3-wire type) Error code UTY-RNRU (2-wire type) Touch the [Next Page] (or [previous page]) Error icon to switch to other indoor unit information. Touch the [Status]. Touch the [Error Information]. 2-digit numbers are corresponding to the error code in the preceding table.