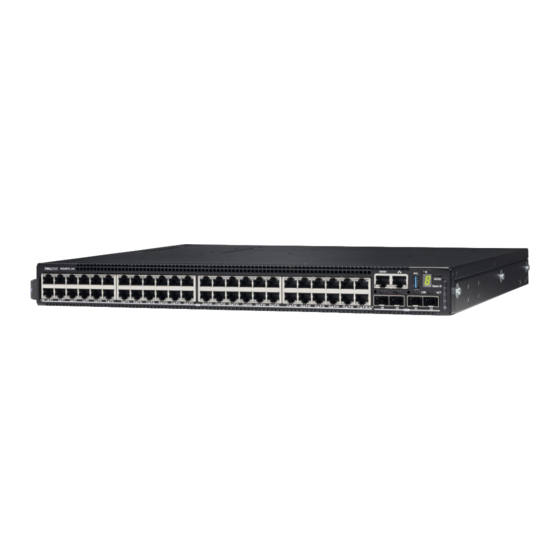
Summary of Contents for Dell EMC N2200-ON Series
- Page 1 External Power Supply Installation Dell EMC PowerSwitch N2200-ON and N3200-ON Series Switches January 2020 Rev. A00...
- Page 2 A WARNING indicates a potential for property damage, personal injury, or death. © 2020 Dell Inc. or its subsidiaries. All rights reserved. Dell, EMC, and other trademarks are trademarks of Dell Inc. or its subsidiaries. Other trademarks may be trademarks of their respective owners.
-
Page 3: Document Revision History
N-Series EPS installation These instructions explain the external power supply (EPS) installation for the Dell EMC PowerSwitch N2200-ON and N3200- ON full-width and half-width switches. You can use the optional EPS on a desktop, wall mount, or in a rack. - Page 4 MPS-3S 5. Turn the switch over and place on a desktop. MPS-1S two-post installation This installation procedure describes how to install an MPS-1S self in a two-post rack. Use L-brackets for front, five-inch-offset, or rear-mount two-post installation. These mounting supplies ship with the MPS-1S. 1.
- Page 5 2. Screw one L-bracket to the switch using the four M4 screws (length 6.8 mm). Install the brackets to the switch in front, five-inch-offset, or rear mounting positions, as shown. ● For front-mount: The mounting bracket and bracket ears face the front of the EPS. ●...
- Page 6 Front mount 5-inch offset mount Rear mount 4. Screw the single-switch L-bracket to the two-post rack using two M4 screws (length 6.8 mm) for each bracket. Torque the screws to 10 inch-lbs. To remove the switch from the two-post rack, remove the four screws from the two-post rack and slide the switch from the rack.
- Page 7 Front-mount Five-inch-offset mount 4. Slide the EPS into the two-post rack until the mounting bracket ears line up with the rack. Front-mount Five-inch-offset mount 5. Attach the switch to the two-post rack using two #12-24 screws on each side. To remove the switch from the rack, unscrew the four #12-24 rack-mounting screws. N-Series EPS installation...
- Page 8 MPS-1S wall mount Use the four wall-mount brackets to attach an external power supply (EPS) to the wall. You need a drill and a pencil to complete this procedure. This procedure applies to one EPS. 1. Remove the wall-mount brackets, wall anchors, and screws from the shipping bag. This procedure uses four wall mount anchors, four M5 screws (length 16 mm), and eight M4 screws (length 6.8 mm).
- Page 9 5. Drill four 0.3 in (8 mm) holes in the wall at the pencil marks. 6. Install four wall-mount anchors into the four holes. 7. Screw four M5 screws into the four wall-mount anchors leaving approximately 0.20 in (5 mm) gap between the anchor and the screw.
-
Page 10: Installation
Reflexionen am Bildschirmarbeitsplatz zu vermeiden, darf dieses Gerät nicht im direkten Sichtfeld platziert werden. © 2020 Dell Inc. or its subsidiaries. All rights reserved. Dell, EMC, and other trademarks are trademarks of Dell Inc. or its subsidiaries. Other trademarks may be trademarks of their respective owners.


