
Related Manuals for Nokia 1508


Summary of Contents for Nokia 1508
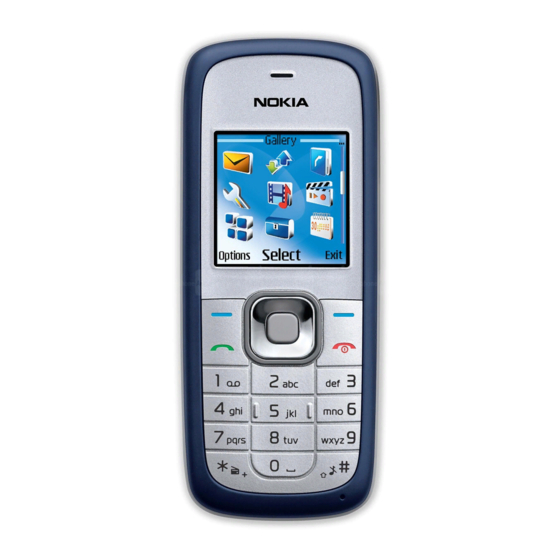
- Page 1 1508(RM-338) Disassembly/Assembly Nokia Customer Care Nokia Customer Care 1508 (RM-388) Mobile Terminal Disassembly/Assembly Issue 1 Copyright © 2008 Nokia, All rights reserved...
- Page 2 1508(RM-338) Disassembly/Assembly Nokia Customer Care Contents Disassembly Instructions Assembly Instructions Screw Order for Disassembly Screw Order for Assembly Issue 1 Copyright © 2008 Nokia, All rights reserved...
-
Page 3: Disassembly Instruction
Using the SRT-6 start at the bottom of the phone and work around the edges to loosen the A-Cover. Remove the A-Cover. Separate the keymat. Remove the earpiece speaker by lifting with dental tool. Remove 6 ea. #5+ TORX screws. Issue 1 Copyright © 2008 Nokia, All rights reserved... - Page 4 Separate the engine module and B-Cover Lift and remove the antenna assy using the SS-93. Lift and remove the IHF speaker using the SS-93. Push out and remove Mylar film. Using SS-93 carefully lift LCD. Issue 1 Copyright © 2008 Nokia, All rights reserved...
- Page 5 Nokia Customer Care Unlock LCD connector with SS-93. Separate LCD module from engine module Carefully lift edge of key dome with dental tool. Peel back and remove key dome from engine module. Issue 1 Copyright © 2008 Nokia, All rights reserved...
- Page 6 Nokia Customer Care Assembly Instructions Perform the assembly in reverse order according to the instructions above. Screw Order for Disassembly Screw Order for Assembly Torques Information As shown in picture above: 19.6 Issue 1 Copyright © 2008 Nokia, All rights reserved...