Advertisement
Quick Links
Thank you for purchasing a Sealey product. Manufactured to a high standard this product will, if used according to these instructions and
properly maintained, give you years of trouble free performance.
IMPORTANT: PLEASE READ THESE INSTRUCTIONS CAREFULLY. NOTE THE SAFE OPERATIONAL REQUIREMENTS, WARNINGS & CAUTIONS.
USE THE PRODUCT CORRECTLY AND WITH CARE FOR THE PURPOSE FOR WHICH IT IS INTENDED. FAILURE TO DO SO MAY CAUSE
DAMAGE AND/OR PERSONAL INJURY AND WILL INVALIDATE THE WARRANTY. PLEASE KEEP INSTRUCTIONS SAFE FOR FUTURE USE.
1. SAFETY INSTRUCTIONS
WARNING! Ensure Health & Safety, local authority, and
general workshop practice regulations are adhered to when
using these lockers.
Locate locker in a suitable work area.
Keep the work area clean, uncluttered and ensure there is
adequate lighting.
WARNING! Use locker on level and solid ground, preferably
concrete.
Keep the locker clean and tidy in accordance with good
workshop practice.
Keep children and unauthorised persons away from the work area.
DO NOT use the locker for any purpose other than that for
which it is designed.
DO NOT use the locker outdoors.
DO NOT get the locker wet or use in damp or wet locations or
areas where there is condensation.
DO NOT clean the locker with any solvents which may damage
the surfaces or the protective coating.
2. INTRODUCTION
2.1. Introduction:
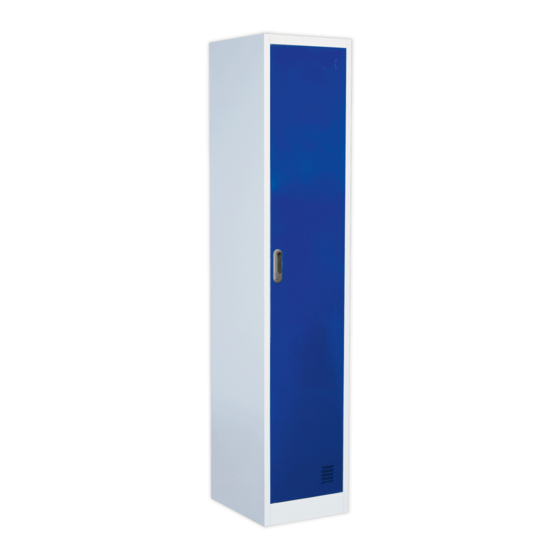
A range of lockers suitable for a variety of commercial
applications. Single and two door models fitted with a hanging
bar, single door model also has single shelf. Doors on all models
are ventilated and fitted with cylinder locks, 2 sets of keys
supplied per lock. Supplied flat packed.
2.2. Dimensions:
Width: 380mm, Depth: 450mm, Height: 1850mm.
© Jack Sealey Limited
INSTRUCTIONS FOR:
LOCKERS - 1 DOOR, 2 DOOR, 4 DOOR
MODEL No's:
3. ASSEMBLY
3.1. Lay out the back panel and the two side panels. The side
panels have a cut-out at the front and a lip at the bottom.
Slide the back panel into one of the side panels from the top
(fig.1) and slide it all the way down (fig.2) - note that the shelf
brackets line up.
fig.1
fig.2
fig.2
3.2. Fit the other side panel to the back panel following the same
procedure. Ensure that the side panels are supported in an
upright position so that the panels are not twisted.
3.3. Carefully stand the unit up, again ensuring that the panels are
not twisted, two people may be required for this.
Original Language Version
SL1D.V2, SL2D.V2, SL4D.V2
SL1D.V2, SL2D.V2, SL4D.V2 Issue: 1 - 13/08/13
Advertisement

Related Manuals for Sealey SL1D.V2


Summary of Contents for Sealey SL1D.V2
- Page 1 SL1D.V2, SL2D.V2, SL4D.V2 MODEL No's: Thank you for purchasing a Sealey product. Manufactured to a high standard this product will, if used according to these instructions and properly maintained, give you years of trouble free performance. IMPORTANT: PLEASE READ THESE INSTRUCTIONS CAREFULLY. NOTE THE SAFE OPERATIONAL REQUIREMENTS, WARNINGS & CAUTIONS.
- Page 2 3.4. Fit the door frame panel into the unit from the inside, locating the frame with the side panels at the top (fig.3) and bottom. fig.4 Once located push fit them together until they lock into place. 3.5. Fit the locker top from the top, ensuring that the three lips locate within the brackets at the back and sides, when they are lined up, apply pressure and lock the top into place (fig.4).