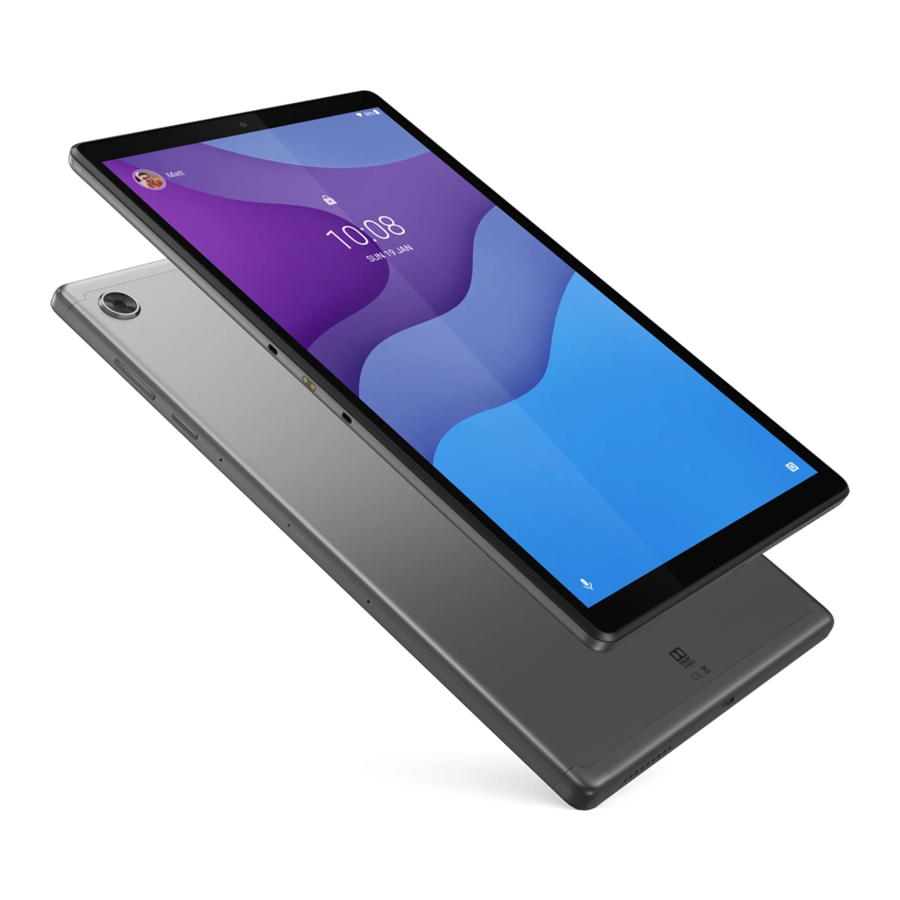
Lenovo Tab M10 HD User Manual
Hide thumbs
Also See for Tab M10 HD:
- Safety, warranty & quick start manual (25 pages) ,
- User manual (4 pages) ,
- Safety, warranty & quick start manual (16 pages)
Table of Contents
Advertisement
Lenovo Tab M10 HD
Lenovo Tab M10 HD
User Guide
User Guide
Lenovo TB-X306F
Lenovo TB-X306F
Lenovo TB-X306X
Lenovo TB-X306X
Lenovo TB-X306V
Lenovo TB-X306V
All information labeled with * in this guide refers only to the WLAN+LTE model.
All information labeled with * in this guide refers only to the WLAN+LTE model.
Advertisement
Table of Contents

Related Manuals for Lenovo Tab M10 HD


Summary of Contents for Lenovo Tab M10 HD
- Page 1 Lenovo Tab M10 HD Lenovo Tab M10 HD User Guide User Guide Lenovo TB-X306F Lenovo TB-X306F Lenovo TB-X306X Lenovo TB-X306X Lenovo TB-X306V Lenovo TB-X306V All information labeled with * in this guide refers only to the WLAN+LTE model. All information labeled with * in this guide refers only to the WLAN+LTE model.
- Page 2 Lenovo Help Looking for help? The Lenovo Help app can offer you support for getting direct access to Lenovo's Looking for help? The Lenovo Help app can offer you support for getting direct access to Lenovo's web assistance and forums*, frequent Q&A*, system upgrades*, hardware function tests, warranty...
-
Page 3: Technical Specifications
FDD-LTE/TDD- LTE/WCDMA/GSM LTE/WCDMA/GSM LTE/WCDMA/GSM LTE/WCDMA/GSM Note: Lenovo TB-X306X supports LTE Bands 1,2,3,4,5,7,8,20,28,38,40, Lenovo TB-X306V Note: Lenovo TB-X306X supports LTE Bands 1,2,3,4,5,7,8,20,28,38,40, Lenovo TB-X306V supports LTE Bands 1,2,3,4,5,7,8,20,28,38,40,41, but in some countries LTE is not supported. supports LTE Bands 1,2,3,4,5,7,8,20,28,38,40,41, but in some countries LTE is not supported. - Page 4 Add a widget to a home screen Add a widget to a home screen Press and hold anywhere on the home screen except the icons. Tap , press and hold the Press and hold anywhere on the home screen except the icons. Tap , press and hold the widget you want to add, then drag it to where you want to place it, and then release it.
- Page 5 To see notifications, swipe down from the top of the screen. To see notifications, swipe down from the top of the screen. To close the Notifications panel, swipe up from the bottom of the screen. To close the Notifications panel, swipe up from the bottom of the screen. To dismiss a notification, swipe left or right across the notification.
-
Page 6: Working Mode
Working mode Working mode Using Working mode Go to Settings > Display > System navigation > Working mode to turn it on. Go to Settings > Display > System navigation > Working mode to turn it on. System navigation Recent app icons are displayed in the System navigation, you can do any of the following: Recent app icons are displayed in the System navigation, you can do any of the following: To open an app, tap its icon. -
Page 7: Exiting Split Screen Mode
3. Tap , choose the second app you want to open and the two apps will then be displayed in 3. Tap , choose the second app you want to open and the two apps will then be displayed in split screen mode. - Page 8 Multi-User Multi-User Multi-User Preferences There are three user types: There are three user types: Owner: An owner has full control over all user permissions and manages all user accounts. Owner: An owner has full control over all user permissions and manages all user accounts. Guest: The guest has restricted access to the device.
-
Page 9: Deleting An Account
Deleting an Account Settings > Users & accounts > Multiple users , and tap the icon located beside the Settings > Users & accounts > Multiple users , and tap the icon located beside the account you would like to delete and then tap Remove user >... -
Page 10: Get Started
Kids Space Kids Space Kids space is a special user identity that can be controlled by parents offering kids a safe Internet Kids space is a special user identity that can be controlled by parents offering kids a safe Internet space with fun, thoughtful and age-appropriate content. -
Page 11: Taking Photos And Videos
Camera Camera To open the Camera app, go to Camera To open the Camera app, go to Camera Taking photos and videos You can take photos and record videos with your device's built-in camera. You can take photos and record videos with your device's built-in camera. to keystone correct. -
Page 12: Taking Screenshots
to select a filter. to select a filter. to configure the other camera settings. to configure the other camera settings. Taking screenshots Press and hold the Power and the Volume down buttons at the same time to take a screenshot. Press and hold the Power and the... - Page 13 Network Network You need to set up a wireless network before connecting to the Internet. You need to set up a wireless network before connecting to the Internet. Set up a WLAN network. Set up a WLAN network. * Set up a Mobile network. * Set up a Mobile network.
- Page 14 *Setting up a Hotspot You can use personal hotspots to share an Internet connection with a computer or other devices. You can use personal hotspots to share an Internet connection with a computer or other devices. Go to Settings > Network &...
-
Page 15: Visiting Websites
You don't need to type the full web address of an "http://" website to access it. To visit "http://www.lenovo.com", simply type "www.lenovo.com" into the address bar and tap To visit "http://www.lenovo.com", simply type "www.lenovo.com" into the address bar and tap... - Page 16 Refresh a webpage Refresh a webpage to refresh a webpage. to refresh a webpage. to return to the previous webpage. to return to the previous webpage. to go forward to a recent webpage. to go forward to a recent webpage. Saving webpages You can save images and webpages in your device's internal storage.
-
Page 17: Setting Up A Gmail Account
Gmail Gmail You can send and receive emails if your device is connected to a wireless network. You can send and receive emails if your device is connected to a wireless network. To access the Gmail app, go to Gmail To access the Gmail app, go to... -
Page 18: Finding A Location
Maps Maps You need to set the following settings before you can use Maps You need to set the following settings before you can use Maps Go to Settings > Location > Use location and enable location access for Google apps. Go to Settings >... -
Page 20: Connecting Your Device To Your Computer
Sync Sync You can transfer data such as music, photos, videos, documents, APK files and so on. You can transfer data such as music, photos, videos, documents, APK files and so on. Connecting your device to your computer Connect your device and computer using a USB cable. Connect your device and computer using a USB cable. - Page 21 Pen Feature Pen Feature To use the pen feature, go to Settings > Screen Assistant to turn on the Screen Assistant To use the pen feature, go to Settings > Screen Assistant to turn on the Screen Assistant function. function. Turn the Pen Feature on and off Turn on Pen Feature Swipe left from the right edge of the screen, tap below...
-
Page 22: Setting Sound
Settings Settings Setting the language 1. Go to Settings > System > Languages & input > Languages > Add a language 1. Go to Settings > System > Languages & input > Languages > Add a language 2. Select the language that you want to add. 2. - Page 23 data (factory reset), then tap RESET TABLET > ERASE EVERYTHING to reset to the data (factory reset), then tap RESET TABLET > ERASE EVERYTHING to reset to the manufacturer's default settings. manufacturer's default settings.
-
Page 24: Important Safety And Handling Information
Your device is a sealed unit. There are no end-user serviceable parts inside. All internal repairs must be done by a Lenovo-authorized repair facility or a Lenovo-authorized technician. Attempting must be done by a Lenovo-authorized repair facility or a Lenovo-authorized technician. Attempting to open or modify your device will void the warranty. - Page 25 Use approved charging methods only. Use approved charging methods only. Note: Please only use standard Lenovo power adapters. The use of third-party power adapters Note: Please only use standard Lenovo power adapters. The use of third-party power adapters will affect the charging speed, resulting in abnormal charging and potential damage to the will affect the charging speed, resulting in abnormal charging and potential damage to the equipment.
-
Page 26: Electronic Emission Notices
Consult an authorized dealer or service representative for help. Consult an authorized dealer or service representative for help. Lenovo is not responsible for any radio or television interference caused by unauthorized changes Lenovo is not responsible for any radio or television interference caused by unauthorized changes or modifications to this equipment. -
Page 27: Environmental, Recycling, And Disposal Information
Lenovo encourages owners of information technology (IT) equipment to responsibly recycle their equipment when it is no longer needed. Lenovo offers a variety of programs and services to assist equipment when it is no longer needed. Lenovo offers a variety of programs and services to assist equipment owners in recycling their IT products. -
Page 28: Energy Star Model Information
A Lenovo possui um canal específico para auxiliá-lo no descarte desses produtos. Caso você possua um produto Lenovo em situação de descarte, ligue para o nosso SAC produtos. Caso você possua um produto Lenovo em situação de descarte, ligue para o nosso SAC ou encaminhe um e-mail para: reciclar@lenovo.com, informando o modelo, número de série e... -
Page 29: Export Classification Notice
Department of Energy aimed at saving money and protecting the environment through energy efficient products and practices. efficient products and practices. Lenovo is proud to offer our customers products with the ENERGY STAR qualified designation. Lenovo is proud to offer our customers products with the ENERGY STAR qualified designation. You might...