Advertisement
Available languages
Available languages
Quick Links
D D R R Y Y E E R R D D O O O O R R R R E E V V E E R R S S A A L L I I N N S S T T R R U U C C T T I I O O N N S S
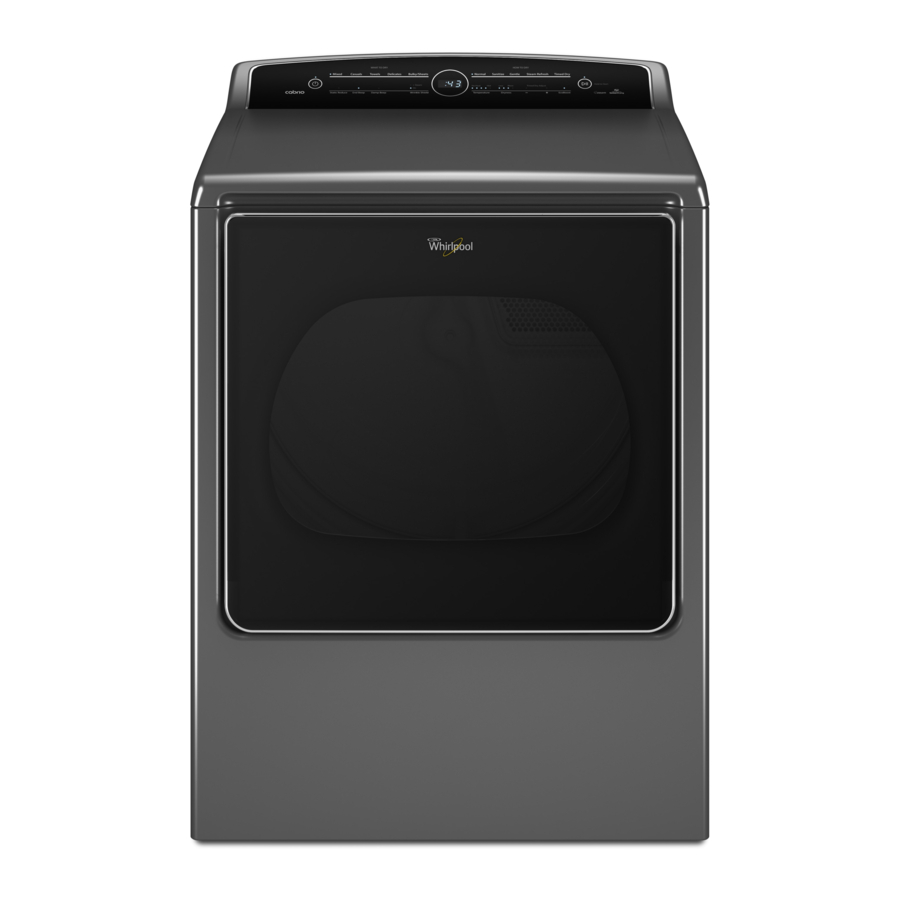
You can change your door swing from a right-side opening to a left-side opening, if desired. The following instructions are applicable for
models with a side-opening door.
Tools Needed
Flat-blade screwdriver
WARNING
Electrical Shock Hazard
Disconnect power before removing doors.
Failure to do so could result in death or electrical shock.
1. Place towel on dryer
Place towel on top of dryer to avoid damaging the surface.
2. Remove door from dryer cabinet
Open dryer door. Using a T25
and then (B) screws from each of the two hinges that attach dryer
door to front panel of dryer. Set the hinge screws off to the side for
reinstalling the door.
Remove the dryer door by lifting upward and out to lift the door off
the cabinet. Lay the door on a flat, covered surface, with the inside
of the door facing up.
TORX and T25 are trademarks of Acument Intellectual Property, LLC.
Plastic putty knife
screwdriver, remove screws (A)
®
Minimum 8" long TORX
T25
®
star driver
3. Remove and transfer plastic hinge plugs
Use a small, flat-blade screwdriver to gently remove 4 hinge hole
plugs (A) on left side of dryer cabinet. Transfer plugs into hinge
holes on opposite side of dryer cabinet (where hinges were
removed in Step 2).
4. Reverse the strike
Remove the door strike (A) from the dryer door opening. Remove
the cosmetic screw (B) opposite the door strike (A). Reinstall the
door strike and cosmetic screw on the opposite side of dryer door
opening from where they were removed.
NOTE: Door strike and plugs must be on the same side of the
dryer door opening.
5. Remove the door assembly
Lay the door on a flat, covered surface with the inside of the door
facing up. Remove the 3 plugs with a plastic putty knife. There is
a cut out to stick the putty knife under to pop out.
#2 Phillips screwdriver
®
1
Advertisement

Related Manuals for Whirlpool WED8500DC


Summary of Contents for Whirlpool WED8500DC
- Page 1 D D R R Y Y E E R R D D O O O O R R R R E E V V E E R R S S A A L L I I N N S S T T R R U U C C T T I I O O N N S S You can change your door swing from a right-side opening to a left-side opening, if desired.
- Page 2 6. Remove screws from dryer door 10. Remove door hinges and trim screws Remove the 10 screws from the dryer door and set screws off to Remove the door hinges and set off to the side. Remove the 3 the side. screws down the left and right sides of the door to remove the outer trim pieces.
-
Page 3: Troubleshooting
14. Reinstall door screws 16. Hang door Install 6 hinge screws and the other 4 screws. Hang door by placing set pin in dryer cabinet hole and slide door ® down. Using a T25 screwdriver, install (A) screws and then (B) screws. - Page 4 I I N N S S T T R R U U C C T T I I O O N N S S P P O O U U R R I I N N V V E E R R S S I I O O N N D D E E P P O O R R T T E E D D E E S S É É C C H H E E U U S S E E Au besoin, il est possible d’inverser le sens d’ouverture de la porte de la sécheuse.
- Page 5 6. Retirer les vis de la porte de la sécheuse 10. Retirer les charnières de la porte et les vis de garniture Retirer les 10 vis de la porte de la sécheuse et les mettre de côté. Retirer les charnières de la porte et les mettre de côté. Retirer les 3 vis sur les côtés gauche et droit de la porte pour retirer les garnitures extérieures.
-
Page 6: Dépannage
14. Réinstaller les vis de la porte 16. Suspendre la porte Installer les 6 vis de charnière et les 4 autres vis. Suspendre la porte en insérant une goupille à demeure dans le trou de la caisse du cabinet et en glissant la porte vers le bas. À l'aide d'un tournevis T25 ®... - Page 7 I I N N S S T T R R U U C C C C I I O O N N E E S S P P A A R R A A I I N N V V E E R R T T I I R R E E L L S S E E N N T T I I D D O O D D E E A A B B E E R R T T U U R R A A D D E E L L A A P P U U E E R R T T A A D D E E L L A A S S E E C C A A D D O O R R A A Puede invertir el cierre de la puerta de la abertura hacia la derecha a la abertura hacia la izquierda, si lo desea.
- Page 8 6. Quite los tornillos de la puerta de la secadora 10. Quite las bisagras de la puerta y los tornillos del borde Quite de la puerta de la secadora los 10 tornillos y déjelos a un lado. Quite las bisagras de la puerta y déjelas a un lado. Quite los 3 tornillos en los lados inferior izquierdo y derecho de la puerta para retirar las piezas del borde externo.
-
Page 9: Solución De Problemas
14. Vuelva a instalar los tornillos de la puerta 16. Coloque la puerta Instale 6 tornillos de bisagra y los otros 4 tornillos. Para colgar la puerta, coloque un pasador de ajuste en el orificio del gabinete de la secadora y deslice la puerta hacia abajo.