Table of Contents
Advertisement
Quick Links
Advertisement
Table of Contents

Related Manuals for Philips SpeechOne psm6000


Summary of Contents for Philips SpeechOne psm6000
- Page 1 User manual SpeechOne...
-
Page 2: Table Of Contents
Control other applications ........................18 Status light ............................18 Use the remote control (PSM6500, PSM6800) ..................19 Hands-free dictating with a Philips foot control ..................19 Upgrading the firmware ........................20 Power down your SpeechOne ....................... 22 5. Button modes ............................23 Switch between button modes on the docking station ................ -
Page 3: Important
Philips partner for dictation equipment. tronic fuel injection systems, electronic antiskid (antilock) • Batteries contain substances that may pollute the envi- braking systems, electronic speed control systems, and air ronment. -
Page 4: Cleaning And Disinfection
Turn off your device when you travel in aircraft. • For assistance, visit our website www.philips.com/support or call 1-800-243-3050 toll free. Cleaning and disinfection Canada Rechargeable Li-ion battery: •... - Page 5 CAUTION This symbol warns of damage to the device and possible data loss. Damage can be caused by im- proper handling.
-
Page 6: Your Speechone
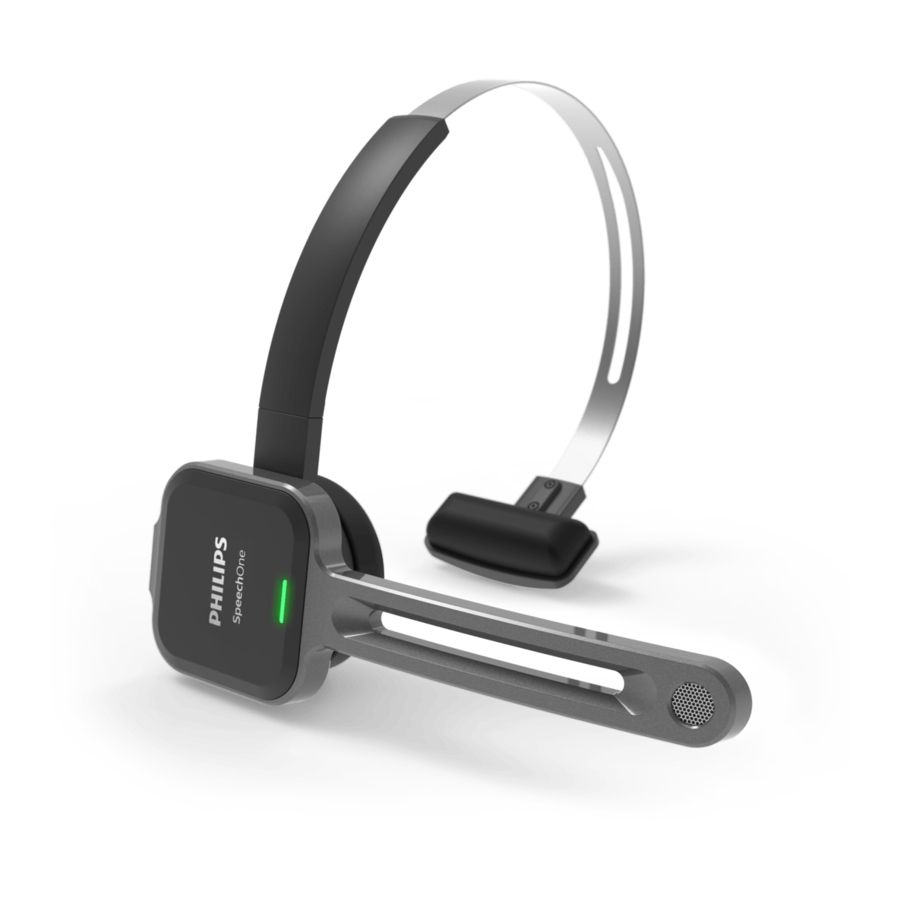
2. Your SpeechOne Product highlights • Wireless recording • Studio-quality microphone • High-speed wireless charging • All-day battery life • Modern, ergonomic design • Lossless audio transmission • Skype support... -
Page 7: What's In The Box
What's in the box Dictation Headset Docking sta- Status light tion Ear cushion Head cushion Headband cushion Headset attach- Neckband Micro USB ca- ment Quick start Remote control Product key for guide (PSM6500, SpeechExec soft- PSM6800) ware (PSM6800) -
Page 8: Overview Of Your Speechone
Overview of your SpeechOne Microphone Microphone boom Status LED Headset button Speaker Detachable magnetic ear cushion Head cushion pad Detachable magnetic head cushion Headband 10. Headband attachment... -
Page 9: Overview Of The Docking Station
Overview of the docking station Phone button Record button Do-not-disturb button Battery and pairing LEDs Button LEDs Magnetic pad for headset charging Micro USB port for PC connection Remote control port Foot control port 10. Status light port 11. Micro USB port for charging... -
Page 10: Overview Of The Remote Control (Psm6500, Psm6800)
Overview of the remote control (PSM6500, PSM6800) Record LED Instruction button Insert/overwrite button End-of-letter/priority button Record button Rewind button Fast forward button Play/pause button Touch navigation/left mouse button 10. Left mouse button 11. Right mouse button 12. Programmable function buttons 13. -
Page 11: Get Started
3. Get started CAUTION Before you connect your SpeechOne, first read the safety instructions (see Safety instructions [3]). Charging the battery • Charge the built-in battery before you use the device for the first time or if you haven’t used it for an extended time period. -
Page 12: Learn About The Battery Status
X When charging is complete, all three battery LEDs on the docking station glow white. Learn about the battery status When the SpeechOne is removed from the docking station, the battery LEDs on the docking station indicate the battery status. Battery LED Battery status more than 7 hours recording time... -
Page 13: Learn About Wireless Technology
NOTE Make sure to keep a minimum distance of 50 cm (18 inches) between the docking station and oth- er wireless devices, such as smartphones or lap- tops. If the distance is less than 50 cm (18 inches), there might be interferences between the dock- ing station and other wireless devices. - Page 14 Disconnect the docking station from your computer (and optionally from the power outlet). Connect the docking station to your computer (or op- tionally to the power outlet) via the supplied USB cable. Make sure you use the USB port for PC connection marked with on the docking station.
-
Page 15: Use Your Speechone
4. Use your SpeechOne NOTE Any operations, e.g. recording or configuring your SpeechOne with SpeechControl driver and con- figuration software, have to be executed with the docking station connected to your computer. Do not connect the SpeechOne directly to the com- puter via a USB cable for this purpose. - Page 16 Attach the neckband to the microphone boom by pressing it down at the junction. Attach the magnetic ear cushion to the speaker and the magnetic head cushion to the head cushion pad. Pull the neckband over your ears. Lengthen or shorten the headband until it fits comforta- bly.
-
Page 17: Create A Recording
Create a recording To end a Skype call: Recording and playback of dictations with the SpeechOne • Press the Phone button on the docking station again requires dictation software such as Philips SpeechExec to be installed on the computer. -
Page 18: Control Other Applications
Download the desired Application Control Profile from website. Start Philips Device Control Center: • If the option to start the Philips Device Control Center automatically was selected during installation, open the program by clicking the icon in the notification area of the Windows task bar. -
Page 19: Use The Remote Control (Psm6500, Psm6800)
Press the Do-no-disturb button on the docking station once. foot control If you connect a Philips foot control, you can control the X The LED of the Do-not-disturb button on the docking dictation functions with your foot control to have your station and the status light glow red. -
Page 20: Upgrading The Firmware
The Philips foot controls 2310 and 2320 have three pedals. NOTE By default, the foot controls 2310 and 2320 have the fol- lowing configuration: • Before you connect the foot control to the docking station, make sure that the docking... - Page 21 Start Philips Device Control Center: The latest firmware upgrade for your SpeechOne is • If the option to start the Philips Device Control Center available here, where you can download it manually automatically was selected during installation, open from the website.
-
Page 22: Power Down Your Speechone
• The pairing process starts automatically. When the connection is reestablished, the button LEDs on the docking station turn off. CAUTION Do not disconnect the docking station from the computer during the firmware upgrade! This might damage your device. Power down your SpeechOne If the SpeechOne is not used for more than 6 hours, it auto- matically turns off to save battery life. -
Page 23: Button Modes
You can change the button assignment for each mode in • Event mode [25] SpeechControl software. Download the software for free at • Keyboard mode [26] www.dictation.philips.com/speechcontrol. • Browser mode [27] Switch between button modes on the docking station To switch between the button modes: Connect the USB cable to the USB port for PC connection on the back of your docking station. -
Page 24: Switch Between Button Modes On The Remote Control (Psm6500, Psm6800)
Switch between button modes on the remote control (PSM6500, PSM6800) To switch between the button modes: Press the End-of-letter/priority (•EoL/••Prio) button and the Insert/overwrite (INS/OVR) button simultaneously for three seconds. X All button LEDs on the remote control flash simultaneously. Press the corresponding button for the desired mode. -
Page 25: Event Mode
Event mode The Event mode is the default mode of your SpeechOne. In this mode, each button on your SpeechOne is assigned to a command. In SpeechControl software, you can define which commands should be executed by pressing or releasing a de- sired button on your SpeechOne in order to control various computer applications. -
Page 26: Keyboard Mode
Keyboard mode Assign a button on your SpeechOne to a shortcut you are using on your computer in order to control various computer applications. In SpeechControl software, you can define which commands should be executed by pressing a desired button on your SpeechOne. -
Page 27: Browser Mode
The button assignment in Browser mode depends on the application you are using in your browser. Therefore, there is no default configuration for this mode. The table below only describes the default button assignment for the Philips SpeechLive cloud dictation solution. -
Page 28: Windows Speech Recognition Mode
Windows speech recognition mode In this mode, you can operate the pre-installed Windows speech recognition software on a Windows computer by using the pre-configured Windows shortcuts. Command Shortcut in Speech- Control Next field (Dragon) Tab backward Shift+Tab Windows microphone on/off Ctrl+Win Mark previous word(s) Ctrl+Shift+Left... -
Page 29: Dragon For Mac Mode
Dragon for Mac mode In this mode, you can operate Dragon NaturallySpeaking speech recognition software on a Mac computer by using the pre-configured Dragon shortcuts. Command Shortcut in Speech- Control Tab forward Tab backward Shift+Tab Dragon microphone on/off ⌘+F11 Mark previous word(s) Alt+Shift+Left Mark next word(s) Alt+Shift+Right... -
Page 30: Dragon For Windows Mode
Dragon for Windows mode In this mode, you can operate Dragon NaturallySpeaking speech recognition software on a Windows computer by using the pre-configured Dragon shortcuts. Command Shortcut in SpeechControl Tab forward Tab backward Shift+Tab Dragon microphone on/off NumKey+ Mark previous word(s) Ctrl+Shift+Left Next field (Dragon) Ctrl+Shift+N... -
Page 31: Service And Support
If you have any questions about your SpeechOne or experi- set the wireless ence technical issues, contact one of our supporting Philips connection. For partners. The local partner you purchased your SpeechOne more informa- from will strive to answer your questions and to solve your... -
Page 32: Led Colors And Meanings
Problem Cause Solution Speech- Button Battery Meaning One LED LEDs LEDs on My com- • The docking • Disconnect the docking puter can't station was foot control from docking station detect the connected to the docking sta- station foot con- the computer tion and the trol. -
Page 33: Technical Data
7. Technical data Weight: 110 g (3.9 oz) Wireless connectivity • Status light: Dimensions: 36 × 36 × 98 mm (1.4 × 1.4 × 3.9") • Wireless technology: 2.4 GHz ISM Band Weight: 58 g (2.1 oz) • Modulation: 8 FSK •... - Page 34 Intel dual core or equivalent AMD processor, 2.2 GHz or faster • RAM: 4 GB (32 bit)/8 GB (64-bit) • Free hard disk space: Accessories (optional) • SpeechOne Remote Control ACC6100 • SpeechOne Docking Station and Status Light ACC6000 • SpeechOne Headset Cushions (5 ×) ACC6005 •...
-
Page 35: Certifications
8. Certifications an accident, misuse or abuse of this product or unauthor- FCC Warning Statement ized modifications, repair, modification of the product or failure to meet the operating and maintenance instructions provided by the manufacturer. This user manual is a document with no contractual nature. We accept no liability for changes, mistakes or printing er- rors. - Page 36 © 2021 Speech Processing Solutions GmbH. All rights reserved. Specifications are subject to change without notice. Philips and the Philips shield emblem are registered trademarks of Ko- ninklijke Philips N.V. and are used by Speech Processing Solutions GmbH under license from Koninklijke Philips N.V. All...