Table of Contents
Advertisement
Quick Links
Advertisement
Table of Contents

Related Manuals for Zanussi ZIFN844K


Summary of Contents for Zanussi ZIFN844K
- Page 1 User Manual GETTING STARTED? EASY. ZIFN844K EN User Manual...
-
Page 2: Table Of Contents
VISIT OUR WEBSITE TO: Get usage advice, brochures, trouble shooter, service and repair information: www.zanussi.com/support Subject to change without notice. CONTENTS 1. SAFETY INFORMATION....................2 2. SAFETY INSTRUCTIONS....................4 3. INSTALLATION.......................6 4. PRODUCT DESCRIPTION..................... 7 5. DAILY USE........................9 6. HINTS AND TIPS......................12 7. - Page 3 1.2 General Safety WARNING: The appliance and its accessible parts become • hot during use. Care should be taken to avoid touching heating elements. WARNING: Unattended cooking on a hob with fat or oil can • be dangerous and may result in fire. NEVER try to extinguish a fire with water, but switch off the •...
-
Page 4: Safety Instructions
manufacturer of the appliance in the instructions for use as suitable or hob guards incorporated in the appliance. The use of inappropriate guards can cause accidents. 2. SAFETY INSTRUCTIONS 2.1 Installation 2.2 Electrical Connection WARNING! WARNING! Only a qualified person must Risk of fire and electric shock. - Page 5 • The electrical installation must have an • Do not put flammable products or items isolation device which lets you disconnect that are wet with flammable products in, the appliance from the mains at all poles. near or on the appliance. The isolation device must have a contact WARNING! opening width of minimum 3 mm.
-
Page 6: Installation
intended to be used in other applications • Disconnect the appliance from the mains and are not suitable for household room supply. illumination. 2.6 Disposal WARNING! Risk of injury or suffocation. 3. INSTALLATION WARNING! Refer to Safety chapters. 3.1 Before the installation Before you install the hob, write down the information below from the rating plate. -
Page 7: Product Description
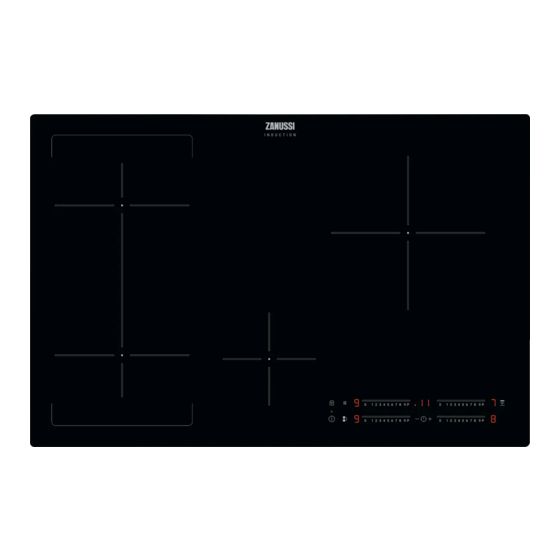
4. PRODUCT DESCRIPTION 4.1 Cooking surface layout Induction cooking zone Control panel 4.2 Control panel layout Use the sensor fields to operate the appliance. The displays, indicators and sounds tell which functions operate. Sensor Function Comment field ON / OFF To activate and deactivate the hob. - Page 8 Sensor Function Comment field Hob²Hood To activate and deactivate the manual mode of the function. To select the cooking zone. To increase or decrease the time. PowerBoost To activate the function. Control bar To set a heat setting. 4.3 Heat setting displays Display Description The cooking zone is deactivated.
-
Page 9: Daily Use
The indicator disappears when the cooking zone has cooled down. 5. DAILY USE Touch the control bar at the correct heat WARNING! setting or move your finger along the control Refer to Safety chapters. bar until you reach the correct heat setting. 5.1 Activating and deactivating Touch for 1 second to activate or... - Page 10 zone operates on the highest setting in the cooking zone starts to flash. The display beginning and then continues to cook at the shows the remaining time. desired heating setting. To deactivate the function: touch to set To activate the function the the cooking zone and then touch .
- Page 11 • The heat setting display of the reduced To activate the function: touch zones changes between the initially comes on for 4 seconds. The Timer stays on. selected heat setting and the reduced heat setting. To deactivate the function: touch .
-
Page 12: Hints And Tips
Automatic modes When you finish cooking and deactivate the hob, the hood fan Automat‐ Boiling 1) Frying 2) may still operate for a certain ic light period of time. After that time the system deactivates the fan Mode H0 automatically and prevents you Mode H1 from accidental activation of the fan for the next 30 seconds. - Page 13 Use the induction cooking zones with cooking session. This might impact the suitable cookware. functioning of the control panel or accidentally activate hob functions. • The bottom of the cookware must be as thick and flat as possible. Refer to "Technical data". •...
- Page 14 Heat setting Use to: Time Hints (min) 4 - 5 Steam potatoes. 20 - 60 Use max. ¼ l of water for 750 g of po‐ tatoes. 4 - 5 Cook larger quantities of food, stews 60 - 150 Up to 3 l of liquid plus ingredients. and soups.
-
Page 15: Care And Cleaning
7. CARE AND CLEANING otherwise, the dirt can cause damage to WARNING! the hob. Take care to avoid burns. Use a Refer to Safety chapters. special hob scraper on the glass surface at an acute angle and move the blade on 7.1 General information the surface. - Page 16 Problem Possible cause Remedy The hob deactivates. You put something on the sensor Remove the object from the sensor field. field Residual heat indicator does not The zone is not hot because it oper‐ If the zone operated sufficiently long to come on.
-
Page 17: Technical Data
9. TECHNICAL DATA 9.1 Rating plate Model ZIFN844K PNC 949 595 722 00 Typ 62 D4A 01 AA 220 - 240 V / 400 V 2N 50 - 60 Hz Induction 7.35 kW Made in: Germany Ser.Nr....7.35 kW ZANUSSI 9.2 Cooking zones specification... -
Page 18: Environmental Concerns
* For European Union according to EU • When you heat up water, use only the 66/2014. For Belarus according to STB amount you need. 2477-2017, Annex A. For Ukraine according • If it is possible, always put the lids on the to 742/2019. - Page 20 WWW.ZANUSSI.COM/SHOP...