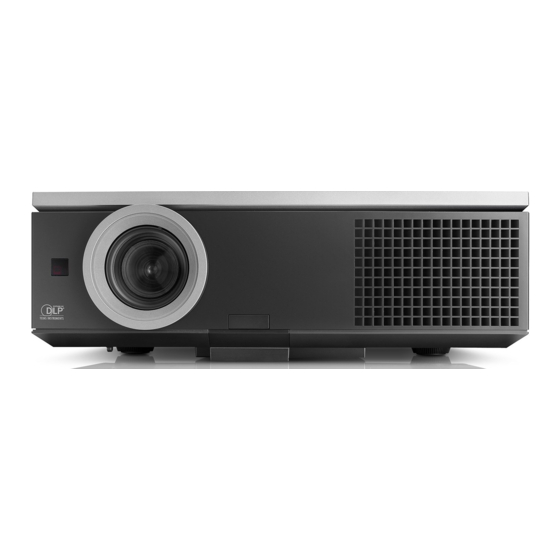
Dell 7700FullHD Firmware Upgrade Setup Manual
Hide thumbs
Also See for 7700FullHD:
- Command line interface manual (6 pages) ,
- User manual (122 pages)
Summary of Contents for Dell 7700FullHD
- Page 1 Dell Projector 7700FullHD Firmware Upgrade Setup Guide Released date: June 2015 Rev.C ...
-
Page 2: Table Of Contents
Contents 1. Projector Firmware Upgrade Setup ..................2 Part A: Enable Wireless or LAN on the Projector ................ 2 Part B: Connect Your Computer to the Projector and Login Web Management ..... 4 Part C: Upgrade Projector Firmware .................... 5 2. Wireless Firmware Upgrade Setup ................... 8 Part A: Enable Wireless or LAN on the Projector ................ 8 ... -
Page 3: Projector Firmware Upgrade Setup
1. Projector Firmware Upgrade Setup Part A: Enable Wireless or LAN on the Projector 1. Connect the power cable and turn on the projector by pressing the power button. 2-1. If the LAN Connection is used for firmware upgrade, follow these steps to enable Wireless and LAN feature when the Wireless and LAN is Disabled: Advanced Settings →... - Page 4 NOTE: If your want to use the wireless connection, need to installed the optional wireless dongle. The wireless dongle is not shipped with your projector. You can purchase it from Dell website: www.dell.com. 2-3. Ensure Wireless/LAN is set to "Always On" so the Wireless/LAN can still be connected when the projector is in standby status: Advanced Settings →...
-
Page 5: Part B: Connect Your Computer To The Projector And Login Web Management
Your computer must have wireless network function to detect the connection. When you connect to the 7700FullHD wireless network, you will lose wireless connectivity with other wireless network. 4. Open the Internet browser on your computer. You will be automatically directed to the 7700FullHD Web Management page. -
Page 6: Part C: Upgrade Projector Firmware
Part C: Upgrade Projector Firmware 5. The 7700FullHD web management page opens. Click Admin. 6. Enter the administrator password (default password is admin), then click Login. 7. Click Firmware Upgrade. NOTE: Please disable and enable wireless/network using the OSD to restart the network card for the projector after firmware upgrade is successful. - Page 7 8. Follow these steps to upgrade firmware: Step A: Click “Browse” to first find the firmware (*.bin) from downloaded Projector FW folder. Step B: Click “Update” to start the upgrade firmware (*.bin). Step C: Download and upgrade firmware (*.bin). 6 ...
- Page 8 NOTE: Temp and Lamp LEDs are both lighted up (Amber). △ CAUTION: Do not interrupt the update process as this may cause the system to crash. Step D: Firmware (*.bin) completed, click “OK”. The upgrade is successfully. 7 ...
-
Page 9: Wireless Firmware Upgrade Setup
2. Wireless Firmware Upgrade Setup Part A: Enable Wireless or LAN on the Projector 1. Connect the power cable and turn on the projector by pressing the power button. 2-1. If the LAN Connection is used for firmware upgrade, follow these steps to re-active Wireless and LAN feature when the Wireless and LAN is Disabled: Advanced Settings →... - Page 10 NOTE: If your want to use the wireless connection, need to installed the optional wireless dongle. The wireless dongle is not shipped with your projector. You can purchase it from Dell website: www.dell.com. 9 ...
-
Page 11: Part B: Connect Your Computer To The Projector And Login Web Management
Your computer must have wireless network function to detect the connection. When you connect to the 7700FullHD wireless network, you will lose wireless connectivity with other wireless network. 4. Open the Internet browser on your computer. You will be automatically directed to the 7700FullHD Web Management page. -
Page 12: Part C: Upgrade Wireless Firmware
Part C: Upgrade Wireless Firmware 5. The 7700FullHD web management page opens. Click Admin. 6. Enter the administrator password (default password is admin), then click Login. 7. Click Firmware Upgrade. 8. Follow these steps to upgrade firmware: Step A: Click “Browse” to first find the firmware (*.nad) from downloaded Wireless FW folder. - Page 13 Step B: Click “Update” to start the upgrade firmware (*.nad). Step C: Download and upgrade firmware (*.nad). △ CAUTION: Do not interrupt the update process as this may cause the system to crash. Step D: Firmware (*.nad) completed, click “OK”. 12 ...


