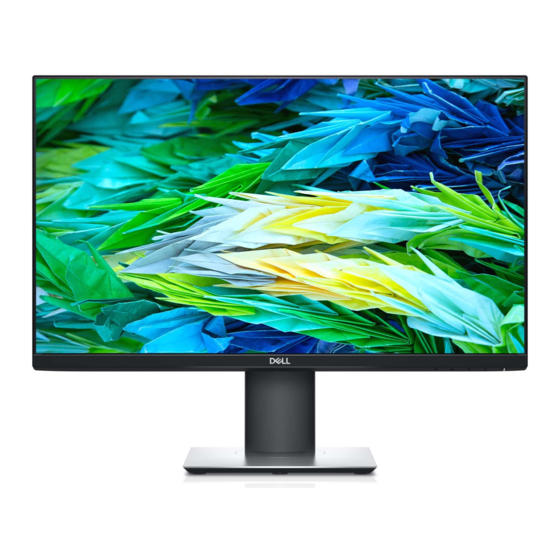
Dell P2421D Simplified Service Manual
24" led monitor
Hide thumbs
Also See for P2421D:
- Service manual (24 pages) ,
- User manual (20 pages) ,
- User manual (63 pages)
Advertisement
Quick Links
Advertisement

Summary of Contents for Dell P2421D
- Page 1 24" LED Monitor Dell P2421D Service Service Service Simplified...
- Page 2 It is also important to understand that these CAUTIONS and NOTICES ARE NOT EXHAUSTIVE. DELL could not possibly know, evaluate and advise the service trade of all conceivable ways in which service might be done or of the possible hazardous consequences of each way. Consequently, DELL has not undertaken any such broad evaluation.
- Page 3 1. Exploded view diagram with list of items 2. Wiring connectivity diagram...
-
Page 4: Tools Required
3. Tools Required List the type and size of the tools that would typically can be used to disassemble the product to a point where components and materials requiring selective treatment can be removed. Tool Description: ‐ Screwdriver (Phillip-head, Hexagonal head) ‐... -
Page 5: Disassembly Procedures
3.1Disassembly Procedures 1.1Disassembly Procedures Turn off power Unplug external cables from product Wedge your fingers between the rear cover and the middle bezel on the corners of the top side of the monitor to release the rear cover, then use Scraper to separate the rear cover in the below 3direction of the arrow. - Page 6 Tear off 2 pieces of aluminum foil. Use a Hold the plastic button on the power board to Philips-head screwdriver to remove 2 screws separate the Mylar from the power board. for unlocking the mainframe (No.1~2 Screw size=M3x4, Torque: 3± 0.5kgf.cm) The Mainframe Use a Philips-head screwdriver to remove 7 screws for unlocking the main board and the...
- Page 7 Use a Philips-head screwdriver to remove 3 screws for unlocking the key board and the middle frame. (No.1~3 screw size=M2X2.5, Torque: 6± 1kgf.cm) The USB Board Use a Philips-head screwdriver to remove 1 screws to remove the USB board. Disconnect the cables of the USB board (No.1 screw size=M3x6, Torque=4±...
- Page 8 3.2 Assembly Procedures Use a Philips-head screwdriver to lock 1 screws to assemble the USB board. Connect the cables of the USB board (No.1 screw size=M3x6, Torque=4± 1kgf.cm) Use a Philips-head screwdriver to lock 3 screws for locking the key board and the middle frame. (No.1~3 screw size=M2X2.5, Torque: 6±...
- Page 9 Connect all of the cables to assemble the power board and main board. Use a Philips-head screwdriver to lock 7 screws for locking the main board and the adapter board (No.1~7 screw size=D3x6, Torque: 6± 1kgf.cm) (No.9 screw size=M4x6, Torque: 6± 1kgf.cm) stick 2 pieces of aluminum foil.
- Page 10 (No.1~2 Screw size=M3x4, Torque: 3± 0.5kgf.cm) Connect all the cable of the rear cover and put it on a protective cushion. Use a Philips-head screwdriver to lock 11 screws for locking the middle plastic bezel with the whole unit, and then assemble the middle plastic bezel carefully.
-
Page 11: Troubleshooting Instructions
Use a Philips-head screwdriver to lock four screws on the rear cover (No.1~4 screw size=M4x10; Torque: 12± 2kgf.cm) Assemble the stand. 4. Trouble shooting instructions...


