Advertisement
Quick Links
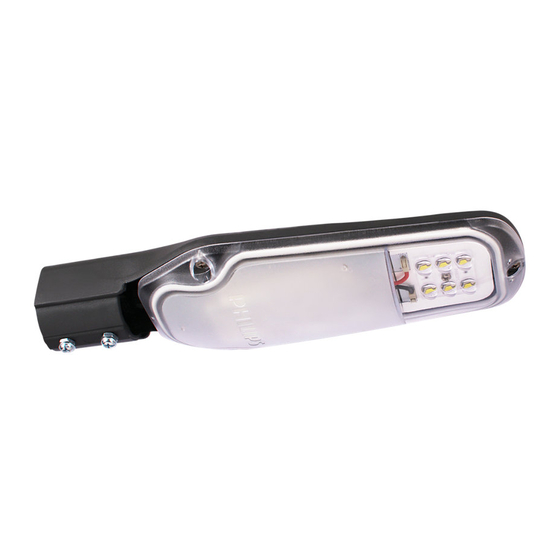
Dimensions
Installation
1. Connect the red wire to live, Black wire to Neutral and the Green-yellow wire to
ground. After joining Properly insulate the wires using good quality Electrical
insulation tape.
2. Unfasten the Check nuts and loosen the mounting screws to the required
height as per the pole size.(Fig 1)
3. Insert the pole up to the position shown in the drawing below (Fig 2)
4. Tighten both the mounting screws with tightening torque of 4Nm and then
tighten the Check nuts fully (Fig 3).
Un-screw
Screws & Check nuts
FIG:1
FIG:3
Philips Lighting India Limited
Pole should not go
beyond this point
FIG:2
Installation Instruction
Brp 042
Type
:
Light Source
:
Voltage
:
IP Classification
:
Net Weight
:
Max. Projected Area :
Application
:
Mounting position
:
Application height
:
Pole Outer Diameter :
Street Lighting Luminaire
BRP042
LED's
240 V, 50 Hz
IP-65
0.8 kg
.03 m²
Outdoor use only
Horizontal
Upto 6m
32-40mm
Advertisement

Related Manuals for Philips SmartBright Street BRP042


Summary of Contents for Philips SmartBright Street BRP042
- Page 1 Screws & Check nuts IP Classification IP-65 Net Weight 0.8 kg Max. Projected Area : .03 m² Application Outdoor use only Mounting position Horizontal Application height Upto 6m FIG:1 FIG:2 Pole Outer Diameter : 32-40mm FIG:3 Philips Lighting India Limited...
- Page 2 CAUTION 1. Ensure Earthing is connected. 2. Ensure 3 core CABLE for Connections(diameter 5-7mm) 3. Cable Entry gland should be properly tightened. 4. Product should be operated between 100-300V a.c. 5. Use Surge protection (upto 10kV) to protect against surges Use Type B+C surge type SPD in distribution box to arrest switching and lighting surges.