D-Link DPR-1260 Quick Install Manual
10/100 fast ethernet wired or 802.11b/g wireless network printer with usb port
Hide thumbs
Also See for DPR-1260:
- User manual (51 pages) ,
- User manual (55 pages) ,
- Quick install manual (13 pages)
Advertisement
Advertisement
Table of Contents

Related Manuals for D-Link DPR-1260


Summary of Contents for D-Link DPR-1260
- Page 1 Wireless Print Server Wireless G USB 2.0 Adapter with 3G Mobile Video...
-
Page 2: System Requirements
CAT5 Ethernet Cable Note: Using a power supply with a different voltage rating than the one included with the DPR-1260 will cause damage and void the warranty for this product. If any of the above items are missing, please contact your reseller. -
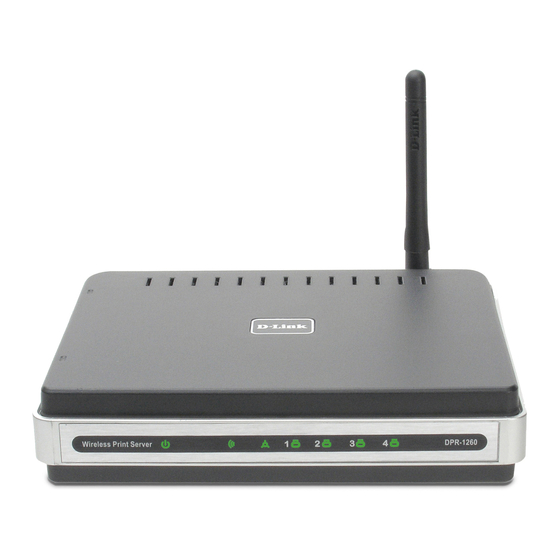
Page 3: Hardware Overview
Connect USB printers using an USB cable. LAN Port Connect to a network using an Ethernet cable. Connections Reset Button Pressing the Reset Button restores the router to its original factory default settings. Power Receptor Receptor for the Power Adapter. D-Link DPR-1260 Quick Install Guide... - Page 4 LAN port. This LED blinks during data transmission. Power LED A solid light indicates a proper connection to the power supply. D-Link DPR-1260 Quick Install Guide LEDs USB LEDs (1-4) A solid light indicates connectivity to an USB printer or scanner.
-
Page 5: Installation
The factory default IP address of the DPR-1260 is 192.168.0.10. The IP address of the DPR-1260 must be in the same range as your network. You can change the IP address of the DPR-1260 to match the IP address scheme of your existing network. - Page 6 Select Use the Following IP Address and enter an IP address (192.168.0.28) and a Subnet Mask (255.255.255.0). Click OK to save the new IP address. Once you are finished configuring your print server, you can change the settings back. D-Link DPR-1260 Quick Install Guide...
- Page 7 Internet Explorer and enter the IP address of the print server (192.168.0.10). If you get a Page Cannot be Displayed error, please refer to the Troubleshooting section of the manual for assistance. Click Next to continue. D-Link DPR-1260 Quick Install Guide...
- Page 8 Click Next to continue. Click Next to continue. You may need to insert your printer driver CD to load the drivers to your computer. Click Finish to complete the setup wizard. D-Link DPR-1260 Quick Install Guide...
-
Page 9: Wireless Settings
If you are connecting to an access point or wireless router, select Infrastructure. If you are connecting directly to a computer with a wireless adapter, click Ad-Hoc. Select None (to use connect to an unsecure network), WEP, or WPA. D-Link DPR-1260 Quick Install Guide... -
Page 10: Wep Encryption
7. Click Save Settings to save your settings. If you are configuring the router with a wireless adapter, you will lose connectivity until you enable WEP on your adapter and enter the same WEP key as you did on the router. D-Link DPR-1260 Quick Install Guide WEP Encryption... -
Page 11: Wpa Encryption
8 and 63 characters long. The password can include symbols (!?*&_) and spaces. Make sure you enter this key exactly the same as on your wireless router or access point. 5. Click Save to save your settings. WPA Encryption D-Link DPR-1260 Quick Install Guide... -
Page 12: Technical Support
Copyright ©2006 D-Link Corporation/D-Link Systems, Inc. All rights reserved. D-Link and the D-Link logo are registered trademarks of D-Link Corporation or its subsidiaries in the United States and other countries. Other trademarks are the property of their respective owners. Maximum wireless signal rate based on IEEE Standard 802.11g specifications. Actual data throughput will vary.