
Related Manuals for Zanussi ZOF35601WK


Summary of Contents for Zanussi ZOF35601WK
- Page 1 User Manual GETTING STARTED? EASY. ZOF35601WK ZOF35601XK EN User Manual Built-In Double Oven...
-
Page 2: Safety Information
VISIT OUR WEBSITE FOR: Get usage advice, brochures, trouble shoot- er, service and repair information: www.zanussi.com/support SAFETY INFORMATION Before the installation and use of the appliance, carefully read the supplied instructions. The manufacturer is not responsible for any injuries or damage that are the result of incorrect installation or usage. -
Page 3: Safety Instructions
WARNING: The appliance and its accessible parts become hot • during use. Care should be taken to avoid touching heating elements. Always use oven gloves to remove or put in accessories or • ovenware. Before carrying out any maintenance, disconnect the appliance •... -
Page 4: Electrical Connection
• Do not pull the mains cable to disconnect the Height of the front of 715 mm appliance. Always pull the mains plug. the appliance • Use only correct isolation devices: line protecting cut-outs, fuses (screw type fuses Height of the back of 708 mm removed from the holder), earth leakage trips the appliance... -
Page 5: Internal Lighting
– be careful when you remove or install the • Clean the appliance with a moist soft cloth. Use accessories. only neutral detergents. Do not use abrasive • Discoloration of the enamel or stainless steel products, abrasive cleaning pads, solvents or has no effect on the performance of the metal objects. -
Page 6: Product Description
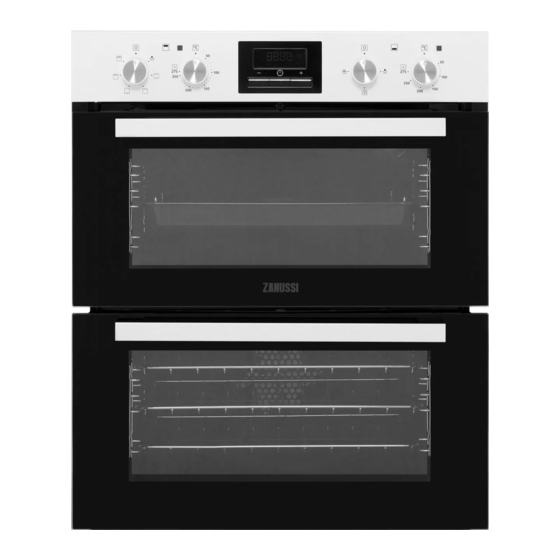
PRODUCT DESCRIPTION GENERAL OVERVIEW Knob for the top oven functions Knob for the top oven temperature Temperature indicator / symbol for the top oven Display Knob for the main oven functions Temperature indicator / symbol for the main oven Knob for the main oven temperature Heating element Lamp Shelf support, removable... -
Page 7: Before First Use
A. Clock functions C. Clock function B. Timer BEFORE FIRST USE Set the time before you use the oven. WARNING! Refer to Safety chapters. SETTING THE CLOCK Step 1 Step 2 Step 3 - press to set the mi- - press to set the hour. nutes. -
Page 8: Daily Use
DAILY USE Step 2 Turn the control knob to select the WARNING! Refer to Safety chapters. temperature. The lamp turns on when the oven operates. HOW TO SET: HEATING FUNCTION Step 3 Turn the knob for the heating func- Step 1 Turn the knob for the heating func- tions to the off position to turn off tions to select a heating function. -
Page 9: Clock Functions
Symbol Oven function Application Grill To grill thin pieces of food and to toast bread. Moist Baking This function is designed to save energy during cooking. When you use this function, the temperature in the cavity may differ from the set temperature. The heating power may be reduced. - Page 10 HOW TO SET: CLOCK FUNCTIONS How to change: Time of Day - flashes when you connect the oven to the electrical supply, when there was a power cut or when the timer is not set. Step 1 - press repeatedly. - starts to flash.
-
Page 11: Using The Accessories
How to set: Time Delay Step 3 - press to set the time for: Duration. Step 4 Press: Step 5 - press to set the time for: End Time. Step 6 Press: At the set time the signal sounds and the oven turns off. Step 7 Press any button to stop the signal. -
Page 12: Trivet And Grill- / Roasting Pan
Wire shelf: Push the shelf between the guide bars of the shelf support. Deep pan: Push the deep pan between the guide bars of the shelf support. Wire shelf and deep pan together: Push the deep pan between the guide bars of the shelf support and the wire shelf on the guide bars above. -
Page 13: Additional Functions
Make sure the supports of the wire shelf point Make sure the supports of the wire shelf point down. ADDITIONAL FUNCTIONS COOLING FAN If you turn off the oven, the cooling fan can continue to operate until the oven cools down. When the oven operates, the cooling fan turns on automatically to keep the surfaces of the oven cool. - Page 14 Baking results Possible cause Remedy The cake is too dry. The oven temperature is too Next time set higher oven tempera- low. ture. The baking time is too long. Next time set shorter baking time. The cake bakes unevenly. The oven temperature is too Next time set a longer baking time high and the baking time is and lower oven temperature.
- Page 15 Food Temperature (°C) Time (min) Shelf position Fish Pie (Potato Topped) 190 - 200 20 - 30 Fruit Pies, Crumbles 190 - 200 30 - 50 Milk Puddings 150 - 170 90 - 120 Pasta, Lasagne etc. 170 - 180 40 - 50 Pastry: - Choux...
- Page 16 Real cooking (°C) (min) time (min) Brownie baking tray or drip- 35 - 45 ping pan Sponge flan flan base tin on wire 30 - 40 base shelf Victoria baking dish on wire 45 - 55 sandwich shelf Poached fish, baking tray or drip- 30 - 40 0.3 kg...
-
Page 17: Roasting Tables - Main Oven
TIPS ON ROASTING Turn the roast after 1/2 - 2/3 of the cooking time. Use heat-resistant ovenware. Roast meat and fish in large pieces (1 kg or more). Roast lean meat covered (you can use aluminium Baste meat joints with their own juice several times foil). - Page 18 Lamb Food Quantity Temperature (°C) Time (min) Shelf position Leg of lamb, 1 - 1.5 150 - 170 75 - 120 roast lamb Saddle of lamb 1 - 1.5 160 - 180 60 - 90 Game Food Quantity Temperature (°C) Time (min) Shelf position Saddle of hare,...
-
Page 19: Defrost - Main Oven
Grilling and Fast Grilling - Top oven Food Time (min) Bacon Rashers 5 -6 Beefburgers 10 - 20 Chicken Joints 20 - 40 Lamb Chops 15 - 25 Pork Chops 20 - 25 Whole Fish, Trout / Makarel 10 - 12 Fillets, Plaice / Cod 4 - 6 Kebabs... -
Page 20: Care And Cleaning
Quantity Defrosting Further defrost- Food Comments (kg) time (min) ing time (min) Chicken 100 - 140 20 - 30 Put the chicken on an upturned saucer in a big plate. Turn halfway through. Meat 100 - 140 20 - 30 Turn halfway through. - Page 21 HOW TO REMOVE: SHELF SUPPORTS / CATALYTIC PANELS Remove the shelf supports / catalytic panels to clean the oven. Step 1 Turn off the oven and wait until it is cold. Step 2 Pull the front of the shelf support away from the side wall.
- Page 22 HOW TO REMOVE AND INSTALL: DOOR CAUTION! Carefully handle the glass, You can remove the door and the internal glass especially around the edges of the panels to clean it.The number of glass panels is front panel. The glass can break. different for different models.
-
Page 23: Troubleshooting
Step 9 Install the smaller panel first, then the larger and the door. Make sure that the glasses are inserted in the correct position otherwise the surface of the door may overheat. HOW TO REPLACE: LAMP WARNING! Risk of electric shock. The lamp can be hot. -
Page 24: Service Data
Product number (PNC) ......... Serial number (S.N.) ......... ENERGY EFFICIENCY PRODUCT INFORMATION AND PRODUCT INFORMATION SHEET* Supplier's name Zanussi ZOF35601WK 944171714 Model identification ZOF35601XK 944171713 Top oven: 106.8 Energy Efficiency Index Main oven: 95.9 Top oven: A Energy efficiency class... -
Page 25: Environmental Concerns
ZOF35601WK 48.0 kg Mass ZOF35601XK 43.0 kg * For European Union according to EU Regulations 65/2014 and 66/2014. For Republic of Belarus according to STB 2478-2017, Appendix G; STB 2477-2017, Annexes A and For Ukraine according to 568/32020. Energy efficiency class is not applicable for Russia. - Page 28 WWW.ZANUSSI.COM/SHOP...