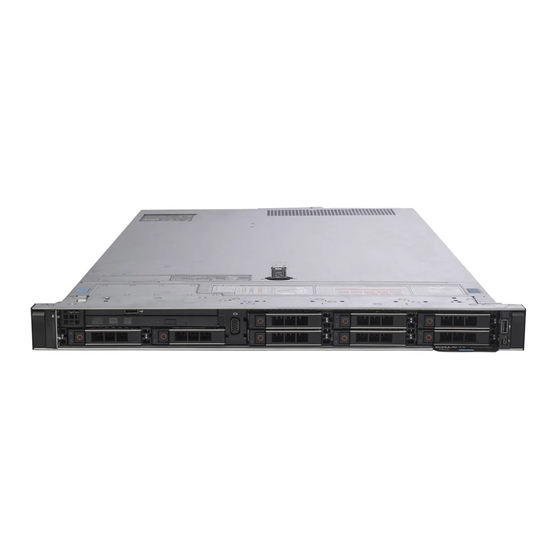
Dell EMC Poweredge R640 Hardware Installation Manual
Metro node
Hide thumbs
Also See for EMC Poweredge R640:
- Installation and service manual (164 pages) ,
- Manual (49 pages) ,
- Deployment manual (78 pages)
Advertisement
Quick Links
Metro node
Hardware Installation Guide
Before you begin
Review the following documents:
Technical and environmental specifications
–
https://topics-cdn.dell.com/pdf/poweredge-r640_reference-guide2_en-us.pdf
Dell EMC Rail Installation Guide
–
https://downloads.dell.com/Manuals/all-products/esuprt_ser_stor_net/esuprt_poweredge/
poweredge-r640_Setup-Guide2_en-us.pdf
Dell EMC Cable Management Arm (CMA) Installation Guide
– For detailed information, see the guide available at Dell EMC Online Support
(https://www.dell.com/support).
•
Confirm that following are available:
-
metro node servers–2
-
Cable Management Arm Kit–1
•
Verify that the equipment is fully acclimated to the data center environment.
1
Install metro node servers
1. Install the servers in the rack referencing the Dell EMC Rail Installation Guide:
a. Remove slide rails from boxes and install in two consecutive 1U locations in target rack.
b. Remove server nodes from boxes and mount them on the installed slide rails.
NOTE:
Mount the server with the lower Dell Service Tag (DST) in the upper position.
2. Install one LCD bezel on each server.
3. Save 10 GbE SFP optical transceivers for installation in the next section.
2
Install Cable Management Arm Kit
1. Attach the CMA attachment bracket to the server slide rails for each server.
2. Attach the CMA tray to the server slide rails for each server.
3. Attach the pre-wired Cable Management Arm Kit to the server slide rail assembly of each
server nodes.
a. Connect the inner CMA clip (1) to the left inner sliding rail.
b. Connect the outer CMA clip (2) to the left outer fixed rail.
c. Repeat for each server node.
d. Secure the cable loop and red service cable to the side of the rack with Velcro straps.
CAUTION:
Ensure that the cable loop is securely supported on the rack and
does not pull on the cables in the management arms.
3
Connect CMA kit cables to the Server nodes
The Port Map Label image below shows the port assignment for the following steps:
1. Install WAN SFP modules into the two WAN ports on each node.
a. Insert one 10 GbE SFP module into the port marked WAN1 on the port map.
b. Insert one 10 GbE SFP module into the port marked WAN2 on the port map.
c. To confirm that these are latched securely, pull gently on each of the
SFP I/O modules. If SFP is loose:
1. Release the spring latch.
2. Push the SFP fully in.
3. Close the spring latch.
4. Repeat for each node.
NOTE:
For local system configurations: a) Install the WAN SFPs in the WAN port for
safekeeping and/or potential future use, b) Ensure that the cable plugs are in place to
protect the SFP when not in use.
2. Connect the LCOM Direct Attach Copper (DAC) cables to the two LCOM ports on
each node.
a. Connect the black cable labeled LCOM1 to the port marked LCOM1 on the port map.
Repeat at each node.
b. Connect the black cable labeled LCOM2 to the port marked LCOM2 on the port map.
Repeat at each node.
c. Verify that cables are seated securely by pulling lightly on the cable at each node
connection.
Dell P/N: 6Y7M8
2020 - 12
Copyright © 2020 Dell Inc. or its subsidiaries. All Rights Reserved.
Rev. A00
Advertisement

Related Manuals for Dell EMC Poweredge R640


Summary of Contents for Dell EMC Poweredge R640
- Page 1 Verify that the equipment is fully acclimated to the data center environment. Install metro node servers 1. Install the servers in the rack referencing the Dell EMC Rail Installation Guide: a. Remove slide rails from boxes and install in two consecutive 1U locations in target rack.
- Page 2 3. Verify that the LINK LED is ON solid GREEN for the MGMT1 and MGMT2 ports. Quick Resource Locator To access the metro node additional documentation and videos, scan the Dell EMC QRL code by using your smartphone. 4. Verify the LINK LEDs are ON solid GREEN for the LCOM1 and LCOM2 ports.