Advertisement
Quick Links
Pop-up Card (Teacup) : Assembly Instructions
Assembly Instructions
( dotted line )
Mountain fold
*Make a mountain fold.
Valley fold
(dashed and dotted line)
*Make a valley fold.
Black triangle
Glue here
You will need
You will need
scissors, paste, a used ballpoint pen
(tracing along the fold lines
makes them easier to fold)
Caution:Glue, scissors, and other tools may be dangerous to young
children so be sure to keep them out of the reach of young children.
( solid line )
Scissors line
*Cut along the line.
( solid line )
Cut in line
*Make a cut.
White triangle
Glue the back
1
Canon
is a registered trademark of Canon Inc.
Cut out the parts and crease them along the fold lines indicated.
Part A
Part C
Part B
Base
Front cover
Back cover
Part D
Spoon
Support
Stickers
Advertisement

Summary of Contents for Canon PAPER CRAFT Pop-up Card Teacup
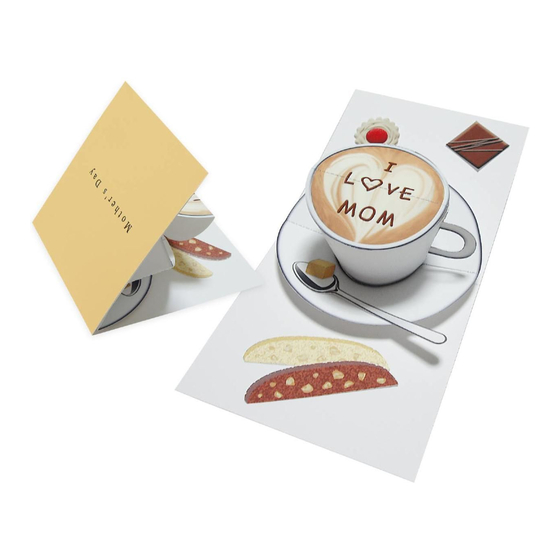
- Page 1 Pop-up Card (Teacup) : Assembly Instructions Canon is a registered trademark of Canon Inc. Cut out the parts and crease them along the fold lines indicated. Part D Part A Spoon Part C Support Part B Base Stickers Assembly Instructions...
- Page 2 Pop-up Card (Teacup) : Assembly Instructions Canon is a registered trademark of Canon Inc. Glue the ends of part B and stick them together. Curl part A. (Use a pen or other tubular object to make the curl as shown.) Flip part A over, fold over the upper glue spots and then stick down on Glue the ends of part A and stick them together.
- Page 3 Pop-up Card (Teacup) : Assembly Instructions Canon is a registered trademark of Canon Inc. Fold part C along the center line and glue together on the inside. Insert the support assembly 6 into assembly 7 then stick on assembly 7 at the glue spots, along the fold line on the opposite of the support.
- Page 4 Pop-up Card (Teacup) : Assembly Instructions Canon is a registered trademark of Canon Inc. Stick part D and assembly 10 together at their glue spots. If you like, add the spoon and stickers. Glue assembly 2 to the base paper, once on each side.


