Table of Contents
Advertisement
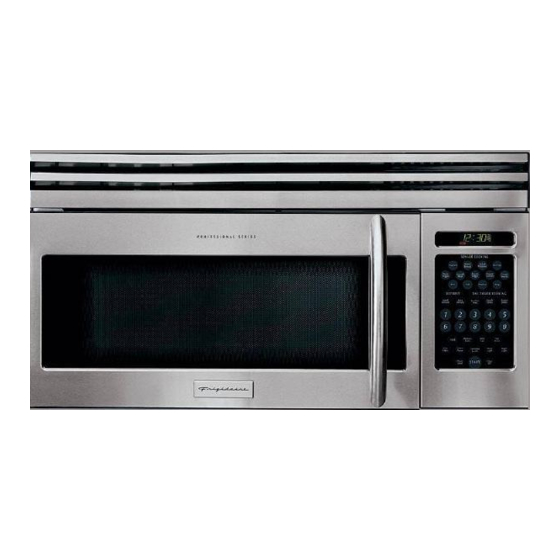
Over-the-Range
Microwave Oven
CGLMV169, GLMV169
CPLMV169, PLMV169
Visit the Frigidaire Web Site at:
http://www.frigidaire.com
READ AND SAVE THESE INSTRUCTIONS
Welcome & Congratulation ......
Part Names ................................
Before Operating .......................
Manual Operation ......................
Operating Instructions .............. 9-17
Cleaning and Care ..................... 18-19
Specifications ............................ 20
Service Call Check .................... 20
Warranty ..................................... 21
2
7
8
8
p/n 316137231
TINSEB380MRR0
Advertisement
Table of Contents

Related Manuals for Frigidaire CGLMV169


Summary of Contents for Frigidaire CGLMV169
-
Page 1: Table Of Contents
Over-the-Range Microwave Oven CGLMV169, GLMV169 CPLMV169, PLMV169 Visit the Frigidaire Web Site at: http://www.frigidaire.com READ AND SAVE THESE INSTRUCTIONS Welcome & Congratulation ... Important Safety Instructions .. 2-6 Part Names ... Before Operating ... Manual Operation ... Operating Instructions ... 9-17 Cleaning and Care ... -
Page 2: Welcome & Congratulation
It is important not to defeat or tamper with the safety interlocks. • Do Not Place any object between the microwave oven front face and the door or allow soil or cleaner residue to accumulate on sealing surfaces. -
Page 3: Save These Instructions
• Do not let cord hang over edge of table or counter. • See door surface cleaning instructions on page 18. • To reduce the risk of fire in the microwave oven cavity: - Do not overcook food. Carefully attend appliance when SAVE THESE INSTRUCTIONS. -
Page 4: Grounding Instructions
GROUNDING INSTRUCTIONS This appliance must be grounded. This microwave oven is equipped with a cord having a grounding wire with a grounding plug. It must be plugged into a wall receptacle that is properly installed and grounded in accordance with the National Electrical Code and local codes and ordinances. -
Page 5: About Your Microwave Oven
The turntable will turn both clockwise and counterclockwise. See page 18 for complete instructions. ALWAYS have food in the microwave oven when it is on to absorb the microwave energy. When using the microwave oven at power levels below 100%, you may hear the magnetron cycling on and off. - Page 6 Don’t assume that because a child has mastered one cooking skill he/she can cook everything. Children need to learn that the microwave oven is not a toy. See page 16 for Child Lock feature. ABOUT SAFETY •...
-
Page 7: Part Names
FRONT VIEW BOTTOM VIEW 1 Microwave oven door with see-through window 2 Door hinges 3 Waveguide cover: DO NOT REMOVE. 4 Turntable motor shaft 5 Microwave oven light It will light when microwave oven is operating or door is open. -
Page 8: Before Operating
• Before the microwave oven can be used, follow these procedures: 1. Plug in the microwave oven. Close the door. The microwave oven display will show WELCOME PRESS CLEAR AND PRESS CLOCK. 2. Touch the Clear/Off pad. : will appear. -
Page 9: Operating Instructions
SENSOR COOKING. 2. Be sure the exterior of the cooking container and the interior of the microwave oven are dry. Wipe off any moisture with a dry cloth or paper towel. 3. The microwave oven works with foods at normal storage temperature. -
Page 10: Other Sensor Cooking Settings
Place ground meat in a casserole and cover with wax paper or plastic wrap. When microwave oven stops, turn patties over or stir meat in casserole to break up large pieces. Re-cover and touch START. After cooking, let stand, covered, for 2 to 3 minutes. -
Page 11: Beverage Chart
.5 - 2.0 lb Use boneless breast of chicken or turkey. Cover with vented plastic wrap. Touch Poultry pad once. When microwave oven stops, rearrange. Re-cover and touch START pad. After cooking, let stand, covered, 3-5 minutes. Poultry should be 160°F. -
Page 12: Special Features
Place bacon on paper plate, lined with paper towel. Bacon should not extend over the rim of plate. Cover with another paper towel. Allow bacon to stand a few minutes after removing from the microwave oven to complete the cooking. - Page 13 Dinner Items Dinner Items will cook any of the dinners listed in the chart by simply following the directions in the lnteractive Display. There are 2 recipes in each section. Choose one and follow ingredients and instructions. • Suppose you want to use Dinner Items to cook Spicy Couscous Pockets in ground beef dinner.
- Page 14 Sweet and Sour Pork with Rice Place in a 3 quart casserole: cup rice cups pineapple juice cup apricot/peach sauce, sweet and sour sauce or duck sauce tablespoons soy sauce tablespoon fresh ginger, minced Stir well and cover. Touch Dinner Items 4 times and touch START. At pause, stir well and add: cup honey 1 1/4 pounds boneless, lean, pork loin, cut into thin strips...
-
Page 15: Speed Defrost
1. Touch Speed Defrost pad once. 2. Touch Speed Defrost pad two more times to select boneless poultry. 3. Touch START pad. The microwave oven will stop so the food can be checked. Turn SPEED DEFROST CHART FOOD AMOUNT 1. Ground meat 1.0 lb... -
Page 16: Other Convenient Features
Auto Start time. 3. Be sure to choose foods that can be left in the microwave oven safely until the Auto Start time. Acorn or butternut squash are often a good choice. - Page 17 2. Touch Timer/Pause pad. 3. Enter second cooking time and desired power level. 4. Touch START pad. Your microwave oven can be paused for up to 3 automatic cooking sequences. AUTO FAN The fan can be set to turn off automatically. Touch Auto Fan and enter the number of minutes you wish for the fan to operate.
-
Page 18: Cleaning And Care
DO NOT REMOVE THE WAVEGUIDE COVER. ODOR REMOVAL Occasionally, a cooking odor may remain in the microwave oven. To remove, combine 1 cup water, grated peel and juice of 1 lemon and several whole cloves in a 2-cup glass measuring cup. Boil for several minutes using 100% power. -
Page 19: Cleaning And Care
Charcoal Filter, which was enclosed with your microwave oven, is used for nonvented, recirculated installation. The filter should be changed every 6 to 12 months depending on use. 1. Disconnect power to the microwave oven at the circuit breaker panel or by unplugging. 2. Remove the louver mounting screws. -
Page 20: Specifications
2. If the oven is set for more than 40 minutes at 80, 90 or 100 percent power level, after the first 40 minutes the power level will automatically adjust itself to 70 percent power to avoid overcooking. (Not Applicable for Models CGLMV169 and CGPLMV169). -
Page 21: Warranty
Pay all costs for repairing or replacing any parts of this appliance which prove to be defective in materials or workmanship. Repair or replace any part of the microwave oven which proves to be defective in materials or workmanship. Provide a replacement for any magnetron tube which proves to be defective in workmanship or material.