Table of Contents
Advertisement
Quick Links
Advertisement
Table of Contents

Related Manuals for LG LAC5700


Summary of Contents for LG LAC5700
- Page 1 LAC5700_ENG_CB_CI_MFL37340622 LAC5700/ 5705/ 5710/ 5715 ENGLISH CAR CD/MP3/WMA Receiver Read the manual carefully before using the unit SPANISH Receptor de CD/MP3/WMA para coche Lea atentamente este manual antes de iniciar el uso de la unidad. P/NO : MFL37340622...
-
Page 2: Safety Note
Safety note CAUTION RISK OF ELECTRIC SHOCK DO NOT OPEN CAUTION : TO REDUCE THE RISK OF ELECTRIC SHOCK DO NOT SPLIT COVER(OR BACK) NO USER SERVICEABLE PARTS INSIDE. REFER SERVICING TO QUALIFIED SERVICE PERSONNEL. The lightning flash with the arrowhead symbol, within an equilateral triangle is intended to alert the user about the presence of uninsulated dangerous voltage within the product’s enclosure that may be of sufficient magnitude to constitute a risk of electric shock. - Page 3 • A defective or soiled disc inserted into unit can cause sound to drop out during playback. • Handle the disc by holding its inner and outer edges. • Do not touch the surface of the unlabeled side of the disc. Do not stick paper or tape etc.
-
Page 4: Table Of Contents
Table of contents Safety note ............2-3 Table of contents . -
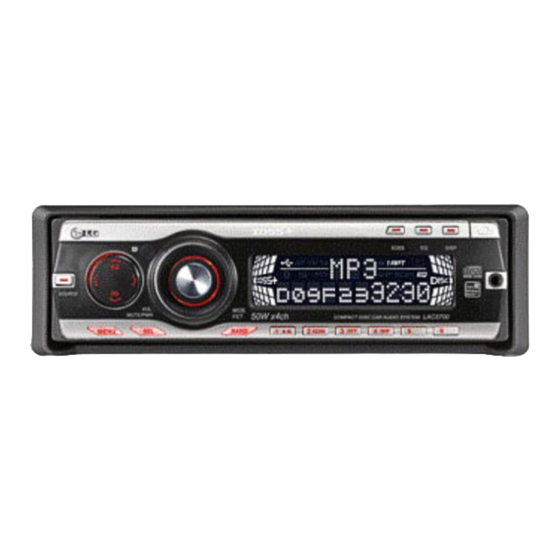
Page 5: Control Panel
Control panel [SOURCE] • Volume Shuffle [SHF] I I /i i • Skip / Search • [MUTE] Repeat [RPT] I I /i i • Seek/ Tune • Power [PWR] Intro Scan [SCAN] U U / • Auto Store [ Extreme Dynamic Sound Play/Pause B/X u u / •... -
Page 6: Installation
Battery Installation 1 Pull out the battery holder with a sharp product like a ball point pen. 2 Put the battery with correctly on the battery holder. 3 Push the battery holder back into its original position. Note • Use only one CR2025 (3V) lithium battery. •... -
Page 7: Connection Diagram
Connection diagram Before connecting, make sure that the ignition switch is set to OFF, and remove the battery # terminal to avoid short circuits. To Speaker To Vehicle (Optional) PHONE MUTE (ORANGE) GROUND(-) (BLACK) DIMMER (PINK) DIMMER SWITCH TO IGNITION (RED) IGNITION SWITCH TO BATTERY(+) (YELLOW) POWER ANTENNA (BLUE) - Page 8 From antenna To the wiring of the vehicle colors of leads. • BLACK: This lead is for the ground connection. • ORANGE: This lead is for the phone line connection. • PINK: This lead is for the dimmer line connection. •...
-
Page 9: Basic Operation
Basic operation Turning the unit on Press MUTE/PWR (POWER/ on the remote control) or any other button. Note When you insert the CD in the CD slot, the unit turns on. Turning the unit off Press and hold MUTE/PWR (POWER/ on the remote control). - Page 10 AUX (Auxiliary) ON / OFF It is possible to use auxiliary equipment with this unit. Activate the auxiliary setting when using auxiliary equipment connected to this unit. AUX ON When using a auxiliary equipment. AUX OFF When not using a auxiliary equipment. AUX (Auxiliary) 00DB / +6DB You can adjust the volume level of each source to prevent radical changes in volume when switching between sources.
- Page 11 Adjusting the sound level 1 Press SEL (MENU/SEL on the remote control) repeatedly to select the mode you want to adjust from volume, bass, middle, treble, balance and fader. The indicator lights up in the following order. VOL t BAS t MID t TRB t BAL t FAD 2 Rotate the MUTE/PWR (Press VOLUME on the remote control) to adjust the sound quality.
-
Page 12: Aux Operation
AUX operation Playing an Auxiliary Equipment You can connect Auxiliary Equipment to this unit. Connect one to the external device jack using the line input cable (not supplied), and the other to the AUX input jack on the control panel. Auxiliary input Line input cable MP3 Player, etc... -
Page 13: Cd/Mp3/Wma Operation
Note • Up to 18 FM stations, 6 for each of three FM bands and 6 MW(AM) stations can be stored in the memory. • When a station is stored on the preset numbers on which another station of the same band has already been preset, the previously preset station is automatically erased. - Page 14 Intro scan The first 10 seconds of each tracks/files (SCAN) or each files in the current selected folder SCAN) on the disc are played. 1 Press SCAN. – SCAN (or SCAN ) appears on the display window. Press and hold SCAN for about 2 seconds during playback. –...
-
Page 15: Specifications
To go to a particular quickly ( +10/-10 steps ) (If there is no folder or one folder.) Press U U /AS (U U on remote control) to skip to the next 10 track, and press u u /PS (u u on remote control) to skip to the previous 10 track. -
Page 16: Troubleshooting
Troubleshooting The loaded disc is of a type this unit : Symptom / : Cause : Correction cannot play. Check what type the disc. Power doesn’t turn on. / The unit doesn’t operate. No sound is heard. / The volume Leads and connectors are not properly level will not rise.