Table of Contents
Advertisement
Quick Links
Advertisement
Table of Contents

Related Manuals for Electrolux KGU64361Z


Summary of Contents for Electrolux KGU64361Z
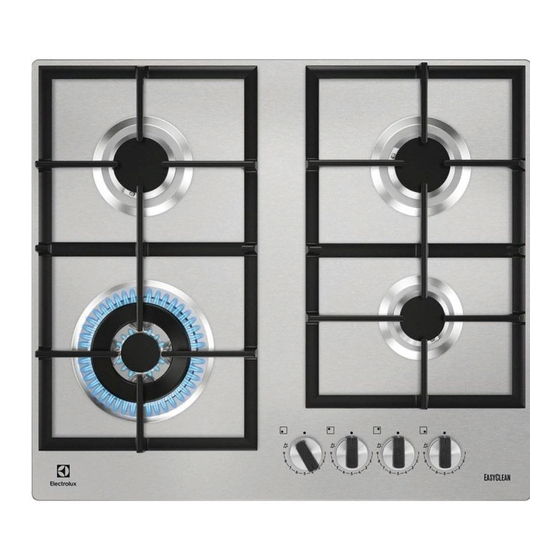
- Page 1 KGU64361Z User Manual...
-
Page 2: Table Of Contents
10. ENVIRONMENTAL CONCERNS..............19 WE’RE THINKING OF YOU Thank you for purchasing an Electrolux appliance. You’ve chosen a product that brings with it decades of professional experience and innovation. Ingenious and stylish, it has been designed with you in mind. So whenever you use it, you can be safe in the knowledge that you’ll get great results every time. - Page 3 ENGLISH instructions in a safe and accessible location for future reference. 1.1 Children and vulnerable people safety This appliance can be used by children aged from 8 • years and above and persons with reduced physical, sensory or mental capabilities or lack of experience and knowledge if they have been given supervision or instruction concerning the use of the appliance in a safe way and understand the hazards involved.
-
Page 4: Safety Instructions
CAUTION: The cooking process has to be supervised. • A short term cooking process has to be supervised continuously. WARNING: Danger of fire: Do not store items on the •... - Page 5 ENGLISH 2.1 Installation • Make sure the appliance is installed correctly. Loose and incorrect WARNING! electricity mains cable or plug (if Only a qualified person must applicable) can make the terminal install this appliance. become too hot. • Use the correct electricity mains WARNING! cable.
- Page 6 2.3 Gas connection • Do not let the appliance stay unattended during operation. WARNING! • Set the cooking zone to “off” after These instructions are only each use. valid if the country symbol • Do not put cutlery or saucepan lids on appears on the appliance.
-
Page 7: Installation
ENGLISH the maximum to the minimum • Clean the appliance regularly to position. prevent the deterioration of the • Use only the accessories supplied surface material. with the appliance. • Switch off the appliance and let it cool • Do not install a flame diffuser on the down before cleaning. - Page 8 Choose fixed connections or use a • it is not subject to traction or torsion; flexible pipe in stainless steel in • it does not get in touch with cutting compliance with the regulation in force. If edges or corners;...
- Page 9 ENGLISH WARNING! WARNING! Pay attention not to damage Make sure to place the the gasket. Do not use sharp gasket exactly in the original tool to remove it. position. 4. With a thin screwdriver, adjust the WARNING! bypass screw position (A). Make sure the flame does not go out when you quickly turn the knob from the...
- Page 10 3.7 Assembly Make sure that you connect the blue neutral cable to the terminal with a letter "N" on it. Connect the brown (or black) phase cable to the terminal which has a letter "L". Keep the phase cable connected at all times.
-
Page 11: Product Description
ENGLISH CAUTION! Install the appliance only on a worktop with flat surface. 3.8 Possibilities for insertion The panel installed below the hob must be easy to remove and let an easy access in case a technical assistance intervention is necessary. Kitchen unit with door 30 mm min 20 mm... -
Page 12: Daily Use
4.2 Control knob Symbol Description Symbol Description minimum gas supply no gas supply / off posi‐ 1 - 9 power levels tion ignition position / maxi‐ mum gas supply 5. DAILY USE 5.2 Ignition of the burner WARNING! Refer to Safety chapters. -
Page 13: Hints And Tips
ENGLISH CAUTION! The hob is supplied with the In the absence of electricity progressive valves. They you can ignite the burner make the flame regulation without electrical device; in more precise. this case approach the burner with a flame, turn the 5.3 Turning the burner off control knob counter- To put the flame out, turn the knob to the... - Page 14 6.3 Diameters of cookware Burner Diameter of Use cookware with cookware diameters applicable to the (mm) size of burners. Semi-rapid 120 - 220 Burner Diameter of Auxiliary 80 - 180 cookware (mm) Multi Crown 180 - 260 6.4 Suggested recipes...
-
Page 15: Care And Cleaning
ENGLISH Food categories Recipes Burner type Power level Snacks cooked with Roasting nuts Semi-rapid Croutons of bread Multi Crown Pancakes Semi-rapid Desserts Caramel Auxiliary Custard Auxiliary Panna cotta Auxiliary All recipes for approximately For an optimal delicate 4 portions. cooking use the auxiliary burner. - Page 16 3. After you clean the pan supports, Do not lift the pan supports make sure that they are in correct at an angle, as this will put positions. strain on the metal pins. This 4. For the burner to operate correctly,...
-
Page 17: Troubleshooting
ENGLISH 7.5 Cleaning the spark plug detergent. After cleaning, wipe the hob dry with a soft cloth. This feature is obtained through a • To clean the enamelled parts, caps ceramic ignition candle with a metal and crowns, wash them with warm electrode. -
Page 18: Technical Data
8.2 If you cannot find a during the warranty period. The instructions about the Service Centre solution... and conditions of guarantee are in the guarantee booklet. If you cannot find a solution to the problem yourself, contact your dealer or 8.3 Labels supplied with the... -
Page 19: Environmental Concerns
Help protect the contact your municipal office. environment and human health by recycling waste of electrical and electronic appliances. Do not dispose of Electrolux Appliances AB - Contact Address: Al. Powstańców Śląskich 26, 30-570 Kraków, Poland... - Page 20 www.electrolux.com/shop...