Table of Contents
Advertisement
Quick Links
Advertisement
Table of Contents

Related Manuals for Electrolux KGS6424SX


Summary of Contents for Electrolux KGS6424SX
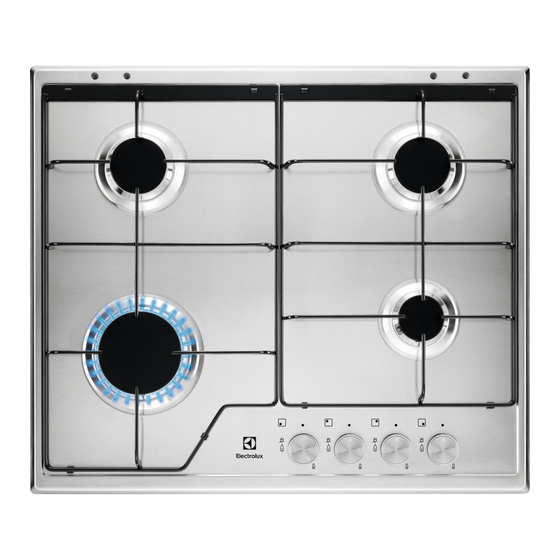
- Page 1 KGS6424SX User Manual...
-
Page 2: Table Of Contents
10. ENERGY EFFICIENCY.................. 17 WE’RE THINKING OF YOU Thank you for purchasing an Electrolux appliance. You’ve chosen a product that brings with it decades of professional experience and innovation. Ingenious and stylish, it has been designed with you in mind. So whenever you use it, you can be safe in the knowledge that you’ll get great results every time. - Page 3 ENGLISH instructions in a safe and accessible location for future reference. 1.1 Children and vulnerable people safety This appliance can be used by children aged from 8 • years and above and persons with reduced physical, sensory or mental capabilities or lack of experience and knowledge if they have been given supervision or instruction concerning the use of the appliance in a safe way and understand the hazards involved.
- Page 4 CAUTION: The cooking process has to be supervised. • A short term cooking process has to be supervised continuously. WARNING: Danger of fire: Do not store items on the • cooking surfaces. Metallic objects such as knives, forks, spoons and lids •...
-
Page 5: Safety Instructions
ENGLISH 2. SAFETY INSTRUCTIONS • Before carrying out any operation This appliance is suitable for the make sure that the appliance is following markets: IT disconnected from the power supply. • Make sure that the parameters on the 2.1 Installation rating plate are compatible with the electrical ratings of the mains power WARNING! - Page 6 The isolation WARNING! device must have a contact opening Risk of fire and explosion width of minimum 3 mm. • Fats and oil when heated can release 2.3 Gas connection flammable vapours. Keep flames or heated objects away from fats and •...
-
Page 7: Installation
ENGLISH • This appliance is for cooking • Clean the appliance with a moist soft purposes only. It must not be used for cloth. Only use neutral detergents. Do other purposes, for example room not use any abrasive products, heating. abrasive cleaning pads, solvents or •... - Page 8 Also be 2. Remove the caps and crowns of the careful when the hob is put together with burner. an oven. 3. With a socket spanner 7 remove the injectors and replace them with the...
- Page 9 ENGLISH • Always use a correctly installed shockproof socket. • Make sure that there is an access to the mains plug after the installation. • Do not pull the mains cable to disconnect the appliance. Always pull the mains plug. •...
- Page 10 3.7 Assembly min. min. A) supplied bracket 650 mm 100 mm min. 55 mm 30 mm 480 mm 560 mm CAUTION! Install the appliance only on a worktop with flat surface.
-
Page 11: Product Description
ENGLISH 3.8 Installing hob under the A. Removable panel B. Space for connections hood If you install the hob under a Kitchen unit with oven hood, please see the The electrical connection of the hob and installation instructions of the the oven must be installed separately for hood for the minimum safety reasons and to let easy remove... -
Page 12: Daily Use
Symbol Description minimum gas supply 5. DAILY USE lets the thermocouple warm up. If WARNING! not, the gas supply is interrupted. Refer to Safety chapters. 3. Adjust the flame after it is regular. If after some tries the burner 5.1 Burner overview... -
Page 13: Hints And Tips
ENGLISH The hob is supplied with the WARNING! progressive valves. They Always turn the flame down make the flame regulation or switch it off before you more precise. remove the pans from the burner. 5.3 Turning the burner off To put the flame out, turn the knob to the off position 6. -
Page 14: Care And Cleaning
7. CARE AND CLEANING 4. For the burner to operate correctly, WARNING! make sure that the arms of the pan Refer to Safety chapters. supports are aligned with the centre of the burner. 7.1 General information • Clean the hob after each use. -
Page 15: Troubleshooting
ENGLISH check that the burner crown holes are conditions of the gas supply pipe and the not obstructed. pressure adjuster, if fitted. 7.5 Periodic maintenance Speak to your local Authorised Service Centre periodically to check the 8. TROUBLESHOOTING WARNING! Refer to Safety chapters. 8.1 What to do if... -
Page 16: Technical Data
8.3 Labels supplied with the accessories bag Stick the adhesive labels as indicated below: MOD. MOD. MOD. TYPE PROD.NO. IP20 PROD.NO. PROD.NO. SER.NO. 0049 SER.NO SER.NO 03 IT DATA DATA MADE IN ITALY A. Stick it on Guarantee Card and send C. -
Page 17: Energy Efficiency
NOMINAL GAS FLOW g/h POWER POWER MARK G30 28-30 G31 37 mbar mbar Rapid 0,95 Semi-rapid Auxiliary 0,33 10. ENERGY EFFICIENCY 10.1 Product information according to EU 66/2014 Model identification KGS6424SX Type of hob Built-in hob Number of gas burners... - Page 18 Left rear - Semi-rapid 59.5% Right rear - Semi-rapid 59.5% Energy efficiency per gas burner (EE gas burner) Left front - Rapid 57.4% Right front - Auxiliary not applicable Energy efficiency for the gas hob 58.8% (EE gas hob)
- Page 19 ENGLISH...
- Page 20 www.electrolux.com/shop...