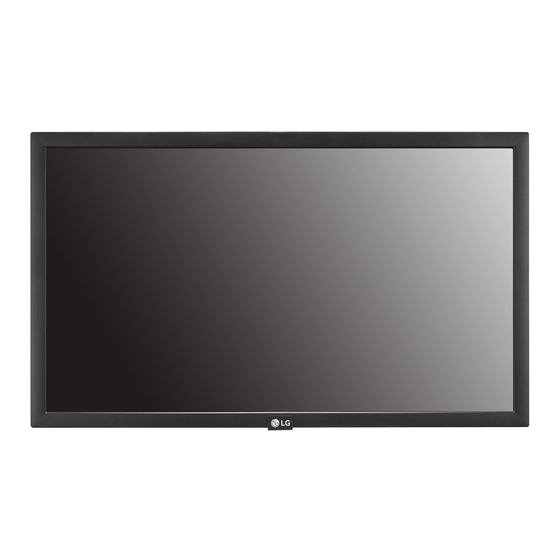
Summary of Contents for LG 22SM3B-B
- Page 1 OWNER’S MANUAL LG Digital Signage (MONITOR SIGNAGE) Please read this manual carefully before operating your set and retain it for future reference. 22SM3B www.lg.com...
-
Page 2: Table Of Contents
TABLE OF CONTENTS LICENSES ASSEMBLY AND PREPARATION Optional Accessories Parts and Buttons Portrait Layout Attaching and removing the LG Logo Bracket Installing the Wall Mount Plate Installing on the Wall REMOTE CONTROL MAKING CONNECTIONS Connecting to a PC External Device Connection... -
Page 3: Licenses
LICENSES Supported licenses may differ by model. For more information of the licenses, visit www.lg.com . The terms HDMI and HDMI High-Definition Multimedia Interface, and the HDMI Logo are trademarks or registered trademarks of HDMI Licensing LLC in the United States and other countries. -
Page 4: Assembly And Preparation
SuperSign Software & Manual - Downloading from the LG Electronics website. - Visit the LG Electronics website ( http://partner.lge.com ) and download the latest software for your model. Optional Accessories Without prior notice, optional accessories are subject to change to improve the performance of the product, and new accessories may be added. -
Page 5: Parts And Buttons
Parts and Buttons Portrait Layout - The image may be different according to the To install in portrait mode, rotate the set model. counterclockwise 90 degrees when looking at from the front. Using Kensington Lock (This is not available for all models.) Buttons The Kensington security system connector is located at the back of the monitor. -
Page 6: Attaching And Removing The Lg Logo Bracket
Using a screwdriver, remove the screw that secures a screwdriver, remove the screw that secures the LG Logo Bracket to the bottom rear of the the LG Logo Bracket to the bottom rear of the monitor. -
Page 7: Installing The Wall Mount Plate
A non-VESA standard screw may damage the product and cause the monitor to fall. LG Electronics is not liable for any accidents relating to the use of non-standard screws. Wall Mount (A x B) 100 x 100... - Page 8 Installing the monitor on the ceiling or on a slanted wall may result in the monitor falling off, which could lead to injury. Use an authorized LG wall mount and contact the local dealer or quali- fied personnel.
-
Page 9: Remote Control
REMOTE CONTROL The descriptions in this manual are based on the buttons on the remote control. Please read this manual carefully to use the monitor correctly. To install batteries, open the battery cover, place batteries (1.5 V AAA) matching terminals to the labels inside the compartment, and close the battery cover. - Page 10 Selects the Picture Mode. Activates the Launcher. Enters the White Balance menu. Accesses the main menus or saves your input and exit menus. SuperSign menu key (Depending upon the model, this feature may not be supported.) Navigation Buttons Scrolls through menus or options. Selects menus or options and confirms your input.
-
Page 11: Making Connections
MAKING CONNECTIONS You can connect various external devices to your monitor. Change the input mode and select the external device you want to connect. For more information about external device connections, see the user manual provided with each device. Connecting to a PC Some of the cables are not provided. -
Page 12: Using The Input List
Using the Input List RGB → HDMI... -
Page 13: Troubleshooting
TROUBLESHOOTING No image is displayed Problem Action Is the product power cord connected? Check if the power cord is correctly plugged into the power outlet Does the Out of range message The signal from the PC (video card) is out of the vertical or appear? horizontal frequency range of the product. - Page 14 The audio function does not work. Problem Action No sound? See if the audio cable is connected properly. Adjust the volume. See if the sound is set properly. Sound is too dull. Select the appropriate equalizer sound. Sound is too low. Adjust the volume.
- Page 15 CAUTION • Displaying a still image for a long time may cause damage to the screen, resulting in a ghost image. Damage resulting from the reason above is not covered by the product warranty. • Image sticking does not occur when using constantly changing images but may occur when using a fixed image for an extended period of time.
-
Page 16: Product Specifications
PRODUCT SPECIFICATIONS The product specifications below may be changed without prior notice due to upgrade of product functions. LCD screen Screen type Thin Film Transistor (TFT) Liquid Crystal Display (LCD) Screen Video signal Maximum resolution 1920 x 1080 @ 60 Hz - This may not be supported on some OS or graphic card types. - Page 17 22SM3B LCD screen Pixel pitch 0.08265 mm (H) x 0.24795 mm (V) Power Rated power AC 100-240 V~ 50/60 Hz 0.9 A Power consumption On Mode: 35 W Typ. Sleep Mode (RGB, HDMI): ≤ 1.0 W Off Mode: ≤ 0.5 W Dimensions (Width Head 510.3 mm x 302.1 mm x 53.8 mm / 3.6 kg...
- Page 18 RGB (PC) Support Mode HDMI (DTV) Support Mode Horizontal Vertical frequency Horizontal Vertical frequency Resolution Resolution frequency (kHz) (Hz) frequency (kHz) (Hz) 720 x 400 31.468 70.8 480/60p 31.5 640 x 480 31.469 59.94 576/50p 31.25 800 x 600 37.879 60.317 720/50p 37.5...
- Page 19 Make sure to read the Safety Precautions before using the product. WARNING - This equipment is compliant with The model and serial numbers of the SET are Class A of CISPR 32. In a residential environment located on the back and one side of the SET. this equipment may cause radio interference.


