Table of Contents
Advertisement
Quick Links
Advertisement
Table of Contents

Related Manuals for Zanussi ZXAE82FR


Summary of Contents for Zanussi ZXAE82FR
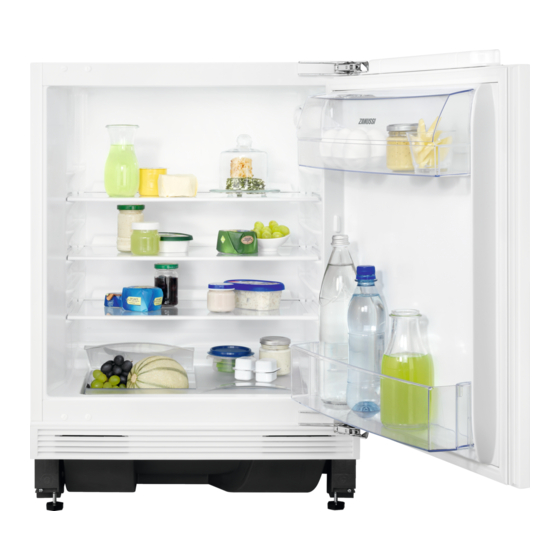
- Page 1 User Manual GETTING STARTED? EASY. ZXAE82FR EN User Manual Refrigerator...
-
Page 2: Safety Information
VISIT OUR WEBSITE TO: Get usage advice, brochures, trouble shooter, service and repair information: www.zanussi.com/support SAFETY INFORMATION Before the installation and use of the appliance, carefully read the supplied instructions. The manufacturer is not responsible for any injuries or damage that are the result of incorrect installation or usage. -
Page 3: Safety Instructions
By clients in hotels, motels, bed and breakfast and other – residential type environments. To avoid contamination of food respect the following • instructions: do not open the door for long periods; – clean regularly surfaces that can come in contact with food –... -
Page 4: Electrical Connection
• Always take care when moving the appliance as it is heavy. Always use safety gloves and WARNING! Risk of injury, burns, enclosed footwear. electric shock or fire. • Make sure the air can circulate around the appliance. • At first installation or after reversing the door wait at least 4 hours before connecting the The appliance contains flammable gas, appliance to the power supply. -
Page 5: Installation
• This appliance contains hydrocarbons in the • Door gaskets will be available for 10 years after cooling unit. Only a qualified person must do the the model has been discontinued. maintenance and the recharging of the unit. DISPOSAL • Regularly examine the drain of the appliance and if necessary, clean it. - Page 6 If you have any doubts regarding Overall dimensions ¹ where to install the appliance, please turn to the vendor, to our customer service or to the nearest Authorised Service Centre. It must be possible to disconnect the appliance from the mains power supply.
-
Page 7: Control Panel
2. Connect the wire coloured blue to the terminal VENTILATION REQUIREMENTS either marked with the letter “N“ or coloured CAUTION! Appliance must be black. installed according to installation 3. Connect the wire coloured brown to the instruction in order to ensure required terminal either marked with the “L“... -
Page 8: Movable Shelves
Do not move the glass shelf above the vegetable drawer to ensure correct air circulation. VEGETABLE DRAWER MOVABLE SHELVES There is a special drawer in the bottom part of the The walls of the refrigerator are equipped with a appliance suitable for storage of fruits and series of runners so that the shelves can be vegetables. -
Page 9: Care And Cleaning
• Always refer to the expiry date of the products to know how long to keep them. CARE AND CLEANING WARNING! Refer to Safety chapters. CLEANING THE INTERIOR Before using the appliance for the first time, the interior and all internal accessories should be washed with lukewarm water and some neutral soap to remove the typical smell of a brand-new product, then dried thoroughly. -
Page 10: Troubleshooting
TROUBLESHOOTING WARNING! Refer to Safety chapters. WHAT TO DO IF... Problem Possible cause Solution The appliance does not oper- The appliance is switched off. Switch on the appliance. ate. The mains plug is not connec- Connect the mains plug to the ted to the mains socket cor- mains socket correctly. - Page 11 Problem Possible cause Solution Food products are not wrap- Wrap the food products better. ped properly. Temperature is set incorrectly. Refer to "Control Panel" chap- ter. Appliance is fully loaded and is Set a higher temperature. Re- set to the lowest temperature. fer to "Control Panel"...
-
Page 12: Replacing The Lamp
3. Replace the bulb with the one that has identical If the advice does not lead to the characteristics and is specifically designed for desired result, call the nearest household appliances. Authorized Service Centre. 4. Reassemble the lamp cover. 5. Tighten the screw to the lamp cover. 6. -
Page 13: Technical Data
NOISES SSSRRR! BRRR! CLICK! HISSS! BLUBB! TECHNICAL DATA The technical information is situated in the rating related to the performance of the appliance. Keep plate on the internal side of the appliance and on the energy label for reference together with the the energy label. - Page 16 WWW.ZANUSSI.COM/SHOP...