Table of Contents
Advertisement
Advertisement
Table of Contents
Troubleshooting

Related Manuals for HP 200-5250


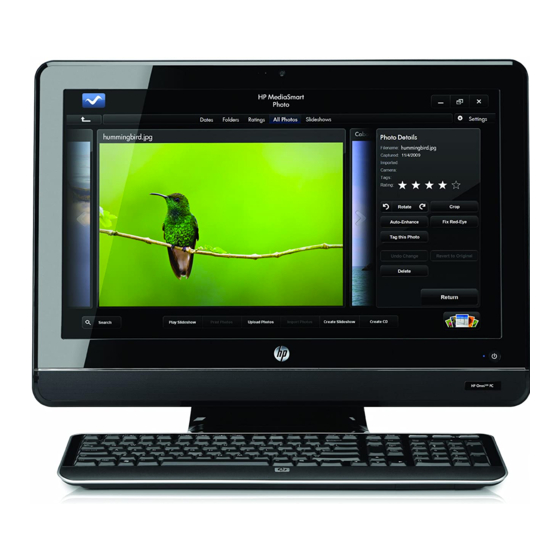
Summary of Contents for HP 200-5250
- Page 1 Getting Started...
- Page 2 Nothing herein should be construed as constituting an additional warranty. HP shall not be liable for technical or editorial errors or omissions contained herein. HP assumes no responsibility for the use or reliability of its software on equipment that is not furnished by HP.
-
Page 3: Table Of Contents
Table of contents 1 Getting information 2 Setting up your computer Protecting your computer ... 3 Guidelines for installing software and hardware devices ... 4 Connecting to the Internet ... 4 Transferring files and settings to your new computer ... 5 3 Troubleshooting and maintenance Computer does not start ... - Page 4 ENWW...
-
Page 5: Getting Information
Upgrading and Servicing Guide Click the Start button, click All Programs, and then click User Guides. If the guide is not available there, visit www.hp.com/support Limited Warranty and Support Guide or the Warranty and Support Information included with your computer. - Page 6 HP Support Assistant — Maintains your computer performance and resolve problems faster by using automated updates, onboard diagnostics, and guided assistance. Click the Start button, click All Programs, click HP, and then click HP Support Assistant. Safety & Comfort Guide Click the Start button, click All Programs, and then click User Guides or visit www.hp.com/ergo.
-
Page 7: Setting Up Your Computer
Read the Safety & Comfort Guide for proper workstation setup, posture, health and work habits, and electrical and mechanical safety information. Click the Start button, click All Programs, and then click User Guides or visit www.hp.com/ergo. Protecting your computer Computer risk... -
Page 8: Guidelines For Installing Software And Hardware Devices
NOTE: Security solutions can deter theft, mishandling, and software attacks, but cannot prevent them. Guidelines for installing software and hardware devices After you complete the initial computer setup, you might want to install additional software programs or hardware devices. Check the operating system, memory, and other requirements listed before purchasing new software or hardware for your computer. -
Page 9: Transferring Files And Settings To Your New Computer
Transferring files and settings to your new computer You can copy files from another computer to your new computer by using CDs or DVDs, memory sticks, and external hard drives. You can also use Windows Easy Transfer software, which is included with Windows 7 (select models only), to copy files and settings to a storage device or, using an Easy Transfer Cable, directly from another computer to the new computer. -
Page 10: Power
Symptom Possible solution Test the wall outlet by connecting a different electrical device to it. Computer seems to Use the Windows Task Manager to close any programs not responding, or restart the computer: be locked up and is Press the Ctrl+Alt+Delete keys on the keyboard simultaneously. not responding. -
Page 11: Keyboard And Mouse (With Cable)
Symptom Possible solution Screen is blank. Press the space bar on the keyboard or move the mouse to make the screen display visible again. Press the Sleep button (select models only), or the Esc key on the keyboard, to resume from Sleep mode. -
Page 12: Keyboard And Mouse (Wireless)
Symptom Possible solution Cursor does not Use the keyboard to save changes in all open programs, and then restart your computer: respond to mouse Press the Alt+Tab keys simultaneously to navigate to an open program. movement. Press the Ctrl+S key simultaneously to save your changes in the selected program (Ctrl +S is the keyboard shortcut for Save on most—not all—programs). -
Page 13: Speakers And Sound
Symptom Possible solution The receiver, wireless keyboard, and wireless mouse shown in the following illustrations are examples; your models might vary. IMPORTANT: During these steps, place the wireless keyboard and wireless mouse on the same level as the receiver, within 30 cm (12 inches) of the receiver, and away from interference from other devices. -
Page 14: Internet Access
Symptom Possible solution No sound is For Windows 7: produced. Click the Start button, click Control Panel, click Action Center, and then click Troubleshooting. Under Hardware and Sound, click Troubleshoot and audio playback. If you use an HDMI connector on the graphics card (select models only) to connect your monitor to the computer, you should also connect analog speakers to the computer Audio Line Out connector if you want to hear sound during the initial setup of the computer. -
Page 15: Software Troubleshooting
Symptom Possible solution Run the wireless setup wizard: Click the Start button, click Control Panel, click Network and Internet, and then click Network and Sharing Center. In the Network and Sharing Center window, click Set up a connection or network to open the wizard, and then follow the onscreen instructions. If your system has an external antenna, try to move the antenna to a better position. -
Page 16: Updating Drivers
Click the plus sign (+) to expand the type of device you want to update or rollback. (For example, DVD/CD- ROM drives). Double-click the specific item (for example, HP DVD Writer 640b). Click the Driver tab. To update a driver, click Update Driver, and then follow the onscreen instructions. -
Page 17: Software Program And Hardware Driver Reinstallation
To add restore points manually: Close all open programs. Click the Start button, right-click Computer, click Properties, and then click System protection. Under Protection Settings, select the disk for which you want to create a restore point. Click Create, and then follow the onscreen instructions. Software program and hardware driver reinstallation If any of your factory-installed software programs or hardware drivers are damaged, you can reinstall it by using the Recovery Manager program (select models only). -
Page 18: Maintenance
To reinstall a program using the Recovery Manager: Click the Start button, click All Programs, click Recovery Manager, and then click Recovery Manager. Click Software Program Reinstallation, and then click Next at the Welcome screen. Choose the program you want to install, click Next, and follow the onscreen instructions. When you have finished reinstalling, restart the computer. - Page 19 Check your system once a month for visible signs of dust and debris, and clean it about once every three months. Visit www.hp.com/support for additional cleaning instructions. Cleaning the computer vents Air vents keep the computer and monitor cool.
-
Page 20: System Recovery
Through the hard disk drive, by pressing the F11 key on the keyboard during system startup. Through recovery discs that you create. Through recovery discs purchased from HP Support. To purchase recovery discs, visit www.hp.com/support. System Recovery from the Windows 7 Start Menu CAUTION: System Recovery deletes all data and programs you created or installed. -
Page 21: System Recovery At System Startup
System Recovery begins. After System Recovery is complete, click Finish to restart the computer. Complete the registration process, and wait until you see the desktop. 10. Turn off the computer, reconnect all peripheral devices, and turn the computer back on. -
Page 22: Recovery Discs
System Recovery from recovery discs CAUTION: System Recovery deletes all data and programs you created or installed. Back up any important data to a removable disc. To create recovery discs, see Recovery discs on page 18. To perform a System Recovery using recovery discs: If the computer is working, create a backup DVD containing all the data files you want to save, and then remove the backup disc from the drive tray. -
Page 23: Choosing Recovery Discs
Choosing recovery discs ● To create recovery discs, your computer must have a DVD writer, and you must use only high-quality blank DVD +R or DVD-R discs. NOTE: You cannot use CDs or DVD+RW, DVD-RW, DVD+RW DL, DVD-RW DL, DVD+R DL, or DVD-R DL discs to create recovery discs. - Page 24 The power to make a change Thank you for your purchase. HP is dedicated to producing the highest quality, best performing, and easiest to use computers in the world. HP also designed this product with the environment in mind. But to reduce its impact even further, we need your help.