Advertisement
Available languages
Available languages
Quick Links
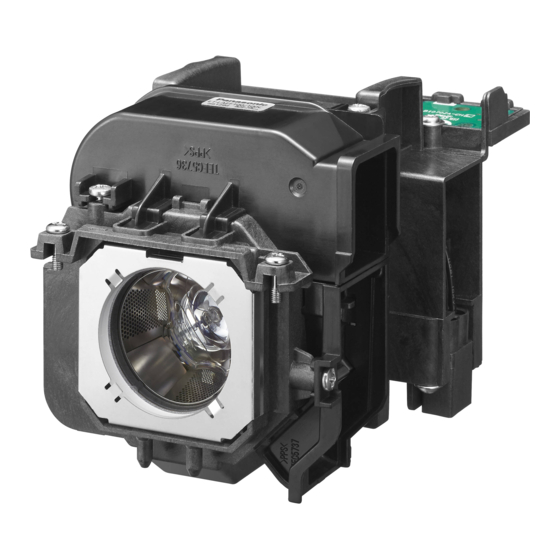
Replacement Lamp Unit Commercial Use
Thank you for purchasing this Panasonic product.
¢ Please read these operating instructions and the projector operating instructions
carefully, and then use this product correctly.
¢ Before using this product, be sure to read "Read this first!" ( x Page 2).
¢ Please save this manual for future use.
Operating Instructions
Model No.
ET-LAEF100
ENGLISH
FRANÇAIS
DPQX1005ZC/X1
Advertisement

Related Manuals for Panasonic ET-LAEF100


Summary of Contents for Panasonic ET-LAEF100
- Page 1 Model No. ENGLISH FRANÇAIS Thank you for purchasing this Panasonic product. ¢ Please read these operating instructions and the projector operating instructions carefully, and then use this product correctly. ¢ Before using this product, be sure to read “Read this first!” ( x Page 2).
-
Page 2: Read This First
Read this first! Always follow these precautions WARNING: Before replacing the lamp unit, be sure to turn the power off and to dis- connect the power plug from the wall outlet. Electric shocks or explosions can result if this is not done. Do not disassemble the lamp unit. - Page 3 Español Fabricado por: Panasonic Connect Co., Ltd. 4-1-62 Minoshima, Hakata-ku, Fukuoka 812-8531, Japón Importador: Panasonic Connect Europe GmbH Representante Autorizado para la UE: Panasonic Testing Centre Winsbergring 15, 22525 Hamburgo, Alemania Deutsch Hergestellt von: Panasonic Connect Co., Ltd. 4-1-62 Minoshima, Hakata-ku, Fukuoka 812-8531, Japan...
- Page 4 Čeština Vyrobil: Panasonic Connect Co., Ltd. 4-1-62 Minoshima, Hakata-ku, Fukuoka 812-8531, Japonsko Dovozce: Panasonic Connect Europe GmbH Oprávněný zástupce v EU: Panasonic Testing Centre Winsbergring 15, 22525 Hamburk, Německo Dansk Fremstillet af: Panasonic Connect Co., Ltd. 4-1-62 Minoshima, Hakata-ku, Fukuoka 812-8531, Japan Importør: Panasonic Connect Europe GmbH...
- Page 5 Nederlands Geproduceerd door: Panasonic Connect Co., Ltd. 4-1-62 Minoshima, Hakata-ku, Fukuoka 812-8531, Japan Importeur: Panasonic Connect Europe GmbH Bevoegde vertegenwoordiger in de EU: Panasonic Testing Centre Winsbergring 15, 22525 Hamburg, Duitsland Norsk Produsert av: Panasonic Connect Co., Ltd. 4-1-62 Minoshima, Hakata-ku, Fukuoka 812-8531, Japan Importør: Panasonic Connect Europe GmbH...
- Page 6 Svenska Tillverkad av: Panasonic Connect Co., Ltd. 4-1-62 Minoshima, Hakata-ku, Fukuoka 812-8531, Japan Importör: Panasonic Connect Europe GmbH Auktoriserad representant i EU: Panasonic Testing Centre Winsbergring 15, 22525 Hamburg, Tyskland Türkçe Tarafından Üretilmiştir: Panasonic Connect Co., Ltd. 4-1-62 Minoshima, Hakata-ku, Fukuoka 812-8531, Japonya İthalatçı: Panasonic Connect Europe GmbH...
-
Page 7: Replacing The Lamp Unit
Replacing the lamp unit Be sure to turn off the power before replacing the lamp unit. When switching off the projector, make sure to follow the procedures in “Switching off the projector” ( x page 7). It is recommended that you request a qualified technician to replace the lamp unit. Consult your dealer. - Page 8 Replacing the lamp unit (continued) Press the <OFF> side of the <MAIN POWER> switch to turn off the power. Replacing the lamp unit Attention When the projector is mounted on the ceiling, do not make the replacement while your face is near the lamp unit.
- Page 9 Replacing the lamp unit (continued) Note When you replace the lamp unit with new one, the projector resets the total usage time of the lamp unit automatically. Attention After unpacking the lamp unit, discard the packaging material properly. ENGLISH - 9...
- Page 10 Penalties may be applicable for incorrect disposal of this waste, in accordance with national legislation. Product information (for Turkey only) AEEE Yönetmeliğine Uygundur Panasonic Connect Co., Ltd. TI0316JG2062 -PT Web Site : https://panasonic.net/cns/projector/ Printed in China © Panasonic Connect Co., Ltd. 2022...
-
Page 11: Manuel D'utilisation
N° de modèle ENGLISH FRANÇAIS Nous vous remercions d’avoir acheté ce produit Panasonic. ¢ Veuillez lire attentivement ce manuel d’utilisation ainsi que le mode d’emploi du projecteur, afin utiliser ce produit correctement. ¢ Avant d’utiliser ce produit, assurez-vous de lire “Avis important concernant la sécurité”... - Page 12 Avis important concernant la sécurité Toujours suivre les précautions ci-dessous AVERTISSEMENT : Avant le remplacement de la lampe, veillez à couper l’alimentation et à débrancher la fiche d’alimentation de la prise murale. Il y a risque d’électrocution ou d’explosion. Ne pas démonter la lampe. Si la lampe se casse, cela risque d’entraîner des blessures.
-
Page 13: Remplacement De La Lampe
Remplacement de la lampe Veillez à couper l'alimentation avant de remplacer la lampe. Lors de la mise hors tension du projecteur, suivez les procédures décrites dans “Mise hors tension du projecteur” ( x page 3). Il est recommandé de demander les services d’un technicien qualifié pour remplacer la lampe. - Page 14 Remplacement de la lampe (suite) Attendez jusqu'à ce que le voyant d'alimentation <ON (G)/STANDBY(R)> s'allume ou clignote en rouge. Appuyez sur le côté <OFF> du commutateur <MAIN POWER> pour mettre l’alimentation hors tension. Remplacement de la lampe Attention Lorsque le projecteur est fixé au plafond, n’effectuez aucune tâche tant que votre visage se trouve à...
- Page 15 Remplacement de la lampe (suite) Fixez le cache de lampe. (i) Exécutez l'étape 2) dans l'ordre inverse afin de fixer le cache de lampe. (ii) Utilisez un tournevis cruciforme pour visser fermement la vis de fixation du cache de lampe (x1). f Veillez à...
- Page 16 Fabriqué par: Panasonic Connect Co., Ltd. 4-1-62 Minoshima, Hakata-ku, Fukuoka 812-8531, Japon Importateur: Panasonic Connect Europe GmbH Représentant autorisé dans l’UE: Panasonic Testing Centre Winsbergring 15, 22525 Hambourg, Allemagne Panasonic Connect Co., Ltd. Web Site : https://panasonic.net/cns/projector/ TI0412JG2062 -PT ©...