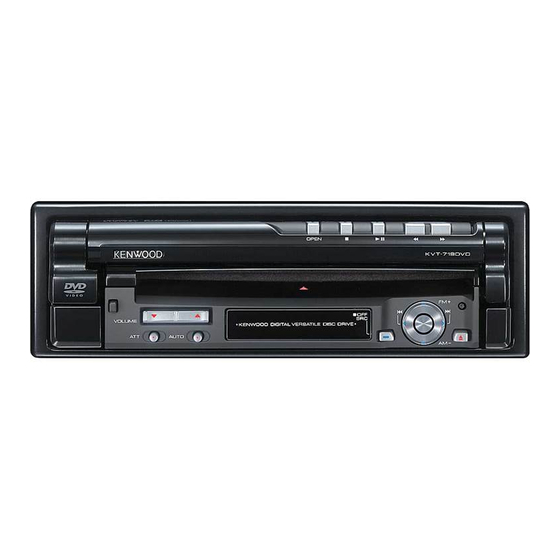
Kenwood KVT-719DVD Installation Manual
Monitor with dvd receiver
Hide thumbs
Also See for KVT-719DVD:
- Service manual (114 pages) ,
- Instruction manual (100 pages) ,
- Training manual (52 pages)

Related Manuals for Kenwood KVT-719DVD


Summary of Contents for Kenwood KVT-719DVD
-
Page 1: Installation Manual
KVT-719DVD KVT-739DVD MONITOR WITH DVD RECEIVER INSTALLATION MANUAL MONITOR CON RECEPTOR DVD MANUAL DE INSTALACIÓN © B54-4513-00/00 (KV/RV) - Page 2 Accessories KVT-719DVD/KVT-739DVD ...1 ...1 ...1 ...1 ...1 ...2 ...4 ...4 ...2 ...4 ...4 ...2...
-
Page 3: Installation Procedure
Installation Procedure 1. To prevent a short circuit, remove the key from the ignition and disconnect the - battery. 2. Make the proper input and output wire connections for each unit. 3. Connect the speaker wires of the wiring harness. 4. -
Page 4: Connection
PRK SW Connect to the terminal that is grounded when either the telephone rings or during conversation. To connect the Kenwood navigation system, consult your navigation manual. Depending on what antenna you are using, connect either to the control terminal of the motor antenna, or to the power terminal for the booster amplifier of the film-type antenna. - Page 5 Receiver unit Accessory 3 Receiver unit FM/AM antenna input REVERSE ILLUMI REMO.CONT MUTE ANT CONT P. CONT EXT. CONT Accessory @ The cable (Accessory 3) is fixed with a chassis using harness band (Accessory Wiring harness (Accessory 1) White/Black White Gray/Black Gray Green/Black...
-
Page 6: System Connection
System Connection Receiver unit KVT-719DVD/KVT-739DVD ■ Front Preout • Audio left output (White) • Audio right output (Red) ■ Rear Preout • Audio left output (White) • Audio right output (Red) ■ Subwoofer Preout • Audio left output (White) • Audio right output (Red) ■... -
Page 7: Optional Accessory Connection
Optional Accessory Connection iPod (commercially available) KCA-iP300V (Optional Accessory) Audio Output (Black) Visual Output (Yellow) USB terminal Receiver unit Connection cable (Included in the Disc changer) Disc Changer etc. (Optional Accessory) TV Tuner (Optional Accessory) UNIT MONITOR Audio Input Resistance-free stereo type mini plug (3.5Ф) Visual Input Resistance-free mini plug (3.5Ф) -
Page 8: Installation For Monitor/Player Unit
1. Attach the installation brackets 9 to the sides of the receiver unit using the sems bolts 7. 2. Use the tapping screw 8 to secure the receiver unit to the audio board. KVT-719DVD/KVT-739DVD Firewall or metal support Accessory 5 Metal mounting strap (commercially available) Sems bolts (M4 ×... -
Page 9: Removing The Unit
Removing Monitor/Player Unit Removing the Hard Rubber Frame (escutcheon) 1. Engage the catch pins on the removal tool 6 and remove the two locks on the lower level. Lower the frame and pull it forward as shown in the figure. Removal Tool (Accessory 6) ⁄... -
Page 10: Installing In Japanese-Made Cars
Audio unit or others ⁄ • Do not use your own screws. Use only the screws provided. If you use the wrong screws, you could damage the unit. KVT-719DVD/KVT-739DVD Car Bracket Accessory 0 (M5x6mm) or Accessory ! (M5x7mm) Screws (included in... - Page 11 Installation on Toyota Car using Brackets at Holes shown by "●" When using the bracket shown above, you cannot use screws at two holes of the right and left unit sides. 1. Mount the bracket at each side. Accessory 0 (M5x6mm) Screws (included in audio unit package) 2.
- Page 12 Accesorios KVT-719DVD/KVT-739DVD ...1 ...1 ...1 ...1 ...1 ...2 ...4 ...4 ...2 ...4 ...4 ...2...
-
Page 13: Procedimiento De Instalación
Procedimiento de instalación 1. Para evitar cortocircuitos, retire la llave de encendido y desconecte la batería -. 2. Realice en forma adecuada las conexiones de cables de entrada y salida para cada unidad. 3. Conecte los cables de los altavoces del mazo de cables. - Page 14 Conecte al terminal puesto a masa ya sea al sonar el Para conectar el sistema de navegación Kenwood, consulte el manual de navegación. En función de la antena que utilice, conéctelo al terminal de control de la antena del motor o al terminal de potencia para el amplificador de la antena de tipo película.
- Page 15 Receptor Accesorio 3 Receptor Entrada de antena FM/AM REVERSE ILLUMI REMO.CONT MUTE ANT CONT P. CONT EXT. CONT Accesorio @ Un cable óptico (Accesorio 3) está fijo a un chasis mediante una banda preformada (Accesorio @) Mazo de conductores (Accesorio1) Blanco/Negro Blanco Gris/Negro...
-
Page 16: Conexión Del Sistema
Conexión del sistema Receptor KVT-719DVD/KVT-739DVD ■ Salida previa delantera • Salida izquierda de audio (Blanca) • Salida derecha de audio (Roja) ■ Salida previa trasera • Salida izquierda de audio (Blanca) • Salida derecha de audio (Roja) ■ Salida previa del subwoofer •... - Page 17 Conexión de accesorios opcionales iPod (disponible en el comercio) KCA-iP300V (Accesorio opcional) Salida de audio (Negro) Salida visual (Amarillo) Terminal USB Receptor Cable de conexión (Incluido en el cambiador de discos) Cambiador de discos, etc. (Accesorio opcional) Sintonizador de TV (Accesorio opcional) UNIT MONITOR...
- Page 18 1. Instale los soportes de instalación 9 a los lados de la unidad escondida utilizando los pernos 7. 2. Utilice el tornillo de rosca cortante 8 para asegurar la unidad escondida al panel de audio. KVT-719DVD/KVT-739DVD Muro cortafuego o soporte de metal Accesorio 5 Correa de montaje metálica...
- Page 19 Desinstalación de monitor/reproductor Desinstalación del marco duro de goma (escudete) 1. Enganche la uña en la herramienta de extracción 6 ay retire los dos cierres provistos en dos lugares de la parte inferior. Tal como se muestra en la figura, baje el marco y extráigalo hacia adelante.
- Page 20 Unidad de audio y otros ⁄ • No utilice sus propios tornillos. Utilice únicamente los tornillos suministrados. Si utiliza tornillos erróneos, podría dañar la unidad. KVT-719DVD/KVT-739DVD Abrazadera Accesorio 0 (M5x6mm) o Accesorio ! (M5x7mm) Tornillos (incluidos en el paquete de la...
- Page 21 Instalación en automóvil Toyota utilizando soportes en los orificios mostrados en "●" Cuando se utilice la abrazadera indicada anteriormente, no es posible utilizar tornillos en los dos oficios de los lados derecho e izquierdo de la unidad. 1. Monte la abrazadera a cada lado. Accesorio 0 (M5x6mm) Tornillos (incluidos en el paquete de la...