Advertisement
Quick Links
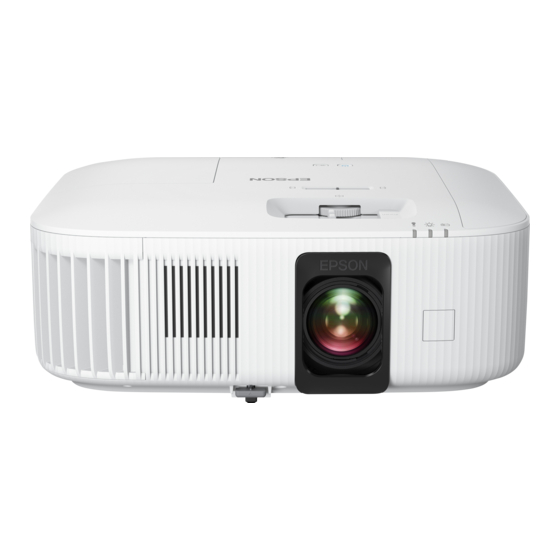
Home Cinema 2350
Quick Setup
IMPORTANT: Before using this product, make sure you read these instructions
and the safety instructions in the online User's Guide.
Contents
Make sure your projector box includes all of these parts:
remote control
Note: The extra cover is for using a different streaming device instead of the
built-in one. For information on connecting a different streaming device, see
the online User's Guide.
Connect the projector
Android TV
Your projector includes a built-in Android TV streaming device with apps that
can be launched when the projector remote control is paired to the projector.
To stream content, make sure you have a wireless Internet connection and
active streaming account and enter your login information as necessary for each
app.
Video device or computer
You can connect video equipment or a computer. Connect one end of an HDMI
cable (not included) to the projector's HDMI port and the other end to an
HDMI port on your video device or computer. See the online User's Guide for
details.
Caution: Do not turn on the video source before connecting it to the projector;
you may damage the projector.
Note:
• Some external video sources may require an optional HDMI adapter cable.
• For more information on connecting the projector to your computer or other
devices (camera, USB flash drive, etc.), see the online User's Guide.
Audio Out port
The projector has a built-in speaker. You can also connect the projector to
external self-powered speakers through the Audio Out port. See the online
User's Guide for more information.
Turn on your equipment
1
Turn on your computer or video source.
2
Plug in the projector. The
Projector
Android TV
®
remote control
power light on the projector turns blue.
3
Install the batteries into both remote controls.
Projector
remote control
4
Remove the lens cover.
5
Press the
power button on the projector or projector remote control.
The projector beeps, the
Note: To shut down the projector, press the
the projector or projector remote control.
6
Follow the on-screen instructions to pair the projector remote control and
set up Android TV.
Note: The default language of the projector menu system is English. To select
another language, press the
menu button on the projector or projector
remote control. Select Extended and press Enter. Select Language and press
Enter. Select your language and press Enter. Press the
the menu system.
Adjust the image
1
To raise the image, press the foot release button while you lift the front
of the projector. Release the button to lock the foot in position.
2
To adjust a tilted image when the projector is set on a flat surface, adjust
the rear feet so both sides are level.
3
To reduce or enlarge the image, use the zoom slider.
Android TV
remote control
status light flashes blue, and then stays on.
power button twice on
menu button to exit
Advertisement

Related Manuals for Epson Home Cinema 2350


Summary of Contents for Epson Home Cinema 2350
- Page 1 Home Cinema 2350 Quick Setup Install the batteries into both remote controls. IMPORTANT: Before using this product, make sure you read these instructions and the safety instructions in the online User’s Guide. Contents Projector Android TV remote control remote control Make sure your projector box includes all of these parts: Remove the lens cover.
- Page 2 For a list of optional accessories, see the online User’s Guide. Open streaming apps You can purchase screens or other accessories from an Epson authorized reseller. To find the nearest reseller, call 800-GO-EPSON (800-463-7766). Or you can purchase online at http://epsonstore.com (U.S. sales) or http://epsonstore.ca (Canadian sales).
- Page 3 Data transmission is always initiated by software, which is the passed down through B. What Epson Will Do To Correct Problems: If your product requires service during the the MAC, through the digital and analog baseband, and finally to the RF chip. Several limited warranty period, please call Epson at the number at the end of this statement special packets are initiated by the MAC.
- Page 4 8. Amendments to Section D: Notwithstanding any provision in this Agreement to with this Section D, you and Epson agree to try, for 60 days, to resolve any Dispute the contrary, you and Epson agree that if Epson makes any future amendments to informally.