Advertisement
Quick Links
Assembly Instructions
Part C
Part B
Part D
1. Attach parts B, C, and D to part A.
4. Assemble the box and glue it together.
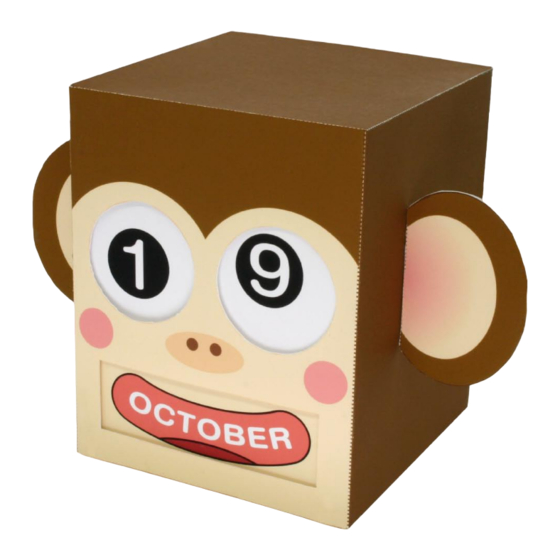
Cube Perpetual Calendar (Monkey)
Part E
Part A
2. Glue part E together.
Part H
Part I,J,K
This part is the lid,
so do not apply
any glue to it.
You can also keep
other parts inside
when not in use.
5. Assemble the month and date pieces,
and put them inside the box.
Tools and materials: Scissors, glue,ruler, a used ball-point pen
Notation Key:
Mountain fold
Valley fold
Scissors line
Cut in line
Glue spot
Cut out
Assembly tip: Trace along the folds with a ruler and a used
pen (no ink) to get a sharpe, easier fold.
Caution: Glue, scissors and other tools may be dangerous
to young children so be sure to keep them out of the reach
of young children.
Part F
3. Glue parts F and G together.
Cut out the eyes and mouth at
this point too.
Apply glue, and make
a mountain fold.
Part G
These parts become
the eyes and mouth
6. Finished!
Advertisement

Related Manuals for Canon Creative Park Cube Perpetual Calendar Monkey


Summary of Contents for Canon Creative Park Cube Perpetual Calendar Monkey
- Page 1 Cube Perpetual Calendar (Monkey) Tools and materials: Scissors, glue,ruler, a used ball-point pen Notation Key: Mountain fold Valley fold Scissors line Cut in line Glue spot Cut out Assembly tip: Trace along the folds with a ruler and a used pen (no ink) to get a sharpe, easier fold.
- Page 2 Cube Perpetual Calendar (Monkey) Part A...
- Page 3 Cube Perpetual Calendar (Monkey) Part B Part C Part D...
- Page 4 Cube Perpetual Calendar (Monkey) Part E Part F Part G...
- Page 5 Cube Perpetual Calendar (Monkey) Part H...
- Page 6 Cube Perpetual Calendar (Monkey) Part I...
- Page 7 Cube Perpetual Calendar (Monkey) Part J...
- Page 8 Cube Perpetual Calendar (Monkey) Part K...