Philips 170B4MG Installation And Operating Instructions Manual
Hide thumbs
Also See for 170B4MG:
- Specifications (2 pages) ,
- Electronic user's manual (85 pages) ,
- Service manual (103 pages)
Advertisement
Quick Links
Exhibit 3
Product Information
Product Features
•
Philips Pixel Defect Policy
Pin Assignment
•
Product Views
Product Features
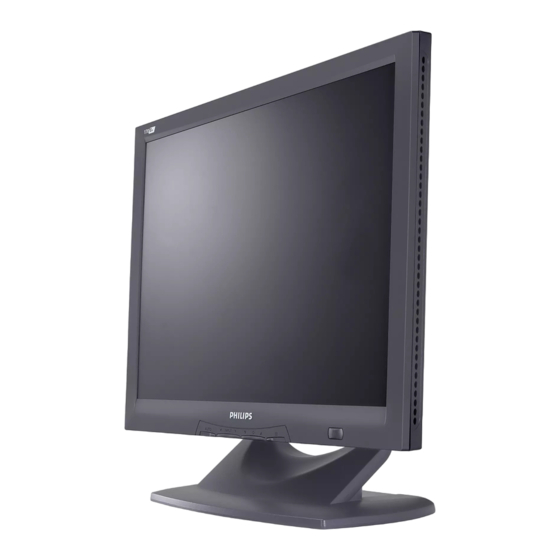
170B4MG
17-inch color LCD monitor with excellent display performance
Dual input - accepts DVI-D digital and VGA analog inputs
Embedded AC power supply
Front firing speakers with 2x2W RMS stereo sound output
Advanced AUTO adjustment optimizes picture quality
Rotation for both portrait and landscape display
Liner height adjustment for best viewing position
Adjustable tilt and swivel function
Optional self-powered USB hub
Technical Specifications*
LCD PANEL
• Type
• Screen size
• Pixel Pitch
• LCD Panel type
• Effective viewing area
• Display Colors
SCANNING
Vertical refresh rate
Horizontal Frequency
VIDEO
• Video dot rate
• Input impedance
- Video
Installstion and Operating Instructions
Technical Specifications
•
Automatic Power Saving
•
Physical Function
RETURN TO TOP OF THE PAGE
TFT LCD
17" / 43.2cm diagonal
0.264 x 0.264mm
1280 x 1024 pixels
R.G.B. vertical stripe
Anti-glare polarizer, hard coated
337.9 x 270.3 mm
16M colors
56Hz-76Hz
30kHz-82kHz
135MHz
75 ohm
•
Resolution & Preset Modes
•
Physical Specification
•
•
Advertisement

Related Manuals for Philips 170B4MG


Summary of Contents for Philips 170B4MG
- Page 1 Exhibit 3 Installstion and Operating Instructions Product Information Product Features • Technical Specifications • Resolution & Preset Modes • Philips Pixel Defect Policy • Automatic Power Saving • Physical Specification • Pin Assignment • Product Views • Physical Function Product Features...
- Page 2 - Sync 2.2K ohm • Input signal levels 0.7 Vpp Separate sync • Sync input signal Composite sync Sync on green • Sync polarities Positive and negative Dual input: D-Sub (analog) and DVI-D (digital) are • Video interface available and user selectable AUDIO •...
- Page 3 Used color < 40 W Active Green (typ.) Blanked < 1 W Amber TAR ® compliant. TAR ® PHILIPS This monitor is NERGY s an NERGY artner, TAR ® guidelines for energy has determined that this product meets the NERGY...
- Page 4 efficiency. RETURN TO TOP OF THE PAGE Physical Specifications • Dimension (WxHxD) 375 x 413 x 184 mm (incl. Pedestal) • Weight 6.3 Kg • Tilt / Swivel 0° ~ 35° / + - 175° • Height adjustment rang 50mm •...
- Page 5 No connect 16 Hot Plug Detect 24 T.M.D.S. Clock- 2. The 15-pin D-sub connector (male) of the signal cable: Assignment Assignment Red video input Green video input/SOG Logic ground Identical output - Blue video input connected to pin 10 Sense (GND) Serial data line (SDA) Not connected H.
- Page 6 RETURN TO TOP OF THE PAGE Physical Function Tilt Swivel Height adjustment Portrait display Turn monitor from landscape view to portrait view Tilt the monitor body at an angle 4.1)
- Page 7 4.2) Rotate the monitor body 90 degrees counter clockwise.
-
Page 8: Installing Your Lcd Monitor
Installing your LCD Monitor Your LCD Monitor : Front View Product Description • Connecting to Your PC • Remove and re-install the base • Getting Started • Optimizing Performance • Accessories (optional) Front View Product Description UP and DOWN buttons are used when adjusting the OSD of your monitor LEFT and RIGHT buttons, like the UP and DOWN buttons, are also used in adjusting the OSD of your monitor. - Page 9 1. Audio power on/off and volulme adjustment 2. Audio power LED 3. BASS on/off 4. Built-in Mic 5. Mute on/off RETURN TO TOP OF THE PAGE Side View 1. Headphone Jack 2. Microphone Jack...
- Page 10 RETURN TO TOP OF THE PAGE Rear View 1. Audio in 2. Mic out 3. DC 12V in 1. DC 12V out for Philips Multimedia Base only...
- Page 11 2. AC power in 3. DVI-D Connector 4. D-SUB Connector RETURN TO TOP OF THE PAGE Optimizing Performance For best performance, ensure that your display settings are set at 1024x768@60Hz (for 14"/15") or 1280x1024, 60Hz (for 17"/18"). Note: You can check the current display settings by pressing the 'OK' button once.
-
Page 12: Connecting To Your Pc
Connecting to Your PC Your LCD Monitor : Front View Product Description • Accessory Pack • Connecting to Your PC • Remove and re-install the base • Getting Started • Optimizing Performance • Accessories (optional) Accessory Pack Unpack all the parts. Item Description 170B4B 170B4M... - Page 13 Thread power cable through the hole at the bottom of the base, and plug onto monitor firmly. Connect microphone and audio cables onto the rear side of base if any Double check all cables' connection closely. Make sure they are all connected well.
- Page 14 Turn off your computer and unplug its power cable. Connect the monitor signal cable to the video connector on the back of your computer. Connect the audio and microphone cables to the audio and mic connectors on the back of your computer. Plug the power cord of your computer and your monitor into a nearby outlet.
- Page 15 Remove and Re-install the Base Your LCD Monitor : Front View Product Description • Accessory Pack • Connecting to Your PC • Getting Started • Optimizing Performance • Accessories (optional) Remove and Re-install the Base : Remove the base • Re-install the base Condition: for VESA standard mounting applications...
- Page 16 Unscrew the four screws of the base RETURN TO TOP OF THE PAGE Re-install the Base Put monitor face down on the safe surface and plug in the cables into connectors. Mount the base onto the monitor body and fix four screws securely.
- Page 17 hole at the bottom of the base. For Multimedia base, plug the flying DC power cable of base onto monitor. RETURN TO TOP OF THE PAGE...
-
Page 18: Regulatory Information
Polish Center for Testing and Certification Notice • North Europe (Nordic Countries) Information • BSMI Notice (Taiwan Only) • Ergonomie Hinweis (nur Deutschland) • Philips End-of-Life Disposal • Information for UK only Safety and Troubleshooting • Troubleshooting • Other Related Information •... - Page 19 RETURN TO TOP OF THE PAGE Energy Star Declaration PHILIPS 170B4MG This monitor is equipped with a function for saving energy which supports the VESA Display Power Management Signaling (DPMS) standard. This means that the monitor must be connected to a computer which supports VESA DPMS to fulfill the requirements in the NUTEK specification 803299/94.
- Page 20 This equipment has been tested and found to comply with the limits for a Class B digital device, pursuant to Part 15 of the FCC Rules. These limits are designed to provide reasonable protection against harmful interference in a residential installation.
- Page 21 Toutes modifications n'ayant pas reçu l'approbation des services compétents en matière de conformité est susceptible d'interdire à l'utilisateur l'usage du présent équipement. N'utiliser que des câbles RF armés pour les connections avec des ordinateurs ou périphériques. CET APPAREIL NUMERIQUE DE LA CLASSE B RESPECTE TOUTES LES EXIGENCES DU REGLEMENT SUR LE MATERIEL BROUILLEUR DU CANADA.