Brother HL-5585D Quick Setup Manual
Hide thumbs
Also See for HL-5585D:
- Technical reference manual (517 pages) ,
- Service manual (433 pages) ,
- User manual (271 pages)
Advertisement
Quick Links
HL‑5580D / HL‑5585D / HL‑5590DN / HL‑5595DN
Quick Setup Guide
Unpack the machine and check the components
Drum Unit and Toner
Cartridge Assembly
Quick Setup Guide
1
Remove the packing materials and install the drum unit and toner cartridge assembly
2
Load paper in the paper tray
3
Connect the power cord and turn the machine on
Back
Installation CD‑ROM
Product Safety Guide
Discard the silica gel pack.
Adjust the paper
guides.
Front
Read the Product Safety Guide first, then read this Quick
Setup Guide for the correct installation procedure.
The latest manuals are available at the Brother Solutions
Center: solutions.brother.com/manuals.
NOTE:
• The available connection interfaces vary depending on the model.
• Use the appropriate interface cable for the connection you want to use. (Network
cable and Parallel cable are not standard accessories.)
USB Interface Cable
USB cable
We recommend using a USB 2.0 cable (Type A/B) that is no more than
2 metres long.
Network cable
(For HL‑5590DN / HL‑5595DN)
Please purchase a straight‑through Category 5 (or greater) twisted‑pair cable
for the machine.
Parallel cable
(For HL‑5580D)
Please purchase the optional parallel cable (PC‑5000) for the machine.
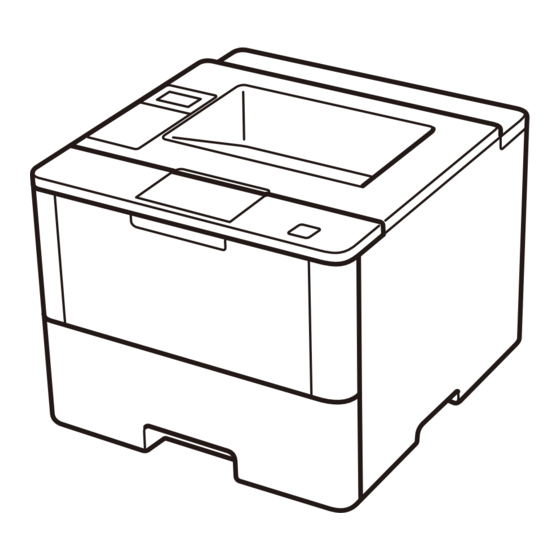
• The illustrations in this Quick Setup Guide show the HL‑5595DN.
Secure Network Access
Your machine's default password is on the label on the back of the
machine (preceded by "Pwd").
We strongly recommend you change it to protect your machine
from unauthorised access.
Remove the orange part.
CHN‑ENG
Version C
1
Advertisement

Related Manuals for Brother HL-5585D


Summary of Contents for Brother HL-5585D
- Page 1 HL‑5580D / HL‑5585D / HL‑5590DN / HL‑5595DN Read the Product Safety Guide first, then read this Quick Quick Setup Guide Setup Guide for the correct installation procedure. The latest manuals are available at the Brother Solutions CHN‑ENG Version C Center: solutions.brother.com/manuals.
- Page 2 Connect your machine and install software Brother regularly updates firmware to add features and fix identified problems. To check for the latest firmware, visit solutions.brother.com/up1. „ For HL‑5580D / HL‑5585D Windows computer with CD‑ROM drive ® (The Parallel connection is only for HL‑5580D)