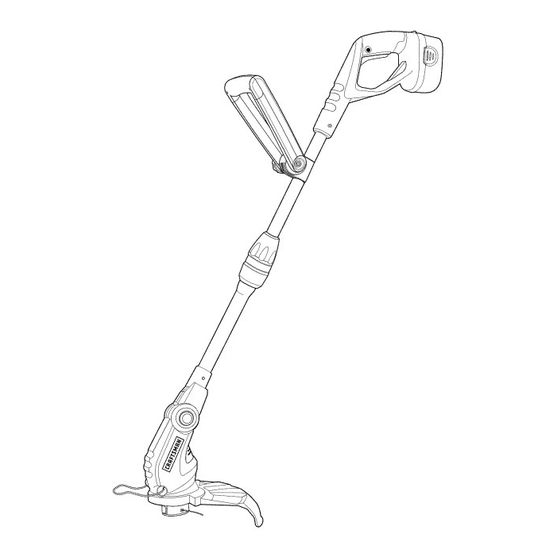
Craftsman Weedwacker 172.74815 Operator's Manual
12-in. 18 volt cordless trimmer
Hide thumbs
Also See for Weedwacker 172.74815:
- Operator's manual (360 pages) ,
- Operator's manual (15 pages) ,
- Operator's manual (16 pages)
Table of Contents
Advertisement
Operator's Manual
12-in. 18 Volt
Weedwacker®
Cordless
Trimmer
Model
No. 172.74815
CHARGE
BATTERY
BEFORE
FIRST USE
CAUTION:
Read, understand
and follow all
Safety Rules and Operating
Instructions
in this
Manual before using this product.
Sears, Roebuck and Co., Hoffman Estates, IL 60179 U.S.A
Visit our Craftsman® website: www.craftsman.com
• WARRANTY
• SAFETY
• ASSEMBLY
• OPERATION
• MAINTENANCE
• PARTS LIST
Advertisement
Table of Contents

Summary of Contents for Craftsman Weedwacker 172.74815
- Page 1 • WARRANTY Safety Rules and Operating Instructions in this • SAFETY Manual before using this product. • ASSEMBLY • OPERATION Sears, Roebuck and Co., Hoffman Estates, IL 60179 U.S.A • MAINTENANCE Visit our Craftsman® website: www.craftsman.com • PARTS LIST...
- Page 2 Pages TWO YEAR FULL WARRANTY ON CRAFTSMAN WEEDWACKER _ CORDLESS TRIMMER If this Craftsman product fails due to a defect in material or workmanship within two years from the date of purchase, RETURN ITTO ANY SEARS STORE OR OTHER CRAFTSMAN OUTLET INTHE UNITED STATES FOR FREE REPLACEMENT.
- Page 3 Lock tools away when not in use. This trimmer is not a toy. 5. DO NOT use trimmer at night. ALWAYS make sure you have adequate lighting. 6. BEFORE using the trimmer, remove any stones, sticks, debris or objects that could be entangled in or thrown by the trimmer.
- Page 4 Following this rule will reduce the risk of electric shock, fire or serious injury. 2. CAUTION: DO NOT have the battery pack installed in the trimmer when not in use. 3. DO NOT use trimmer without adequate lighting. ALWAYS make sure that you can see what you are trimming and edging.
- Page 5 27. MAKE SURE that other persons and pets are at least 100 feet away. Z_ iMPORTANT WARNING: When this tool is being used as a trimmer or edger, stones and other objects can be thrown out at high speed by the line. The tool and guard are designed to help reduce the danger.
- Page 6 2. Remove the trimmer, auxiliary handle, safety guard, box containing the battery pack and charger, wall mount bracket for charger and wall mount bracket for trimmer with hardware from the carton and inspect your trimmer. 3. Do not discard box or packing material until all parts are examined.
- Page 7 12. Automatic Line Feed when line becomes worn, the hub will automatically feed and trim a new length of line. 13. Your trimmer uses: 0.065 inch diameter twisted line. Use Craftsman 71-85937 automatic feed replacement spool and line. It's factory wound for maximum reliability. KNOW YOUR CORDLESSTRIMMER cont.
- Page 8 Allow fully charged. 1. Charge battery pack only with the charging stand that was supplied with this trimmer. 2. Make sure power supply to the charging stand is normal household voltage, 120 volts, 60 Hz, AC-only.
- Page 9 3. Locate the single screw in the base of the head and remove the screw. 4. Insert the edge of the safety guard into the slot along the back of the trimmer's head, carefullly lining the screw hole in the guard up with the screw hole in the trimmer head.
- Page 10 1 and 2. ADJUSTING THE CUTTING ANGLE (Fig. 9) Your trimmer has a 4-position tilting head that easily adjusts to the desired working angle for optimum operator control and comfort. To adjust the trimmer head angle: 1. Remove the battery pack from the trimmer.
- Page 11 Now the trimmer will come on. 3. Once the trimmer is on, you can release the safety button and the trimmer will remain on as long as you continue to squeeze the extended length trigger switch•...
- Page 12 AUTOMATIC LiNE FEED SYSTEM (Fig. 15 and 16) When turning the trimmer ON for the first time a small length of line will automatically be fed out of the spool. To extend the line out to the full 12-inch cutting path, it will be necessary to start the trimmer and completely stop the trimmer approximately 4 to 5 times.
- Page 13 4. Stand with the cutting head tipped down at an angle in front, guiding the trimmer in a semi-circular motion around you.
- Page 14 Wipe the outside of the trimmer with a dry, soft cloth. DO NOT hose down or wash the trimmer with water. Scrape the guard and spool area to remove dried clippings and mud. Brush or blow dust, debris and grass clippings out of the air vents.
- Page 15 CGT183UA-25 Cutting HeadCover CGT183UA-26 CGT183UA-27 Spool The modelnumberwill be foundon the nameplate of the Trimmer.Always mentionthe model number when requestingparts and servicefor yourtool. "_- The modelnumberwill be foundon the nameplate of theTrimmer. Always mentionthe modelnumberwhen requestingparts and servicefor your tool.
- Page 16 Your Home For expert troubleshooting and home solutions advice: www.managemyhome,com For repair - in your home - of all major brand appliances, lawn and garden equipment, or heating and cooling systems, no matter who made it, no matter who sold it! For the replacement parts, accessories owner's manuals that you need to do-it-yourself.


