Table of Contents
Advertisement
Quick Links
Download this manual
See also:
User Manual
Advertisement
Table of Contents

Related Manuals for Cisco 1603R


Summary of Contents for Cisco 1603R
-
Page 1: Quick Start Guide
O U R 1 6 0 0 S I S C O E R I E S O U T E R Internet Ethernet network Server Backup connection WAN connection Server (optional) Cisco 1600 NPACK THE NSTALL THE OUTER ERIFY NSTALLATION... -
Page 2: Unpack The Box
Unpack the Box. Note: For Items That You Provide—You need only the items required to install your specific Cisco 1600 model. Cables ordered from Cisco are colored as shown below. Note: The Cisco 1600 series routers are either of run-from-flash (RFF) or run-from-RAM (RFR) models. In this document, model names without an R refer to both models. -
Page 3: Install The Router
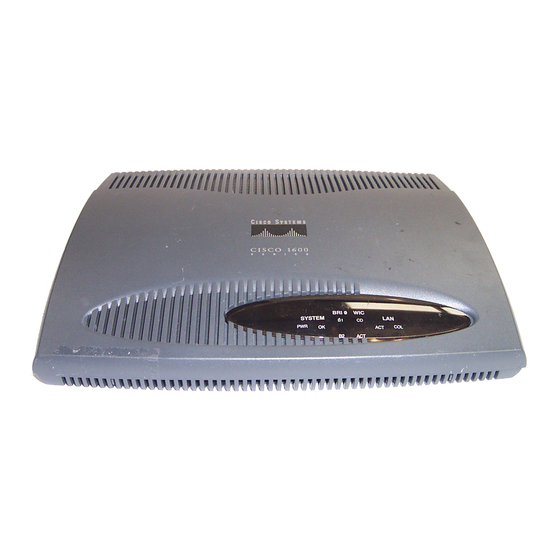
D. Connect the router to the power supply. After you connect the power, you can confirm proper installation by checking that certain LEDs are on. Note: If you’re not sure what Cisco 1600 router model you are using, look on the rear panel. Cisco 1601... - Page 4 Install the Router (continued). A. Connect the router to the local network. Connect the router to your local Ethernet network in Connect one end of the Ethernet transceiver to the one of three ways: yellow ETHERNET Ø AUI port and the other end to the Ethernet network.
- Page 5 Install the Router (continued). B. Install the WAN interface card. Look for a WAN interface card in the slot on the right-rear of the router, just above the slot labeled FLASH PC CARD. (There is no WAN interface card installed if there is a metal plate over the slot.) If the card is already installed, connect the card to your WAN line according to the instructions that came with the card.
- Page 6 • Cisco 1604—Page 9 Cisco 1601 Serial Connection Note: For this step, you must order a standard serial cable from Cisco. When you order the cable, specify the type of serial line you are using. Step 1 Connect one end of the serial cable to the blue SERIAL Ø port on the rear panel.
- Page 7 C. Connect the router to the wide-area network (continued). Cisco 1602 56-Kbps Connection Note: You must provide an RJ-45-to-RJ-45 cable for this step. Step 1 Connect one end of the cable to the blue SERIAL Ø 56K DSU/CSU port on the rear panel.
- Page 8 C. Connect the router to the wide-area network (continued). Cisco 1603 ISDN BRI S/T Connection Note: You must provide a straight-through RJ-45-to-RJ-45 cable and (if required for your site) a network termination (NT1) device for this connection. Step 1 Connect one end of the cable to the orange ISDN BRI Ø S/T port on the rear panel.
- Page 9 C. Connect the router to the wide-area network (continued). Cisco 1604 ISDN BRI U Connection Note: You must provide a straight-through cable, either RJ-11-to-RJ-11 (standard telephone cable) or RJ-45-to-RJ-45, for this connection. Step 1 Connect one end of the cable to the red ISDN BRI Ø port on the rear panel.
-
Page 10: Connect The Power Supply
Install the Router (continued). D. Connect the power supply. After connecting the router to power and turning it on, you can confirm that you have installed the router correctly by checking certain LEDs. Connect the router to the power supply as shown below. Depending on where you install the router, your power supply and power outlet could be different from those in the picture. -
Page 11: Verify Your Installation
Cisco 1600 Series Software Configuration Guide that is in the accessory kit. • The Cisco Connection Online card that is in the accessory kit, which lists telephone numbers, e-mail addresses, and World Wide Web URLs for getting information directly from Cisco Systems. - Page 12 Slovakia • Slovenia • South Africa • Spain • Sweden • Switzerland • Taiwan • Thailand • Turkey • Ukraine • United Kingdom • United States • Venezuela AccessPath, Any to Any, AtmDirector, the CCIE logo, CD-PAC, Centri, the Cisco Capital logo, CiscoLink, the Cisco Management Connection logo, the Cisco NetWorks logo, the Cisco Powered Network logo, the...