Advertisement
Quick Links
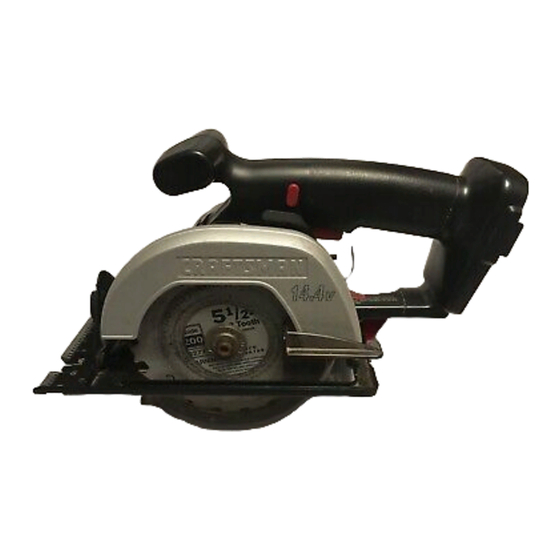
Owner's Manual
CRFIFTSMI:IN I
5-1/2 in., 14.4 VOLTS
CORDLESS TRIM SAW
Model No.
973.113080
Save this manual
for
future reference
CAUTION:
Read and
follow all Safety Rules and
Operating Instructions before
first use of this product.
• Safety
• Features
• Operation
• Maintenance
• Parts List
Customer
Help Line: 1-800-932-3188
Sears,
Roebuck
and Co.,
Hoffman
Estates,
IL 60179
USA
Visit the Craftsman
web page: www.sears.com/craftsman
972000-806
10-00
®
Advertisement

Related Manuals for Craftsman 973.113080


Summary of Contents for Craftsman 973.113080
- Page 1 • Operation follow all Safety Rules and • Maintenance Operating Instructions before • Parts List first use of this product. Customer Help Line: 1-800-932-3188 ® Sears, Roebuck and Co., Hoffman Estates, IL 60179 Visit the Craftsman web page: www.sears.com/craftsman 972000-806 10-00...
- Page 2 FULL ONE YEAR WARRANTY ON CRAFTSMAN CORDLESS TRIM SAW If this CRRI=TSMRNCordless Trim Saw fails to give complete satisfaction within one year from the date of purchase, RETURN IT TO THE NEAREST SEARS STORE OR SEARS SERVICE CENTER IN THE UNITED STATES, and Sears will repair it, free of charge, If this I"RAFTSI_I_N Trim Saw is used for commercial or rental purposes, this warranty applies for only 90 days...
- Page 3 The purpose of safety symbols is to attract your attention to possible dangers. The safety symbols, and the explanations with them, deserve your careful attention and understanding. The safety warnings do not by themselves eliminate any danger. The instructions or warnings they give are not substitutes for proper accident prevention measures.
- Page 4 • WHEN SERVICING USE ONLY IDENTICAL indicated elsewhere in this instruction manual. CRAFTSMAN REPLACEMENT PARTS. • DO NOT USE TOOL IF SWITCH DOES NOT IMPORTANT SAFETY INSTRUCTIONS TURN IT ON AND OFF.
- Page 5 RULES FOR SAFE OPERATION (Continued) • Make sure cord is located so that it will not be • KEEP BLADES CLEAN AND SHARP. Sharp stepped on, tripped over, or otherwise subjected blades minimize stalling and kickback. to damage or stress. •...
- Page 6 _IWARNING: Somedustcreatedby powersanding, s awing, g rinding,drilling,andotherconstruction activitiescontains chemicals known to causecancer,birthdefectsor otherreproductive h arm.Some examples of these chemicals are: • lead from lead-based paints, • crystalline silica from bricks and cement and other masonry products, and • arsenic and chromium from chemically-treated lumber.
- Page 7 KNOWYOURTRIM SAW SWITCH See Figure 1. See Figure 1. Before attempting to use any tool familiarize yourself Your saw is equipped with a lock-off button which with all operating features and safety requirements. reduces the possibility of accidental starting. The lock- off button is located on the handle above the switch Features include easily operated bevel cut and depth trigger.
- Page 8 • Connect charger to power supply. WARNING: Always wear safety goggles or safety glasses with side shields when operating • Place battery pack in charging stand. Align raised tools. Failure to de so could result in objects rib on battery pack with groove in charging stand. being thrown into your eyes, resulting in possible See Figure 1.
- Page 9 WARNING: Always remove battery pack from WARNING: A 5-1/2 in. blade is the maximum blade capacity of your saw. Never use a blade your saw when you are assembling parts, making that is too thick to allow outer blade washer to adjustments, assembling or removing blades, cleaning, or when not in use.
- Page 10 • Fitsawbladeinside lowerbladeguard andonto SAW BLADES spindle. N ote:Thesawteethpointupward atthe The best of saw blades will net cut efficiently if they frontof sawasshown in figure3. are not kept clean, sharp, and properly set. Using a • Replace outerbladewasher. dull blade will place a heavy load on your saw and increase the danger of kickback.
- Page 11 TO LESSEN THE CHANCE OF KICKBACK: KICKBACK See Figure 6. • Always keep the correct blade depth setting - the correct blade depth setting for all cuts should not exceed 1/4 in. below the material to be cut. See Figure 8. One blade tooth below the material to be cut works best for most efficient cutting action.
- Page 12 • Whenmaking a cutusesteady, e venpressure. STARTING A CUT Never f orcecuts. Know the right way to use your saw. • Donotcutwarped or wetlumber. See Figure 11. • Always holdyoursawfirmlywithbothhands and keepyourbodyin a balanced position so asto resisttheforcesofkickback s houldit occur. When using your saw, always stay alert and exercise control.
- Page 13 TO HELP MAINTAIN CONTROL: Hold your saw firmly with both hands. See Figure 14. • Always support your workpiece near the cut. • Support your workpiece so the cut will be on your left. • Clamp your workpiece so it will not move during the cut.
- Page 14 TOP VIEWOF SAW GUIDELINE RIP GUIDE (EDGE GUIDE) il J¢ , / Use the rip guide provided with your saw when FRONTOFSAW making wide rip cuts. A five inch scale has been provided on the rip guide. When using the width of cut scale on the base in combination with the rip guide, cuts can be made up to 6 in.
- Page 15 TO BEVEL CUT When making a bevel cut hold your saw firmly with both hands as shown in figure 19. Theangleofcutof yoursawmaybe adjusted to any desired settingbetween zeroand50°. Note:When making cutsat50°, bladeshouldbesetatfulldepthof cut. Whenmaking 45° bevel c uts,thereis a notchinthe sawbasetohelpyoulineupthe bladewiththe lineof cut.
- Page 16 POSITIVE 0 ° BEVEL STOP • Turn screw and adjust base until square with saw blade. See Figure 20. • Tighten hex nut and bevel adjustment knob securely. ADJUSTMENT BEVEL WARNING: Attempting to make cuts without SCREW ADJUSTMENT bevel adjustment knob securely tightened can KNOB result in serious injury.
- Page 17 Do not abusepower tools.Abusive practices c an _1, WARNING:Whenservicing, useonlyidentical Craftsman r eplacement parts.Useofanyother damage toolaswellasworkpiece. partmaycreatea hazard or causeproduct Onlythe partsshown on partslist,page19,are damage. intended to berepaired or replaced bythecustomer. Allotherpartsshouldbe replaced ata SearsService Avoidusing solvents whencleaning plasticparts. Center.
- Page 18 CRAFTSMAN CORDLESS TRIM SAW - MODEL NUMBER 973.113080 21 22...
- Page 19 CRAFTSMAN CORDLESS TRIM SAW - MODEL NUMBER 973.113080 The model number will be found on a plate attached to the motor housing. Always mention the model number in all correspondence regarding your CORDLESS TRIM SAW or when ordering repair parts.
- Page 20 Get it fixed, at your home or ours! For repair of major brand appliances in your own home... no matter who made it, no matter who sold it! 1-800-4-MY-HOME Anytime, day or night (1-800-469-4663) www.sears,com To bring in products such as vacuums, lawn equipment and electronics for repair, call for the location of your nearest Sears Parts &...