
Related Manuals for Frigidaire LAD704DUL


Summary of Contents for Frigidaire LAD704DUL
- Page 1 _F _@ NTE N_ Be_r_ You i _-8 M_jo_Apol_a www.ffigidaire.com USA 1-866-208-3616 www.ffigidaire, ca Canada 1-866-208-3616...
- Page 2 This USE & CARE MANUAL provides specific operating instructions for your model. Use the dehumidifier only as instructed in this USE & CARE MANUAL. These instructions are not meant to cover every possible condition and situation that may occur. Common sense and caution must be practiced when installing, operating, and maintaining any appliance.
-
Page 3: How It Works
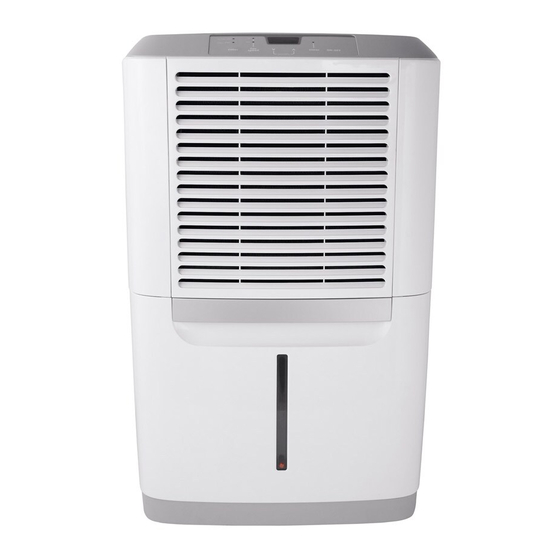
Selecting a Location Location IMPORTANT: 1.Dehumidifier must be operatedinan enclosedarea to be most effective. Close all doors, windows, and otheroutsideopeningsto the room. The effectiveness ofthe dehumidifier depends on the rate at which new moisture-laden air enters the room. 2. Place dehumidifier in a location that does not restrict airflow through the front of the unit or out of the louvers on the left side of cabinet. -
Page 4: Operating
Operating Instructions Allow unit to reach room temperature before operating. To begin operating dehumidifier, follow these steps; Unit must be upright for one hour prior to operating. 1. Plug the power cord into a properly grounded 115 volt AC outlet. If the "BUCKET FULL"... - Page 5 Operating Instructions (continued) 3. After a few days when the Relative Humidity has declined, press the HUMIDITY A or V buttons to choose a value between 35% to 85%, so the room is kept at a comfortable humidity. Pressing the A or V buttons will change the humidity selection in 5% increments.
-
Page 6: Fault Codes
ON=OFF fitter speed timer Lhum_d_tyJ Fault Codes 1. If the display reads "AS" "ES", a sensor has failed. Contact your Authorized Frigidaire Service Center. bucket fu!! clean _lter filter timer ON-OFF speed Lhum_d_tyJ ©2009 E!ec!ro!ux Home Product% Inc: AH r!gh!s... -
Page 7: Removing Collected Water
Removing Collected Water 1. Emptying the Bucket: a. When the bucket is full, the unit will shut down and the BUCKET FULL indicator will illuminate. bucket full R clean filter ON-OFF filter speed timer L humidity Do not move the unit at this time otherwise water may spill on the floor. -
Page 8: Care And Cleaning
Removing Collected Water (continued) 2. Continuous Drainage: a. For continuous drainage operation, you will need a garden hose and a drain nearby to discharge the water into. b. Unscrew the drain cap on the back side of the unit. (fig.l) c. -
Page 9: Troubleshooting
Before c alling forservice, review thislist.It may save youtime andexpense. This listincludes common occurrences thatarenot theresult o fdefective workmanship ormaterials inthisappliance. OCCURRENCE SOLUTION DEHUMIDIFIER DOES NOT Wall plug disconnected. Push plug firmly into wall outlet. OPERATE, House fuse blown or circuit breaker tripped. - Page 10 Your appliance is covered by a limited one-year warranty and a limited 2-5 year warranty on the sealed system (the compressor, condenser, evaporator and tubing). For one year from your original date of purchase, Electrolux will pay all costs for repairing or replacing any parts of this appliance that prove to be defective in materials or workmanship when such appliance is installed, used and maintained in accordance with the provided instructions.