Husqvarna K 3000 Cut-n-Break Operator's Manual
Hide thumbs
Also See for K 3000 Cut-n-Break:
- Operator's manual (24 pages) ,
- Operator's manual (20 pages) ,
- Operator's manual (24 pages)

Related Manuals for Husqvarna K 3000 Cut-n-Break


Summary of Contents for Husqvarna K 3000 Cut-n-Break
- Page 1 Oper ator’s manual K 3000 Cut-n-Br eak Please r ead the operator’s manual carefully and make sure you understand the instructions before using the machine. E E E E n n n n g g g g l l l l i i i i s s s s h h h h...
-
Page 2: Key To Symbols
KEY T O SYMBOLS Symbols on the mac hine: En vironmental marking. Symbols on the product or its packaging indicate that W ARNING! The machine can be a this product cannot be handled as dangerous tool if used incorrectly or domestic waste. -
Page 3: Table Of Contents
CONTENTS Contents KEY TO SYMBOLS Symbols on the machine: ........2 Symbols in the operator’s manual: ....... 2 CONTENTS Contents ............... 3 WHA T IS WHAT? What is what on the po wer cutter? ....... 4 GENERAL SAFETY PRECA UTIONS Steps bef ore using a new power cutter .... -
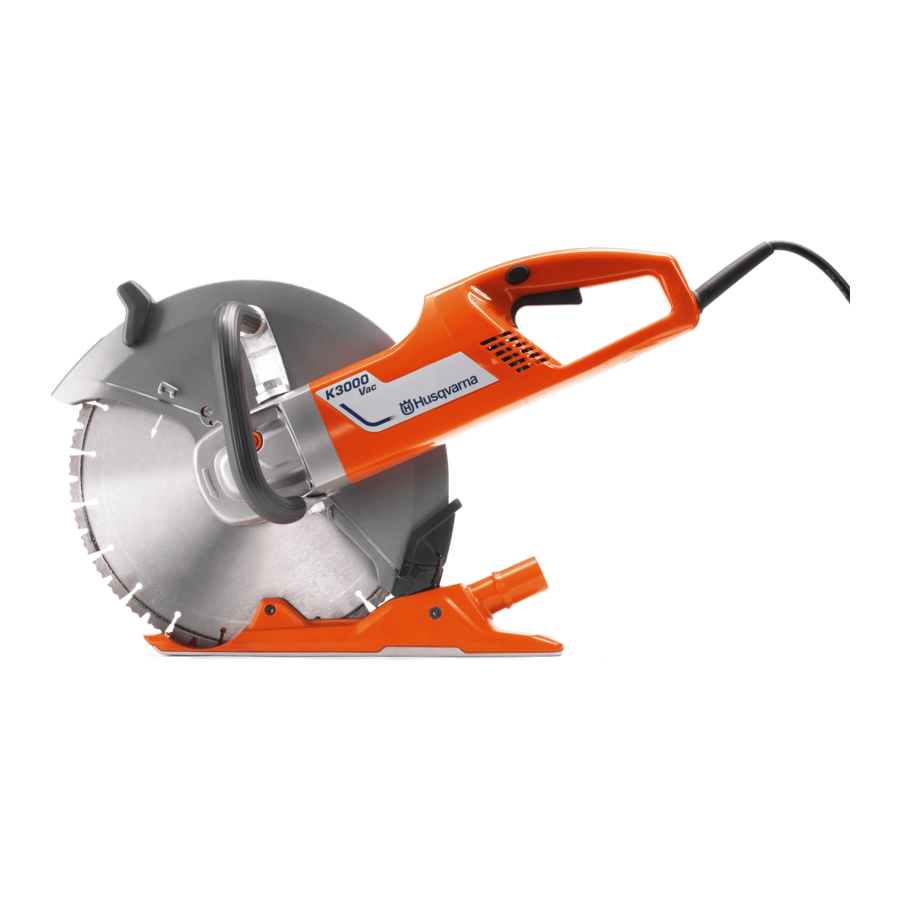
Page 4: Wha T Is What
WHA T IS WHA T? What is what on the po wer cutter? Front handle 11 Brush retainer Rear handle 12 Belt tensioner Switch 13 Water tap Power switch lock 14 Cutting arm Blades 15 Ground fault circuit interrupter Type plate 16 Water connector Splash guard 17 Breaking tool... -
Page 5: General Safety Preca Utions
• Let your Husqvarna dealer regularly check the power cutter and make essential adjustments and repairs. • Protective helmet •... -
Page 6: Safety Instr Uctions
SAFETY INSTR UCTIONS General saf ety warnings • When operating a power tool outdoors, use an extension cord suitable for outdoor use. Use of cord suitable for outdoor use reduces the risk of electric W ARNING! Read all safety warnings and shock. -
Page 7: Machine ' S Safety Equipment
SAFETY INSTR UCTIONS • Remain at a distance from the blades when the • Inspect new blades for transport or storage damage. engine is running. • The guard for the cutting equipment must always be on when the machine is running. W ARNING! Overexposure to vibration Ser vice can lead to circulatory damage or nerve... -
Page 8: Power Switch Lock
SAFETY INSTRUCTIONS Power switch lock Blade guards The power switch lock is designed to prevent accidental This guard is fitted above and below the cutting blade and operation of the switch. When the lock (A) is pressed in is designed to prevent parts of the blade or cutting the power switch (B) is released. -
Page 9: Diamond Blades
SAFETY INSTRUCTIONS Water cooling • Push the TEST button (blue). • Water cooling must always be used. This cools the blades and increases their life and prevents dust build-up. WARNING! Cool diamond blades • The ground fault circuit interrupter should trip and the designed for wet cutting continuously machine switch off instantly. -
Page 10: General Working Instructions
SAFETY INSTRUCTIONS General working instructions • Cut in the same direction when cutting into an existing cut. Avoid cutting at an angle to the previous cut otherwise there is a risk of the blade jamming or that the machine can ”climb in the cut”. WARNING! This section describes basic safety directions for using a power cutter. - Page 11 SAFETY INSTRUCTIONS • Repeat this working method until the required cutting • Slide the splash guard sideways. depth is achieved (D, E). • Lock the latch. Kickback Kickback is a sudden, rearward motion of the saw that can • The blade guards are designed to easily adapt to how occur if the blades are stalled (pinched, jammed, twisted) deep in the work piece the power cutter is moved.
- Page 12 SAFETY INSTRUCTIONS General rules How to avoid pinching • Never cut upwards or towards you so that the kickback Support the work piece in such a way that the cut remains zone becomes actively cutting. open during the cutting operation and when the cut is finished.
-
Page 13: Assembly
Assembling the blades • Husqvarna blades are especially manufactured and approved for freehand cutting with the K3000 Cut-n- Break. The blades have integrated belt pulley halves and are to be changed in pairs. -
Page 14: Starting And Stopping
STARTING AND STOPPING Before starting Starting • Grip the front handle with the left hand. WARNING! Note the following before • Grip the rear handle with your right hand. starting: The machine should be connected to an earthed outlet socket. Check that the mains voltage corresponds with that stated on the •... -
Page 15: Maintenance
MAINTENANCE General Check the tension of the drive belt • Stick a screwdriver in the notch. • A correctly adjusted drive belt should have about 5 mm of movement. WARNING! Inspection and/or maintenance should be carried out with the motor switched off and the plug disconnected. -
Page 16: Replacing The Drive Belt
MAINTENANCE Replacing the drive belt • Remove the cutting arm by pulling it straight out from the machine. • Release the belt tension. • Remove the blades. • Loosen the five screws holding the guards on the cutting arm. • Remove the belt cover by loosening the nuts, the clamping bolt and the eccentric cam. -
Page 17: Cooling System
MAINTENANCE Cooling system Water tap • Check and clean the restrictor if necessary. Do not use hoses that are distorted, worn or damaged. Electrical Feed • The machine is equipped with an efficient fan to cool the motor. Cooling air which is drawn in through the WARNING! Never use damaged cables. -
Page 18: Technical Data
TECHNICAL DATA Technical data K 3000 Cut-n-Break Motor Protection class Max. blade speed, rpm 4700 Rated voltage, V Europe Great Britain USA / Canada / Japan 100-120 Rated output, W Europe 2700/12 A Great Britain 2200/20 A USA / Canada / Japan... - Page 20 1153344-95 Original instructions ´®z+UBQ¶5'¨ ´®z+UBQ¶5'¨ 2009-12-29...