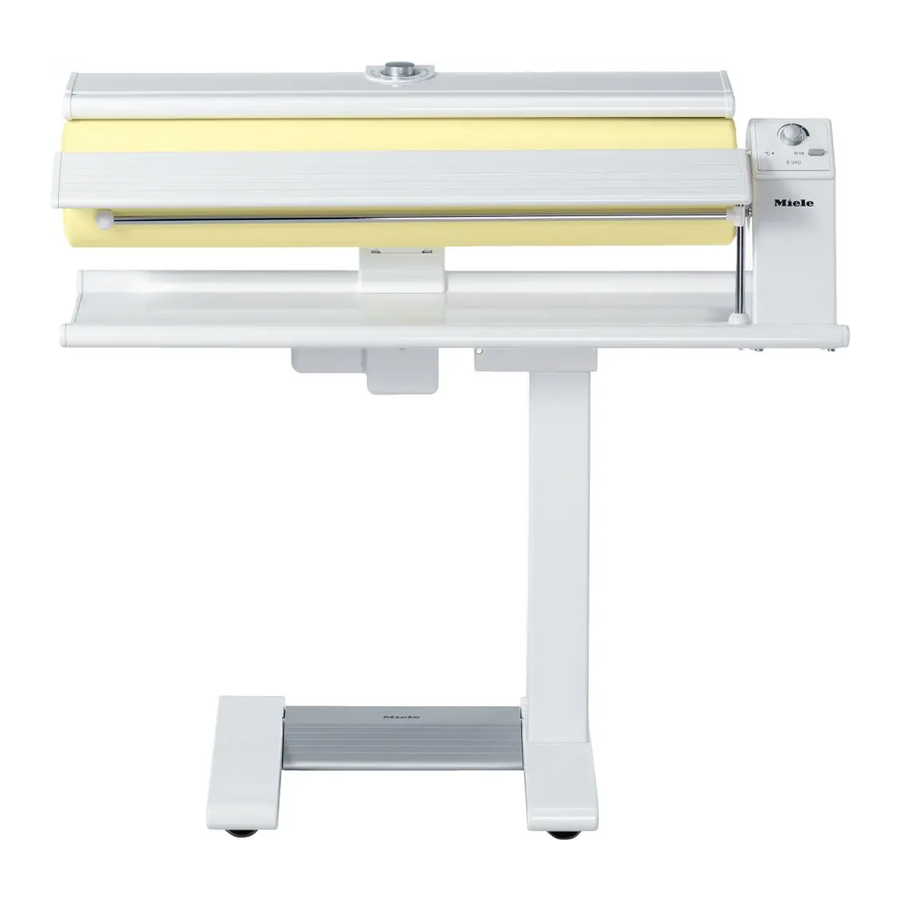
Miele B 990 Operating Instructions Manual
Rotary iron
Hide thumbs
Also See for B 990:
- Operating instructions manual (36 pages) ,
- Technical information (43 pages)

Related Manuals for Miele B 990


Summary of Contents for Miele B 990
-
Page 1: Operating Instructions
Operating instructions Rotary Iron B 990 en - US, CA To prevent accidents and machine damage, read these instructions before M.-Nr. 07 658 660 Installation or use. -
Page 2: Table Of Contents
Contents IMPORTANT SAFETY INSTRUCTIONS....... . . 3 Guide to the Rotary Iron ..........6 Moving the appliance . -
Page 3: Important Safety Instructions
Read the operating instructions carefully before using this appliance Installation, repair and maintenance for the first time. They contain work should be performed by a Miele authorized service technician in important information about the safety, use and maintenance of the accordance with national and local appliance. - Page 4 Please contact the Do not use an extension cord to nearest Miele Dealer or Miele Technical connect this appliance to electricity. Service with specific requirements. Extension cords do not guarantee the required safety of the appliance (e.g.
- Page 5 Swing it back Accessories should only be used if immediately after use. Take care not to approved by Miele. If other parts are press down on the bar when it is swung used, warranty, performance and out. This could tip over the rotary iron.
-
Page 6: Guide To The Rotary Iron
Guide to the Rotary Iron Temperature selector Ironing table Emergency release Bar for hanging ironed laundry Control panel Feed board Release catch Roller (with ironing cover) Power cord Heater plate Foot pedal Finger guard... - Page 7 Guide to the Rotary Iron Control panel On-Off button "0-I" Roller speed selector for turning the rotary iron on and off On-Off indicator "0-I" Temperature indicator...
-
Page 8: Moving The Appliance
Moving the appliance Transport strut Moving the appliance The rotary iron has four rollers. ^ Pull the transport strut out (see illustration). ^ Hold the rotary iron with the ironing table and push or pull to move it. Keep the transport strut in a safe place. It must be re-fitted if the appliance has To steer and to overcome obstacles to be moved again (e.g. - Page 9 Moving the appliance ^ Hold the ironing table and release the ^ Swing the top section of the rotary catch, located on the right hand side iron to the side until it clicks at the back, underneath the ironing horizontally into position. table.
-
Page 10: Before Using For The First Time
Before using for the first time Power cord Dust cover The power cord is wound around a The dust cover which protects the roller hook underneath the ironing table. during transportation must be removed. ^ Unwind the cord. ^ First remove the feed board by lifting it out of the right hand holder, then Do not insert the plug into the pull it out to the left of the roller. - Page 11 Before using for the first time ^ Adhere the sticker (included) to the temperature control, as shown above.
-
Page 12: Before Ironing
Before ironing Preparing the work area Place close by: – a basket with the laundry ready for ironing to the left of the rotary iron, – a surface for the ironed laundry to the right of the rotary iron. Shirts, overalls, blouses, etc., should be hung on hangers immediately after ironing. -
Page 13: Preparing The Laundry
Before ironing Preparing the laundry Pulling into shape and smoothing Correct preparation of the laundry is ^ Pull the dampened laundry into essential for easy ironing. shape as usual. Before ironing, the laundry should be: ^ Smooth out ribbons, straps, seams –... -
Page 14: Testing The Finger Guard
Before ironing Testing the finger guard Please note: Any unevenness in the ironing cover The finger guard is a safety feature will smooth itself out after 3 hours of and should be checked each time use. the rotary iron is used. When using a new machine, if delicate ^ With the rotary iron turned on, press laundry is not properly pulled into the... -
Page 15: Ironing
Ironing Turning on and off Selecting the ironing temperature The temperature selector is used to set the ironing temperature. The temperature range is marked by dots on the ring around the temperature selector. These correspond with the international fabric care symbols for ironing. -
Page 16: Selecting The Roller Speed
Ironing Selecting the roller speed There are 5 roller speed settings, from low (approximately 6.5 ft/min.[2 m/min]) to high 15 ft/min. [4.5 m/min]). A lower roller speed makes it easier to iron complicated articles such as shirts and blouses. It is also best to select a low roller speed when ironing folded items, which may require more than one pass through the rotary iron to get... -
Page 17: Ironing
Ironing Ironing To iron ^ Press the foot pedal down to the The ironing process is controlled by the floor. foot pedal which has three operating positions: Do not put fingers between the heater plate and the roller. Danger of burning and injuring fingers. -
Page 18: Positioning The Laundry
Ironing Positioning the laundry Removing the feed board ^ Arrange the laundry items on the The feed board can be removed when feed board so that they are straight shaped garments are being ironed, and then smooth out. e.g. skirts (round). ^ Then turn the roller by hand, always ^ Lift the feed board out of the right keeping your hands away from the... -
Page 19: After Ironing
Ironing After ironing Ironing tips ^ Turn the appliance off. – To avoid creasing stop the roller, pull the item back slightly and smooth ^ Turn the temperature to g. out. If necessary, dampen again with ^ Remove the plug from the outlet. a wet cloth or spray bottle. -
Page 20: Power Failure
Ironing Power failure To free the trapped item In the event of a power failure, pull the emergency release lever up. If there is a power failure when the rotary iron is in use, the heater plate will stay on the roller. The item being ironed will be held there possibly becoming scorched. -
Page 21: Ironing Tips
Ironing Tips Tablecloths Napkins, hand towels ^ Avoid folds by ironing the middle ^ Lay the item with the straight grain of first. the fabric to the feed board. This will prevent it from losing its shape and will be easier to fold. Pass handkerchiefs diagonally through the rotary iron and, if necessary, fold them and then iron again. -
Page 22: Duvet Covers
Ironing Tips Duvet covers To iron without a fold ^ It is best to iron the cover in two runs If the duvet cover has buttons at the open end, iron the buttons first. lengthwise. Note: Only pass this end through the If folds are acceptable rotary iron if the buttons are heat-resistant. -
Page 23: Shirts
Ironing Tips ^ Then turn down the collar and press Shirts lightly, holding taut. ^ Remove the feed board to iron shirts. 3. Front sides 1. Shoulder yoke ^ Lay the button hole front on the left ^ Arrange the yoke, collar first, on the hand end of the roller with the side roller and smooth out. - Page 24 Ironing Tips 4. Back 5. Cuffs and sleeves ^ First iron both sides of the cuff on the ^ Start at the side seam. Pull the shirt left edge of the roller. Fold over the roller as far as the arm hole. double-cuffs with one button hole Smooth it out.
-
Page 25: Pants
Ironing Tips Pants Skirts These are best ironed without the feed Ironing pants and jeans board. ^ Iron the upper part from waistband to ^ Pull the skirt over the roller from the inseam of pants and jeans in hem to the waistband. sections. -
Page 26: Cleaning And Care
^ Allow the heater plate to cool before Ironing covers are available at your cleaning. Miele dealer or Miele. ^ Pull the emergency release lever up to make sure easier cleaning. ^ Clean lime or starch deposits from the heater plate using a non abrasive household cleaner. - Page 27 Cleaning and Care The ironing cover should only be changed when the appliance is cold. ^ Remove the feed board. ^ Completely unwind the padding cover attached to the roller and let it hang down smoothly. ^ Untie the old ironing cover cords at each end of the roller.
- Page 28 Cleaning and Care ^ Insert the long edge of the new ^ Press the foot pedal and "iron" the ironing cover into the retaining slot new cloth around. with the side seams inside (upside down). Keep side ties hanging free Do not let the cords get under the and smooth out.
- Page 29 Cleaning and Care ^ Tighten the cords at the left and right hand sides of the roller, tie together and tuck in. ^ Put the feed board back in place. ^ Turn the rotary iron on - the heater plate will rise.
-
Page 30: Frequently Asked Questions
Frequently asked questions Repairs should only be carried out by an authorized technician in accordance with local and national safety regulations. Unauthorized repairs could cause injury or appliance damage. The rotary iron does not turn on. Possible fault Solution The rotary iron has no power. Plug the machine in and check if the circuit breaker has tripped. -
Page 31: After Sales Service
Service department, Extended Service Model Contracts offered by other providers for Serial number Miele products will not be recognized by Miele. Our goal is to prevent Voltage / frequency unauthorized (and untrained) service Minimum fuse rating personnel from working on your Miele... -
Page 32: Electrical Connection
Electrical connection The appliance is supplied with a power cord and NEMA 5-15 P plug ready for connection to an a.c. single phase 120 V 60 Hz supply (see data plate). The fuse rating is 15 amps. Do not modify the machine power cord or plug, the machine is approved for USA and CDN. -
Page 33: Technical Data
Technical data Height " (folded 41 ") [95.9 (folded 105.2) cm] Width " (folded 19 ") [98.5 (folded 50) cm] Depth 15" [38 cm] Weight 84 Ibs [38 kg] Voltage see data plate Rated load see data plate Minimum fuse rating see data plate... -
Page 34: Help Protect Our Environment
Help protect our environment Disposal of packing materials Disposal of an old appliance The cardboard box and packing Old appliances contain materials that materials are biodegradable and can be recycled. Please contact your recyclable. Please recycle. local recycling authority about the possibility of recycling these materials. - Page 36 M.-Nr. 07 658 660 / 01 Alteration rights reserved / 0410 INFORMATION IS SUBJECT TO CHANGE. PLEASE REFER TO OUR WEBSITE TO OBTAIN THE MOST CURRENT PRODUCT SPECIFICATIONS, TECHNICAL & WARRANTY INFORMATION.