Table of Contents
Advertisement
Quick Links
Advertisement
Table of Contents

Related Manuals for Electrolux EFC9588X


Summary of Contents for Electrolux EFC9588X
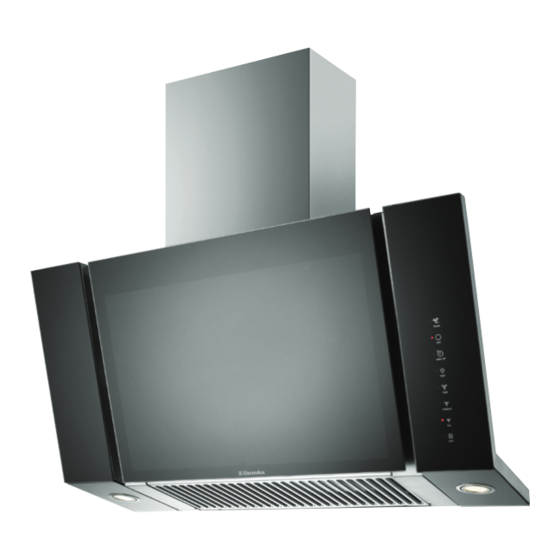
- Page 1 EFC9588X Range hood...
-
Page 2: Table Of Contents
After unpacking the rangehood please check it is not damaged. If in doubt, do not use the appliance but contact your local Electrolux Service Centre. Contents •... -
Page 3: Important Safety Instructions
3 Important safety instructions Electrical connection This manual explains the proper use of your new Electrolux • E lectrical connection should be carried out by qualified rangehood. Please read this manual carefully before using person to comply with local electrical authorities. the product. This manual should be kept in a safe place for handy reference. -
Page 4: Product Description
4 installation/product description electrolux rangehood Product description Technical Specification Model EFC9588X Power supply: 220 – 240 volts, 50 Hz Connects to 7.5A GPO Lights: 2 x 20 Watts, 12 volt halogen Additional items required for installation • Fixings required to mount main body • F ixings required to attach exhaust cover mounting bracket to wall Dimensions Dimensions A – Overall width 900 mm B – Body height 510 mm (including oil trough) C – Maximum depth 350 mm D – Minimum depth 240 mm E1 – Maximum Flue height 958 mm E2 – Minimum flue height... -
Page 5: Installation
Care must be taken to ensure the screws are not cross threaded when attaching the outer flue cover. If installed in recirculating mode, insert the carbon filter. To complete the rangehood installation, replace the filter. Place back edge of filter into position and push up front edge so that the filter clips into place. Your Electrolux rangehood is now ready to use. -
Page 6: Using The Rangehood
6 using the rangehood electrolux canopy rangehood Using the rangehood Touch control operation Door operation The door panel can be located in several positions Lock depending on cooking intensity. You will hear a “click” as Depress and hold ‘lock’ button for 3 the door reaches each set position. -
Page 7: Maintenance And Cleaning
7 Maintenance and cleaning Changing the halogen lamps Ensure lamp is cool before removing. caution • B efore maintenance or cleaning is carried out, the rangehood should be disconnected from the main power supply. Ensure that the rangehood is switched off at the wall socket and the plug removed. -
Page 8: Removing And Cleaning The Oil Cup
8 removing and cleaning oil cup electrolux canopy rangehood Removing the oil cup for cleaning Step 2 caution Dispose of excess oil and clean the oil cup with warm soapy water. Before maintenance or cleaning is carried out, the Clean the outside surface of the oil cup using a non- rangehood should be disconnected from the main power abrasive cleaner and wipe dry with a soft cloth supply. -
Page 9: Removing Carbon Filter
Cleaning the outer filter Baffle Filter, Outer Panel Step 3 To thoroughly clean the Baffle filter you will need to remove Unlatch the filter at each side and pull the filter towards you. the outer panel. Figure 3 below. Please follow the steps shown below Step 1 Remove the oil collection trough. Support oil trough at each end and pull toward you carefully. - Page 10 10 electrolux service Notes...
-
Page 11: Service Centres
11 Service APPLIANCE: ELECTROLUX RANGEHOOD We, Electrolux, undertake that if within 12 months of the date of the purchase this Electrolux appliance or any part thereof is proved to be defective by reason only of faulty workmanship or materials, we will, at our option repair or replace the same FREE OF CHARGE for labour, materials or carriage on condition that: All service work under this guarantee must be undertaken by an Electrolux Service Center. Any appliance or defective part replaced shall become the Company property. - Page 12 Do you remember the last time you opened a gift that made you say “Oh! How did you know? That’s exactly what I wanted!” That’s the kind of feeling that the designers at Electrolux seek to evoke in everyone who chooses or uses one of our products. We devote time, knowledge, and a great deal of thought to anticipating and creating the kind of appliances that our customers really need and want.